Create Magazine and Simple Stories

Thursday, May 22, 2014

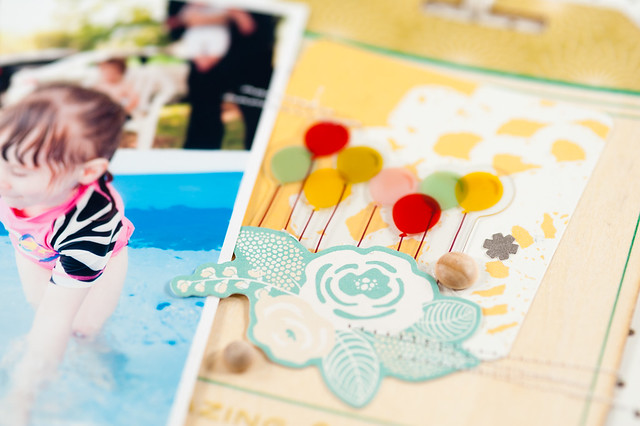
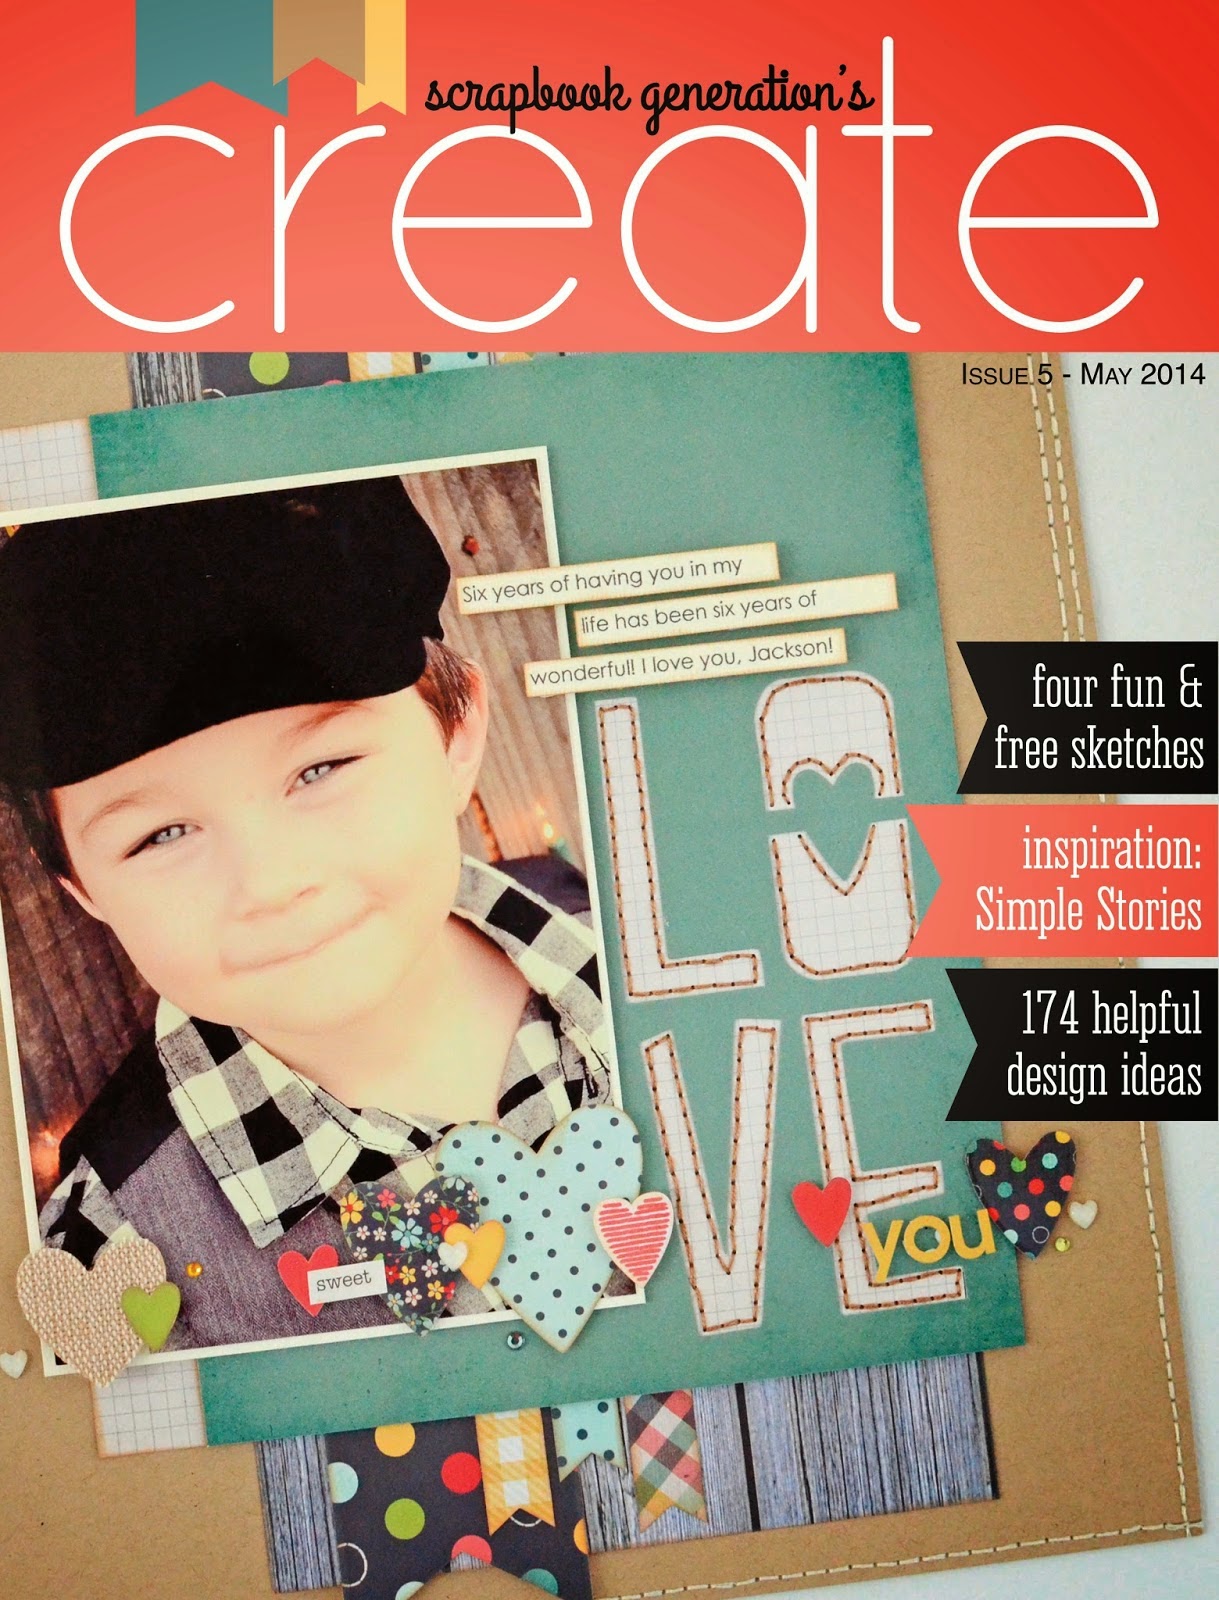
Oh, my, it's been quiet around here! There are lots of reasons for that, and I'll get to them a bit later in this post. Right now, though, I'm excited to share a layout that you'll find in the latest issue of Scrapbook Generation's Create magazine!


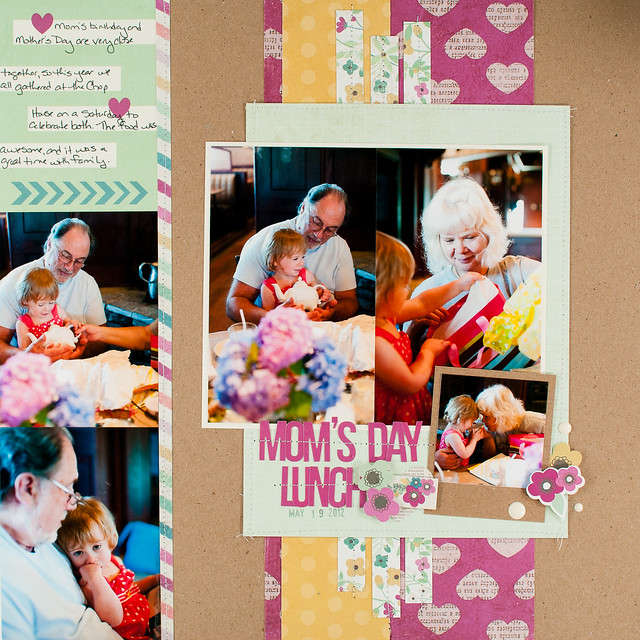
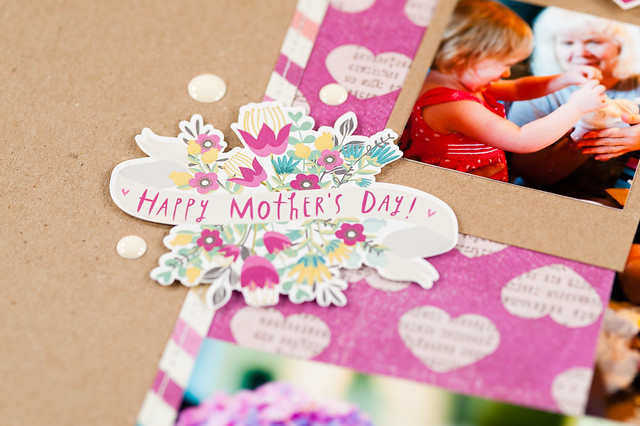
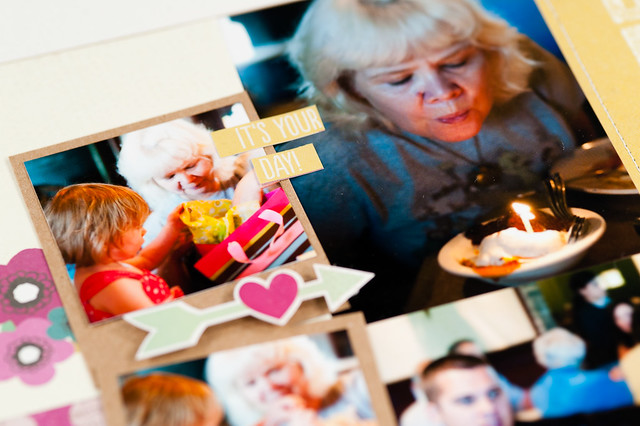
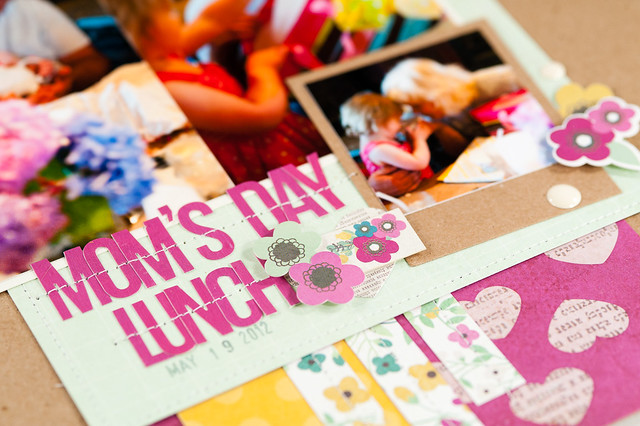
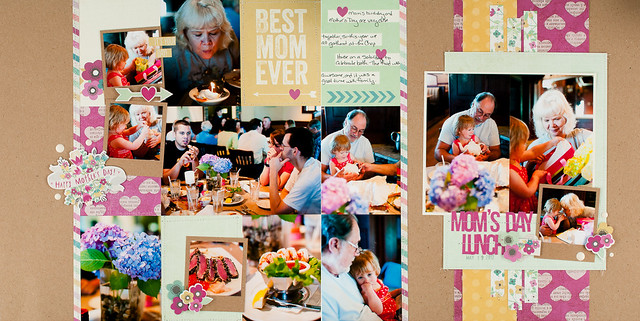
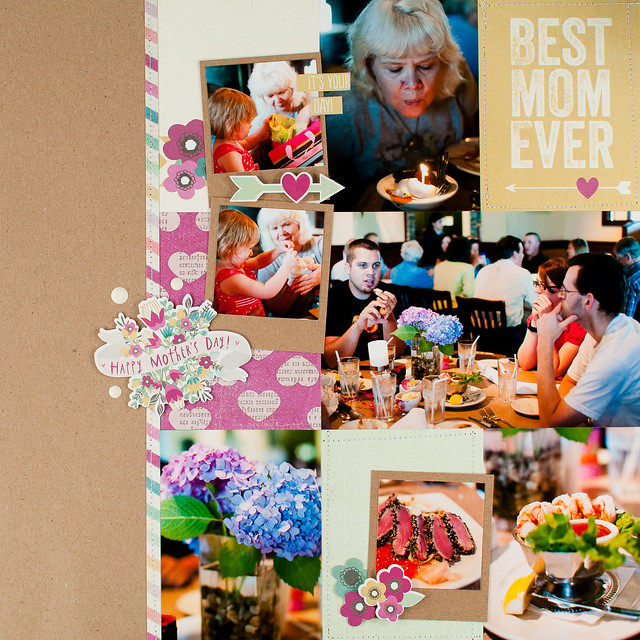
It's no secret that I love Scrapbook Generation's sketch downloads, so when they asked the Simple Stories design team to contribute layouts to the May issue, I jumped at the chance! I worked with a two page sketch (you can find all of this month's featured sketches here as a free download) and used Simple Stories' Hey Mom simple set to finish up scrapping some photos from Mother's Day of 2012. I've done a few one- and two- photo layouts from this day already, but I had a bunch of random shots left over that I wanted to go ahead and get on a page. This two-page sketch has space for 12 photos!
simple stories create.jpg

DSC_0266.jpg

DSC_0267.jpg

DSC_6142.jpg

DSC_6144.jpg

DSC_6147.jpg

Create's sketch downloads include both a single and double page layout sketch as well as card and tag sketches each month, and I used some of the leftovers from my layout to make a tag following the May sketch.
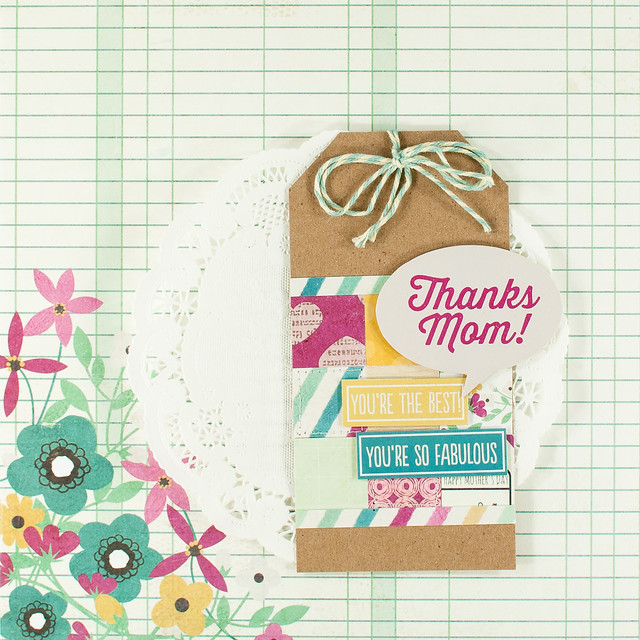
DSC_0270.jpg

So, about the five week silence here on the blog...

If you listened to the Paperclipping Roundtable a few weeks ago, then you've already heard this, but life has gotten extremely busy for me lately. Not a stressed out sort of busy, but I do find myself going full speed from the time I wake up until the time I go to bed each day, and the blog has simply fallen to the bottom of my priority list.

I had an inkling that this was going to happen back in April, and at that time I contacted all of my design teams to let them know that I would need to step down this summer. They've all been great about working on an exit date with me, and I'm staying on to work through the design cycle with the product I've already been sent. I absolutely did not want to just drop everybody suddenly and have given them plenty of time and notice, and Crate Paper and Simple Stories both actually asked if I wanted to stay on to work with the mid-season releases, even after I sent in my resignation. I'll be leaving all of my teams in the June/July timeframe.

Citrus Twist asked if I'd like to stay on after my last kit as a designer with them (in July, which is when the new design team from their current call will be announced) and continue to do the monthly kit reveal videos as well as taking a more active role on their social media channels. I've always been a behind-the-scenes technical consultant for them on their various channels, so it's a natural role for me to fall into. I'll also be taking over photographing the kits for the web site, and I actually started that with May's kits.

I'll also be retiring completely from blogging after my last design team assignments in July. I have enjoyed blogging here for the last 6 years, but my life has changed to the point where I just don't have time for it any more without letting something else important fall through the cracks. With Darren starting school this fall and a growing Star & Bee (which I am so, so grateful for- I actually spent most of the last three days moving the business operations into a new, bigger space to work in!) on my hands along with a full-time job, there just aren't enough hours in the day to give my best work to everything.

I'll still be scrapbooking for sure- I have so many little challenges on a list for myself, including no more shopping and using up the supplies that I have. I've also got a wild idea to make a layout using each and every one of Scrapbook Generation's sketches (and there are hundreds!), and I'm itching to do more digital scrapbooking, especially as I work through my physical supplies (which, honestly, will take years). Not having to photograph and post layouts will leave me more time for crafting, which I'm really looking forward to.

I will absolutely miss all of the lovely people who have read and commented on my blog over the years, and I'm so grateful for your support. Thank you all!
Scrapbook Generation Sketch Blog Hop

Monday, March 3, 2014

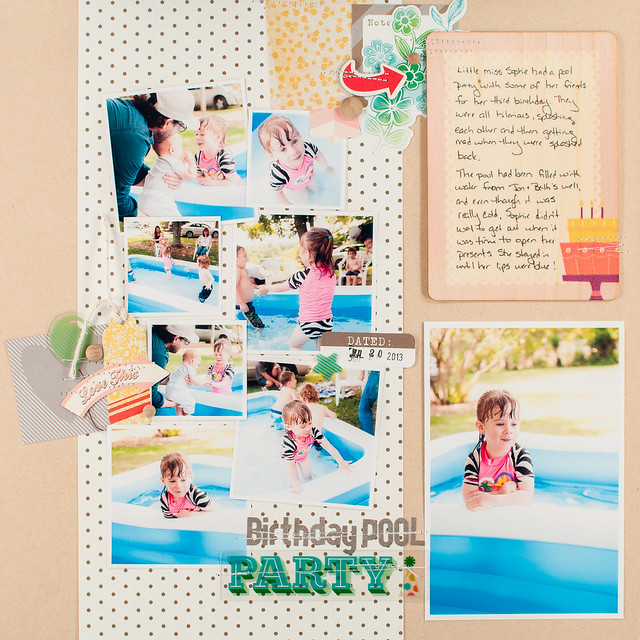
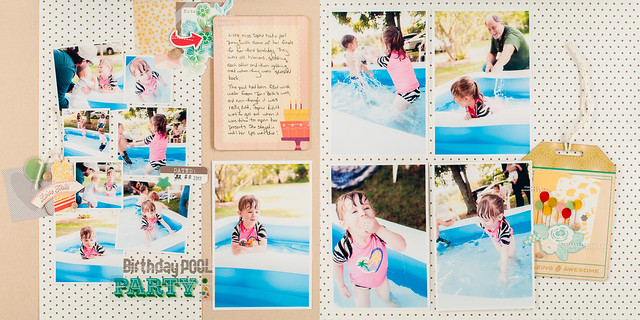
I love to continually try different things in my scrapbooking, and using a dozen photos (including five 4x6 prints!) on a single layout is definitely different for me! That's one of the reasons that I decided to join in on the March edition of the Scrapbook Generation sketch blog hop today. The other reason being that I collect their sketches, but with all of my design team responsibilities I rarely have a chance to use them!

My layout is based on a sketch from one of the February 2014 Four Packs, found in their store here.

sophies birthday.jpg

Supplies:


DSC_0248-2.jpg

DSC_0249-2.jpg

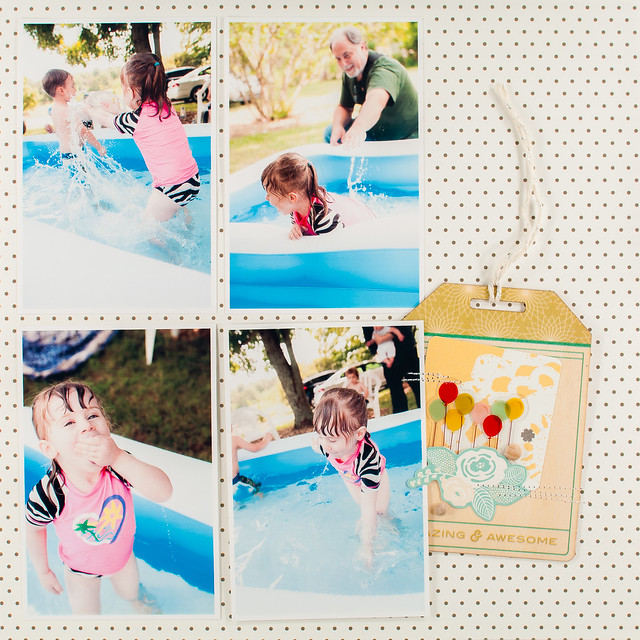
When I said that five of those photos were 4x6, I should have said close to 4x6. I printed these at home, and my Selphy CP900 actually prints at a slightly smaller size- made even smaller still by the fact that I like to add white borders to my photos. No worries, though- I just spaced them out on the background paper a bit instead of lining them up, and it made things look a little more my style, anyway!

I also modified the left page of the sketch, using a solid 6x12 strip of paper instead of two 6x6 blocks to help tie the two pages together. I also swapped out one of the 4x6(ish) photos for a journaling card since I only had five large photos that I wanted to use from this event.

DSC_6057.jpg

The patterned paper and many of the embellishment bits here are from Elle's Studio's Love You More collection. I had originally planned on using Basic Grey's RSVP, but the colors in the papers were simply too muted for my bright, summery photos. Their die cut pack and printed wood veneer cards worked well, though, and I used them to set the color scheme for the rest of the page. This is the layout where everything went wrong with my supplies- I know I have more RSVP items, including the chipboard, but I have no idea where they are right now!

DSC_6056.jpg

Not being able to find the embellishments that I'd intended to use on this page didn't stop me, though! I sifted through my stash and found more pieces from Elle's Studio, October Afternoon's new Girl Talk line, and even some older Dear Lizzy and Amy Tangerine bits to fill in the spaces. I'm not entirely happy with the results, but I was scrapping on a deadline and decided to just push through and get it done.

DSC_6055.jpg

There's a prize up for grabs in this hop, and if you leave a comment at each blog along the way you'll be entered to win the sketch bundle of your choice from the Scrapbook Generation store. The winner will be drawn on Monday, March 10th.

Lori is next up on the hop, and if you want to see the entire list of links in one place, you'll find that on the Scrapbook Generation blog.

Two Page Layout Process in Photos - "SWCVII Day One"

Tuesday, February 25, 2014

I decided to throw down a two-page layout while I was working with the February kits from Citrus Twist, using another stack of my photos from Star Wars Celebration VI. It's been a while since I made a two-pager, and I decided to take some photos of my process as I went along!

Before I dive into that, though, here's a peek at the finished product:

swcvii day one.jpg

After choosing photos for this page (meaning I simply pulled a pre-printed stack out of my photo storage binder), I started my design by deciding on a layout background. I loved the way the star-printed paper from Elle's Studio looked next to a piece of white cardstock, and I really do like making two-page layouts where each side has a different background. I realized, though, that it would look very similar to the background of another two-page layout that I made for Two Peas last year, which wasn't a huge deal, except they would both end up relatively close to each other in the same album.

DSC_4541.jpg

I changed things up by using two sheets of white cardstock instead. I cut the gray star paper down to 11.5" x 11.5" inches and placed it so that roughly 2/3 of it overlapped the right side of the layout, with the other third on the left.

DSC_4542.jpg

Placing the photos is the next part of my design process, and it's usually the part that a) takes the longest and b) can sometimes be a source of frustration if I can't get a design to work. I don't pre-plan photos and sizes before printing, and in fact when I originally sent these off to the developer, I'd envisioned them on 4-5 layouts of their own, using just 1-2 photos per page. I was really winging it to use these all together, but that's just how I roll with a two-page layout! The best advice I can give you if you want to similarly fly by the seat of your pants is to make sure to print a variety of sizes, mixing small, medium, and large, and to throw some squares in with all the rectangles. I wish I had done that here, but I worked with what I had.

DSC_4543.jpg

Sometimes with a two-page layout I design on a line, much as I did with that layout that I referenced earlier. Other times I start in the middle of the page and work my way out, balancing things so that one side has a few more photos than the other, both to add some interest and also because the emptier side is usually where the title and journaling ends up, so it's all balanced in the end.

DSC_4544.jpg

The photo above was my first shot at laying things out, and you can see that I've already identified a few embellishments and paper pieces that I want to use. This part of the process is really a lot of back and forth of trying to make some sort of a loose grid with my photos, knowing that I'll fill in any awkward gaps with more patterned paper and embellishments.

DSC_4545.jpg

For my second run at a photo arrangement, shown above (as I'm working I take photos of each arrangement with my phone so that if I decide that I really did like one, I can always go back to it) I went with an approach that was a little more linear, but something still just wasn't gelling for me, so I gave it one last shot.

DSC_4546.jpg

For this third (and ultimately final) arrangement, I split the photos up into three different groups, spaced across the page. I've used a similar type of grouping before, though with a slightly different background, on yet another layout for Two Peas- Merry Halloween. On that page I used the three different groupings to show the three different steps of our pumpkin carving exploits. On my current layout the photos don't have any real reason to be in groups other than I thought that the shapes worked well together, and the photos are all from the same day. You could also use this same grouping technique with more than three groups of photos- it's a really flexible arrangement.

DSC_4547.jpg

With the photos in place, it was time to start adding in more patterned paper and embellishments. In the photo above I've added a sheet of blue paper from the Citrus Twist Pocket Life kit's 6x6 paper pad, along with several small pieces from an October Afternoon cut-apart sheet and some die cuts from an Elle's Studio pack. In the photo below I've added another sheet from that 6x6 pad- this time in red- on the left page and have also added a title and started an embellishment cluster on the top left.

DSC_4548.jpg

Once I have my photos in place, you can see that the final parts of the layout come together really quickly! I queued off of the circle print 3x4 card for my colors and tried to make sure that I included bits of aqua, red, blue, and yellow in all three sections of the layout to help with the balance.

swcvii day one.jpg

Here's a closer look at the left and right page, along with some detail shots.

DSC_0233-2.jpg

DSC_0234-2.jpg

DSC_5997.jpg

DSC_5999.jpg

DSC_6000.jpg

And that's how I go about making a two page layout! I used to find them intimidating, but I've learned in the last year or so of making them on my own (that is, without sketches), that the key for me really is a variety of photo sizes and just finding a photo arrangement that I'm happy with. I think if I tried to actually sit down and plan photo sizes for a layout before printing I wouldn't be nearly as happy as I am with this method, so "winging it" it is going to continue to be my go-to process!

scrapbook generation sketch hop

Monday, December 2, 2013

There are two releases in the scrapbooking world each month that I make sure not to miss- the exclusive tag kits from Elle's Studio, and the sketch downloads from Scrapbook Generation. I absolutely love Allison's sketches, so when I saw that the next quarterly Scrapbook Generation sketch blog hop was going on today, I decided to jump in and participate!

If this is your first stop on the hop and you'd like to start at the beginning, then you'll want to head over to the Scrapbook Generation blog. I've also included a list of all of the blogs in the hop at the bottom of this post.

I chose a two-page sketch from the February 2013 release to work with, and it's actually one of a trio of sketches that are included as part of a set. My papers and embellishments are almost all from either Crate Paper's Bundled Up collection and October Afternoon's Silent Night line, and I loved the way the two collections worked together in this layout.

winter exploration.jpg

Supplies:


Deciding to go with a Christmas theme for this layout was easy since my desk is already totally covered up with Christmas product from working on my Journal Your Christmas album...plus two others. Instead of cleaning up the mess that you see in the photo below, I just rolled with it and put some of that product to use on a layout.

DSC_5786.jpg

I started off by looking through my binders of photos that I keep printed and ready to scrap. Scrapbook Generation sketches use lots of 4x6 photos, and while I've been scrapping mostly smaller pictures for the last few years I do keep 4x6s printed to use in divided page protectors. It only took about a minute to locate this set from our Christmas snow in 2010, and then I started looking for a sketch that would work for them.

DSC_5785.jpg

Choosing already-printed (and sized!) photos first and a sketch second is quite different from the way that I used to work with sketches, and it really helped me to adapt Allison's design to my own style. The original sketch included two 4x6 vertical photos and four horizontal, and I swapped out one picture in each orientation for one or more smaller photos.

DSC_5790.jpg

I keep all of my sketch downloads in a folder in my DropBox account, so they're automatically synced between my desktop and laptop computers as well as my iPad and iPhone. That made it super easy to pull up the sketch on my iPad before propping it up on my scrap table and getting to work.

I started off with a white cardstock background- my go-to when I'm starting a page and not sure which direction to take it in- but the white paper blended a bit too much with the white snow, so I tried out a cream background with a mix of patterned paper and cardstock instead.

DSC_5796.jpg

That wasn't really thrilling me, either, especially with the busy sheet music paper on one side. I had hoped that it would fade into the background when the photos were placed on it, but that just wasn't happening, plus I had still more patterned paper to add. I could tell that this layout was going to get really crazy, really fast if I didn't tone it down, so I swapped in another old standby for a background color- kraft.

DSC_5797.jpg

There's something that I just love about a kraft background and brightly colored papers- especially Christmas patterns. The darker tone of kraft helps ground the layout and really makes the colors pop!

DSC_0188.jpg

When I finished my layout and photographed each page individually, it struck me that the two sides each really could function as single-page layouts on their own, especially if I were to add journaling to the left side. I think that's because of some of the changes I made to the sketch to fit my own style, including:
  • Using two 4x3 horizontal photos in on of the vertical photo spots on the left-hand page.
  • Swapping one of the 4x6 photos on the right side for a patterned paper block + small photo.
  • Moving the embellishment cluster from the center of the photo block on the right down and incorporating it with the small photo.
  • Adding even more embellishment under the paper block on the right-hand page.
  • Leaving out the paper strips on the right side of the page and adding my journaling in that spot, instead of in the center of the photos as shown in the sketch.

DSC_0189.jpg

DSC_5799.jpg

DSC_5803.jpg

Scrapbook Generation releases new sketch downloads monthly and also has a selection of print and electronic sketchbooks in their store. They also release a free sketch each month, so be sure to grab one and try it out for yourself!

Corrina is the next stop on the hop, and I've also included a link to all of the blogs in the hop below. There's also a prize up for grabs for those who leave a comment on each blog in the hop. On December 9th, one winner will be drawn from all of the commenters in the entire hop to win a free sketch bundle of their choice from the Scrapbook Generation store!

Thanks so much for stopping by today!

Scrapbook Generation blog - http://scrapbookgeneration.blogspot.com/
Ruth - http://scrapmachine.com/
Michelle - http://ownerofchanel.blogspot.com/
Steffanie - http://steffanies.blogspot.com/
Stephanie - http://craftyholidaygirl.blogspot.com
Devra - http://mycreativeview.blogspot.com
Tasha- http://tashascreativejuice.blogspot.com/
Pamela - http://reflectionsofmyartandsoul.com/blog
Brenda - http://roseblossomlegacies.com
Sharlene - http://inspirationstationbysbe.blogspot.ca/
Louise - http://madeatnumber27.blogspot.com.au/
Brenda R - http://granddivasscrappyplace.blogspot.com/
Cassie - http://allsmilesandsunshine.blogspot.com/
Lori - http://loriannie670.blogspot.com/
Elizabeth - http://ejoym.blogspot.com
Mandi - http://mjskraze.blogspot.com/
Cicily - http://www.pinkdalmatianscrapper.com/
Laureen - http://mybusyscrapbookinghands.blogspot.ca/
Janelle - http://stillscrappinlettersize.blogspot.com
Melissa - http://www.scrappyjedi.com/   <------ are="" b="" here="" you="">
Corrina - http://anotherthingoffthelist.blogspot.ca/
Lindsey - http://www.scrapping-by-the-sea.com
Nicole - http://www.lovemesomepaper.blogspot.com/
Tina Gale - http://tiggersscrapplace.blogspot.com
CopyRight © | Theme Designed By Hello Manhattan