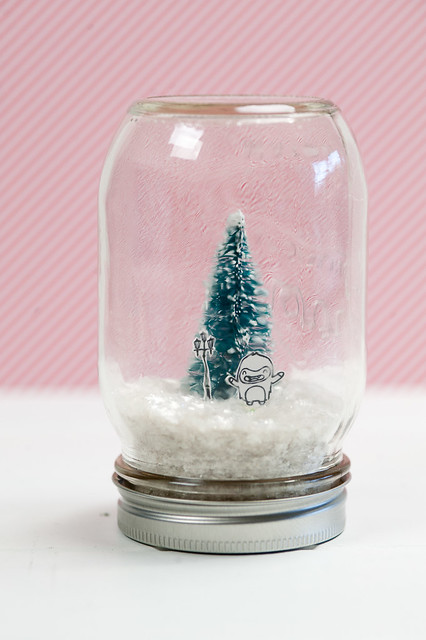
Yeti Stamp + Shrink Plastic + Mason Jar = Adorable Snow Globe!

Thursday, December 19, 2013

Oh, how I do love all of the mason jar snowglobes that I've been spotting on blogs and around Pinterest! They're so cute, quick, and easy to make, and when Lawn Fawn and Scrapbook Adhesives teamed up for a week of projects over on the Lawn Fawn blog, I decided to try something just a little different to make a snowglobe of my own.

DSC_5880.jpg

Supplies:


I love, love, love Lawn Fawn's Yeti, Set, Go stamp set and had an idea to stamp one and cut it out to build a little scene in a jar, but the Yeti was a little too big to fit inside. womp, womp

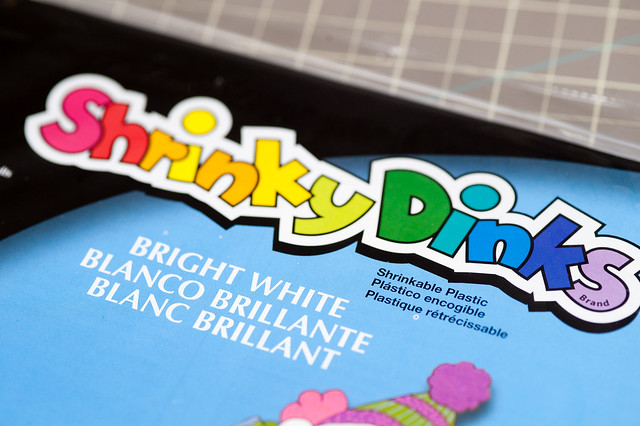
Then I remembered a video that I watched not too long ago that used shrink plastic with stamps, and my Michaels just happened to have some Shrinky Dinks plastic sheets in stock! Yes, that would be the same shrink material that I used as a kid- so cool!
DSC_5870.jpg

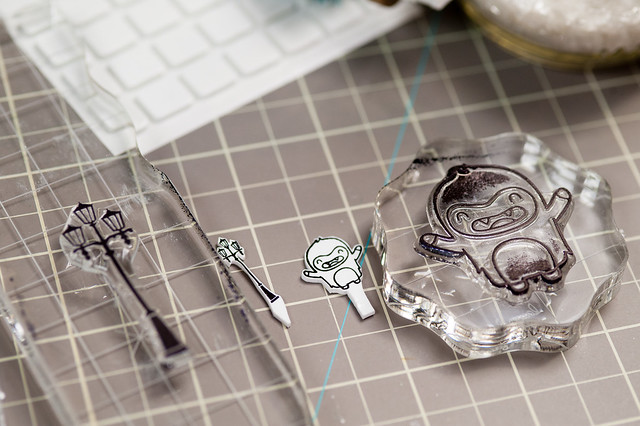
Shrinky Dink plastic can be heated quickly with an embossing tool, and when it's finished the piece is one third the original size and nine times as thick- it goes from a flimsy sheet to a really sturdy little piece of plastic in under a minute! I've placed the finished pieces next to the original stamps in the photo below so you can see the size difference.
DSC_5872.jpg

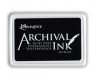
Stamping on shrink plastic is really easy, you just need to use the proper type of ink. Staz-On ink will dry instantly, or you can use Archival ink (which is what I happened to have available) as long as you let it dry for a while before handling it. I stamped both the Yeti and a lamp post (hey, I was feeling a bit Narnia...) and trimmed them out before shrinking them down, leaving just a bit of extra plastic on the bottom of each to help adhere to them to the base of the snowglobe.
DSC_5869.jpg

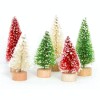
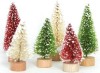
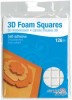
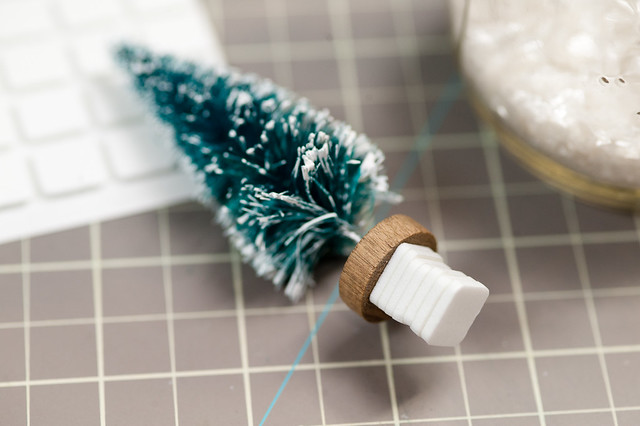
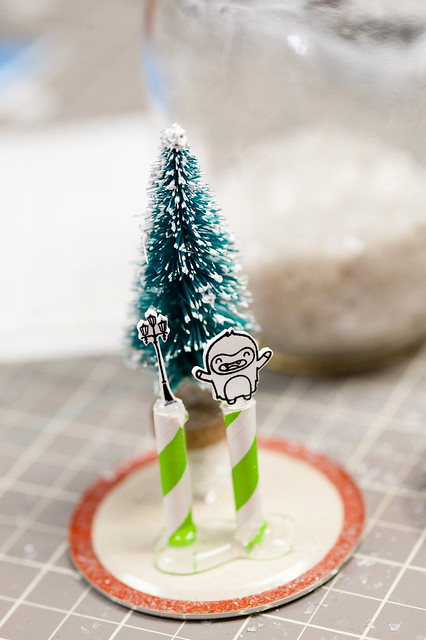
While at Michaels I also picked up a couple of packs of these tiny trees, and to bring the one above up to the proper height (so it would show over the band of the mason jar's lid), I stuck a stack of Scrapbook Adhesives foam squares to the base.
DSC_5874.jpg

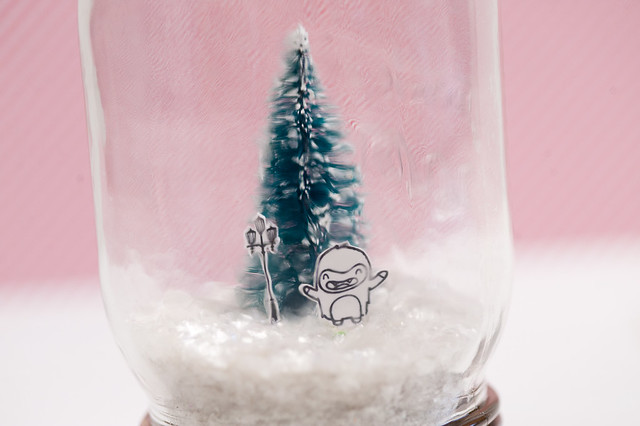
The shrink plastic pieces were a bit trickier to adhere, but in the end a pair of little pieces of paper straw and lots of hot glue helped keep them in place. Once the hot glue was dry, I partially filled the jar with some fake snow (from a box I bought long ago at a clearance sale at Anthropologie) then screwed the lid in place.
DSC_5882.jpg

I have a few more mason jars and lots more little trees (plus more snow- I swear I think that box refills itself when I'm not looking!), and I'm definitely going to have to make more of these this year. They are so fun and easy!
Ornaments with Packaging + Crate Paper

Saturday, December 14, 2013

This December has been full of fun projects already, and I'm only halfway through it! I love design team projects around the holidays, when we're encouraged to make something other than scrapbook pages. It always pushes me out of my happy little layout zone and into something cool! Last year I made tons of Christmas ornaments, and this year I've already made a recipe binder and am working on a snowglobe for later next week. I've also made another round of Christmas ornaments for this year, and they were up on the Crate Paper blog on Tuesday.

DSC_0060.jpg

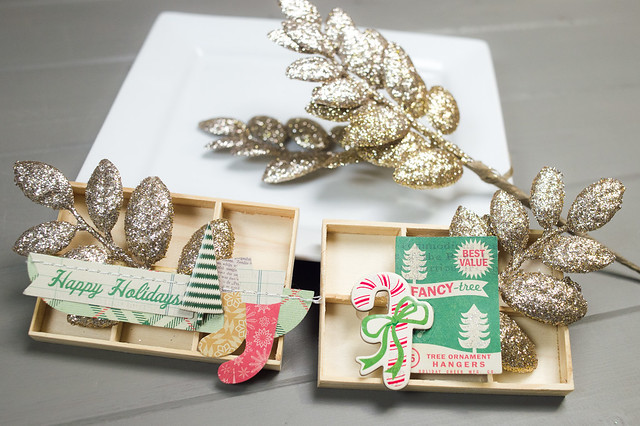
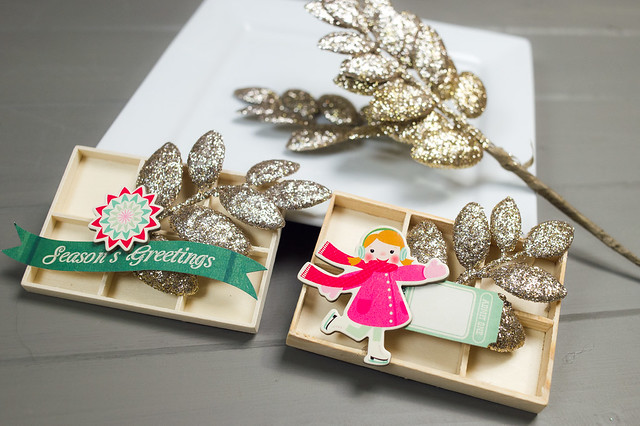
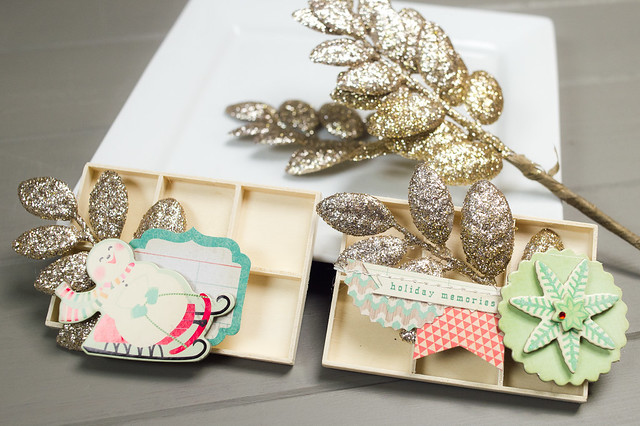
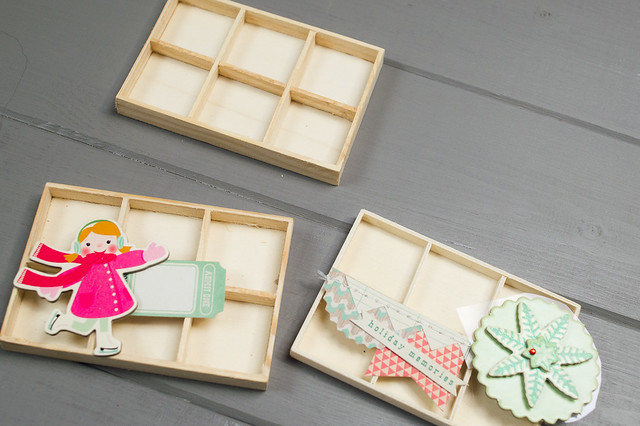
If you've purchased any of Prima's wood veneer embellishments in the last year or so, then you might recognize the little wood trays that I used to back my ornaments. I've almost thrown them away several times in the last few months, but stopped myself every time. Good thing I did, because they were the perfect starting point for some glittery Bundled Up goodness!

DSC_0067-001.jpg

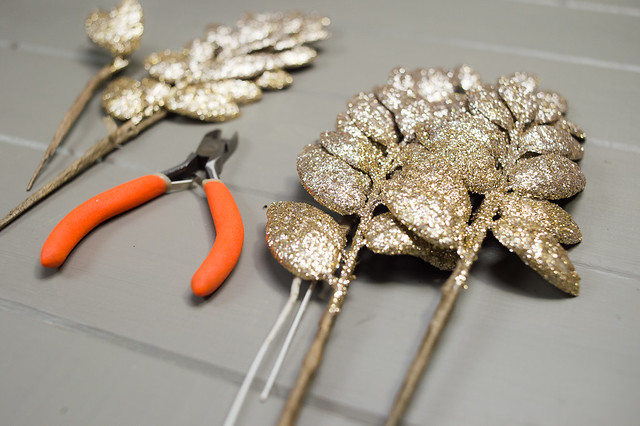
I started off by snipping a few small leaf sprays off of a few gold glittered stems that I've had in my Christmas stash for a while, and then I put together a few embellishment clusters using die cuts, chipboard, and stitched banners from Crate Paper's Bundled Up collection. I layered the clusters and glittered leaves over the trays for quick and easy ornaments with lots of bling-y holiday cheer. Each piece only took a few minutes to put together, thanks to copious amounts of hot glue. I've learned much from Wilna this year about the magical powers of hot glue.

DSC_0074-001.jpg

Supplies:


DSC_0072-001.jpg

DSC_0078-001.jpg

I try to make ornaments to give to my family each year, so after I attach hangers of some sort to these they'll be on their way to live on all of our various Christmas trees!

DIY'ing it Crate Style

Thursday, October 10, 2013

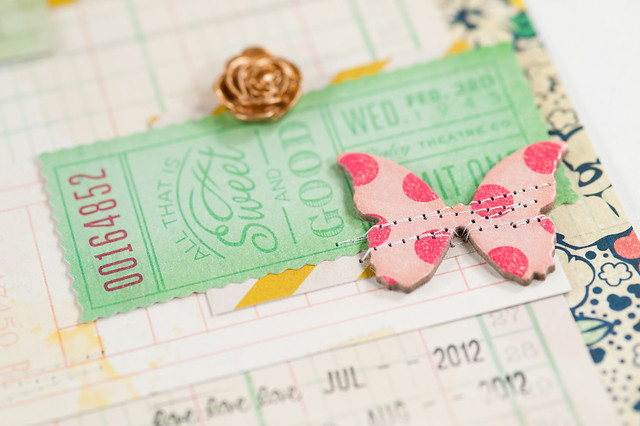
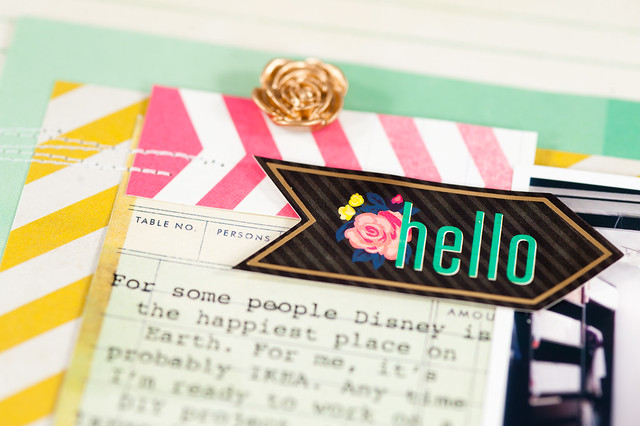
Today's post is a long, photo-filled one because I have both a new layout and a tutorial to share! If you've been by the Crate Paper blog today, then you've seen the news that they asked me to join their design team, and I'm thrilled to have the chance to work with their new products! My first assignment was to write a Crate Style post on any topic of my choosing, and I chose the theme of DIY for both my layout and my project.

DSC_0125.jpg

Supplies:


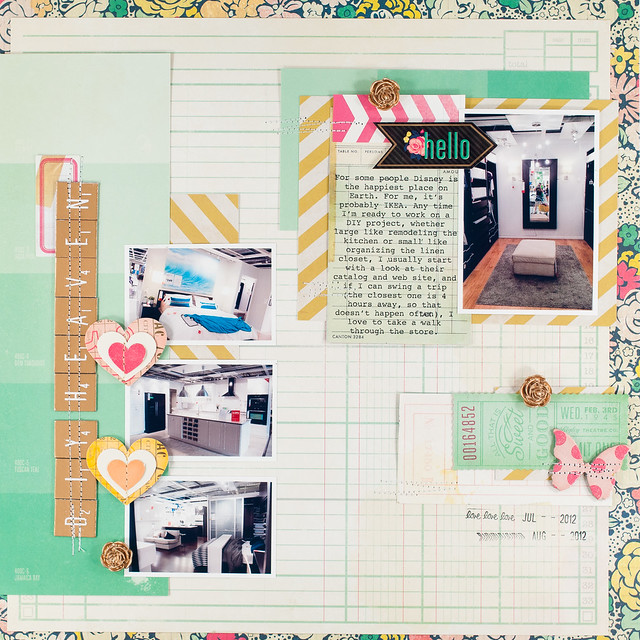
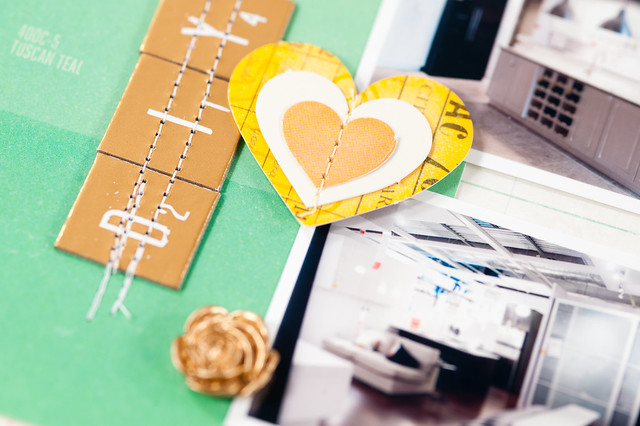
I'll start with the layout, using Maggie Holmes' Flea Market collection and a few photos that I snapped on a visit to IKEA. Since I have a slight addiction to DIY (and also to all things related to organizing), IKEA is basically my crack house. I don't get to go often because the closest one is a little over four hours away, but last summer I was working on a project for work that would often send me on road trips where I would drive right past one of their stores. You can bet that I stopped in almost every time!

DSC_4391.jpg

DSC_4392.jpg

DSC_4394.jpg

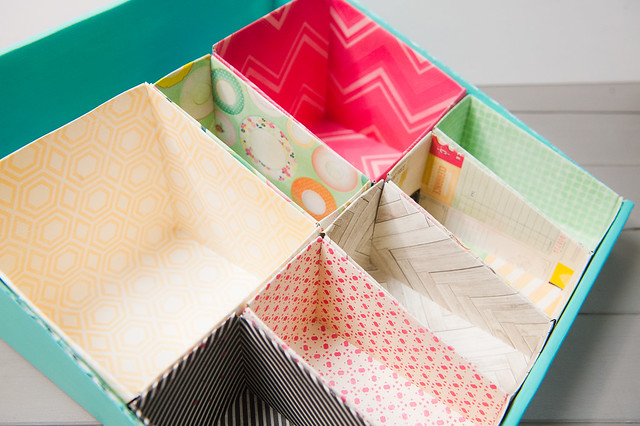
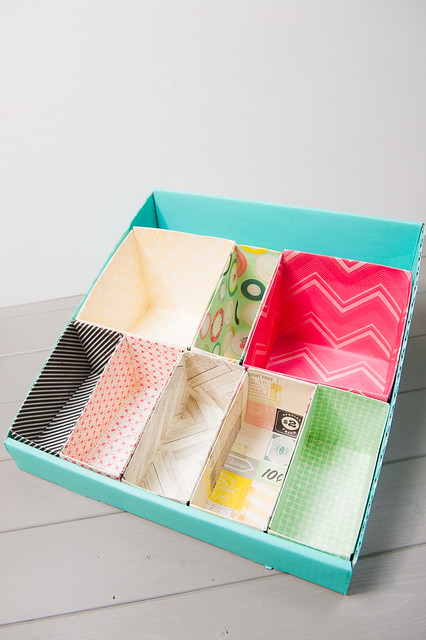
With DIY on the brain and the gorgeous Flea Market papers on my desk, I decided to pick a couple of projects that I'd recently spotted while browsing Pinterest- a desk organizer for Project Life items and drawer organizers made from empty snack food boxes- and combine them into one. I love it, and it turned out looking a little something like this...

DSC_4384.jpg

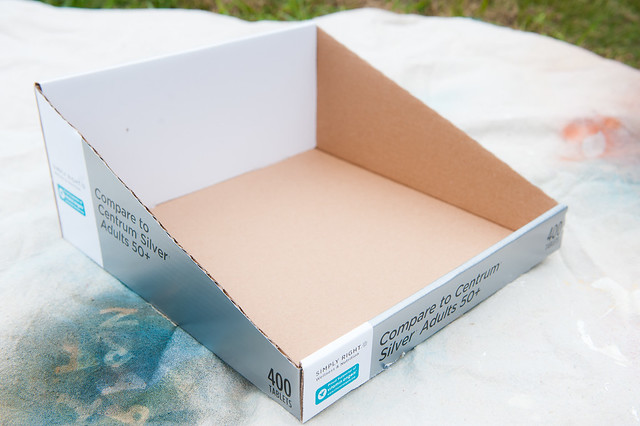
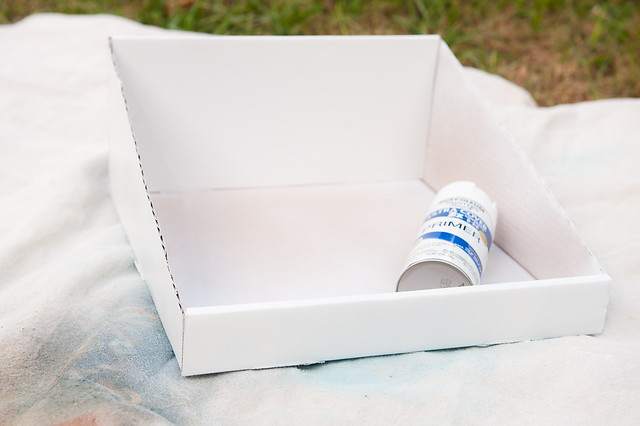
It was also super easy and inexpensive to make, though it did take a bit of time. I started with this humble box that I brought home after a shopping trip at Sam's Club as a base and gave it a couple of quick coats of spray primer from a can that I had left over from a previous project.

DSC_4336.jpg

DSC_4337.jpg

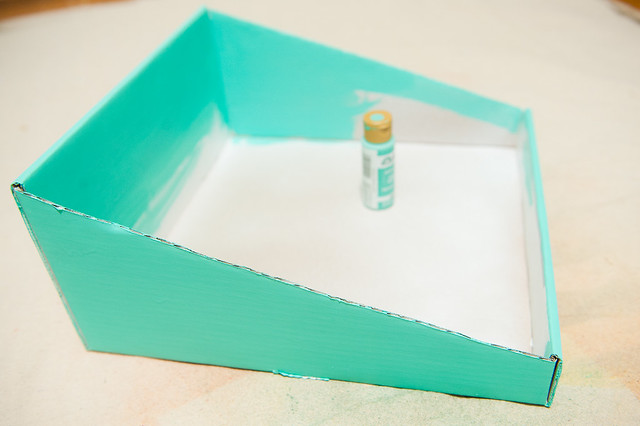
Using a bottle of Folk Art craft paint in Patina, I then painted the outside of the box as well as most of the inside of the back and a few inches of the sides. Since the divider boxes were going to cover up most of the base and sides, I didn't worry about painting the entire thing.

DSC_4348.jpg

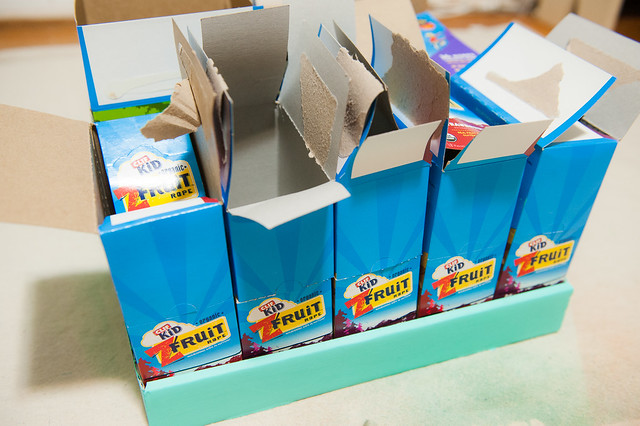
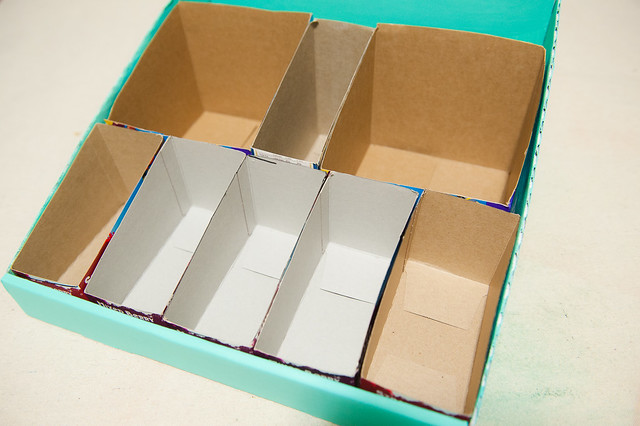
Speaking of divider boxes, those were my next task. I used a few different sizes of snack food boxes (yes, I do love my Clif Fruit Ropes!) to fill the front of the box, then marked off the edges of the box with a Sharpie and cut all of the inner boxes to match the slope of the sides.

DSC_4353.jpg

I did leave a few inches in the back open, making the perfect spot to hold 12x12 papers, stickers, and chipboard sheets.

DSC_4355.jpg

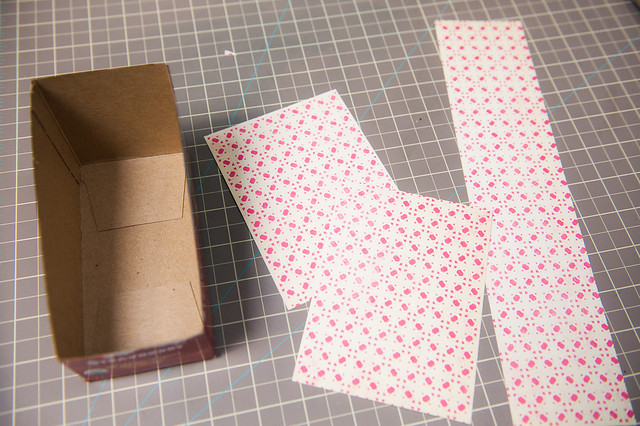
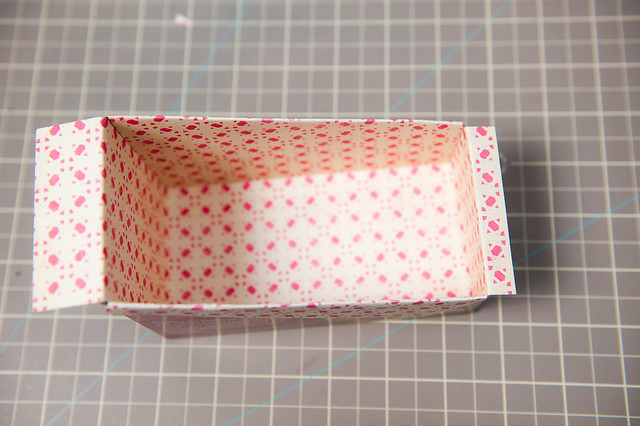
Once I got into a rhythm with covering the inner boxes, they were really easy. I wanted to minimize the amount of paper used while still covering all of the visible portions of the box, so I cut two smaller pieces (one for each side) and one long strip to cover the inside of the front, back, and bottom of the box.

DSC_4360.jpg

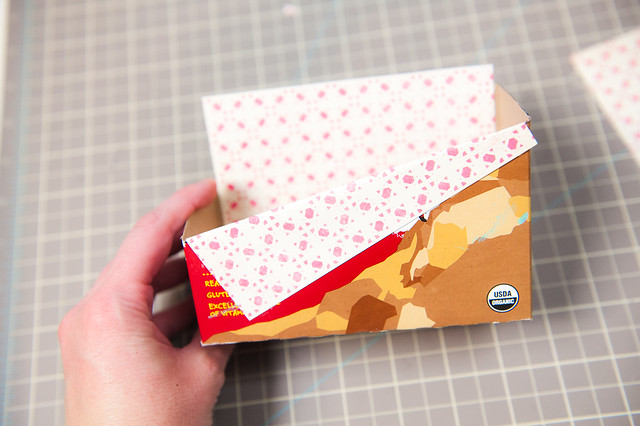
I scored the side pieces along one edge so that a tiny bit would wrap down to the bottom of the box and folded any excess over the top to cover the raw edges.

DSC_4361.jpg

DSC_4362.jpg

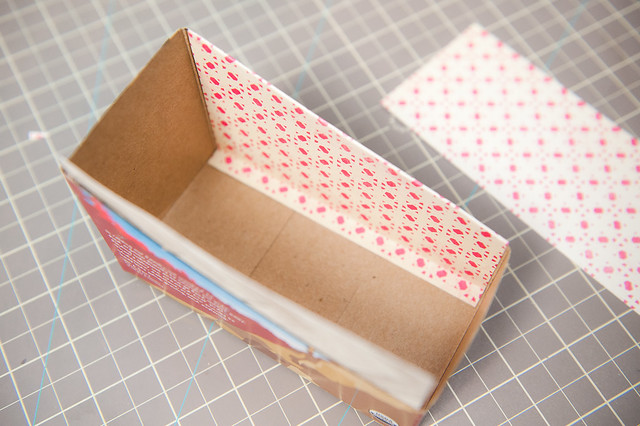
Then it was just a matter of adding in the longer strip of paper to cover the rest of the surface area!

DSC_4363.jpg

After all of the inner boxes were covered, I placed them all back into the base box, using hot glue to make sure they stayed in place.

DSC_4385.jpg

DSC_4390.jpg

DSC_4388.jpg

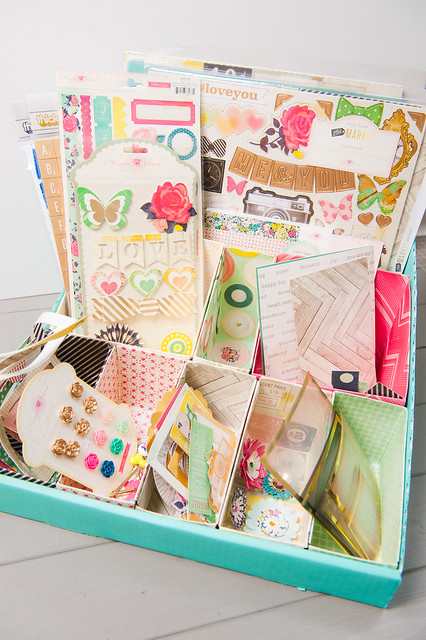
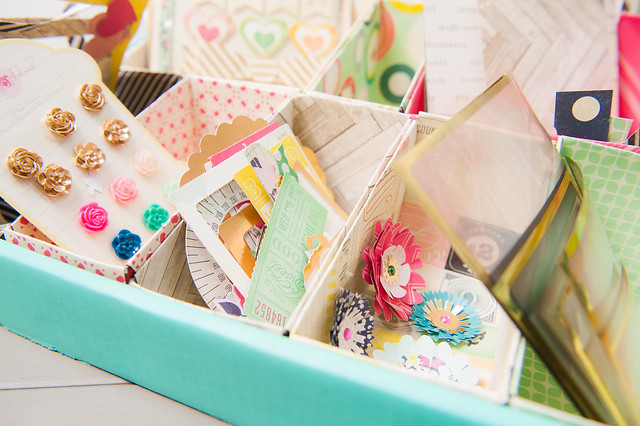
And now this organizer is the perfect place to hold the current kit or collection that I'm working with at the time. I filled it up with the Flea Market collection before scrapbooking the layout above, and right now it's on my desk filled with the October kits from Citrus Twist. I'm liking it even more than my tray solution for kit scrapping!
CopyRight © | Theme Designed By Hello Manhattan