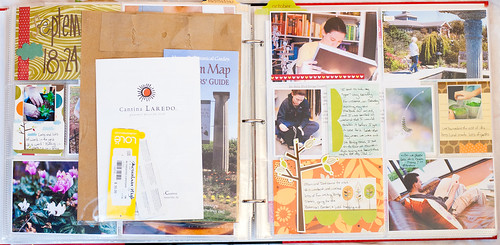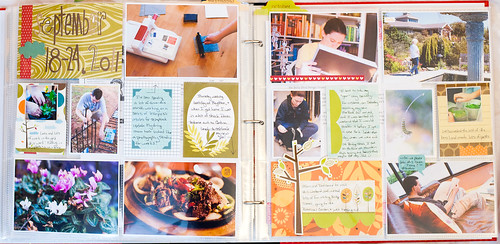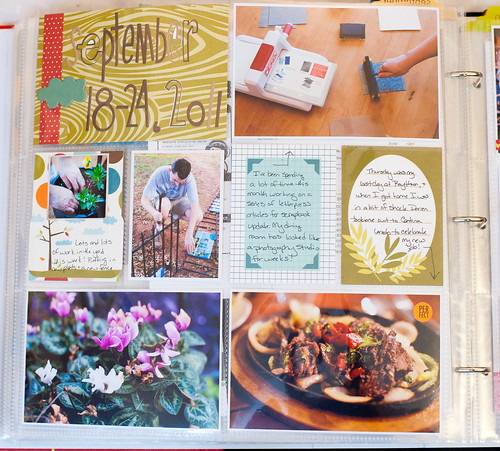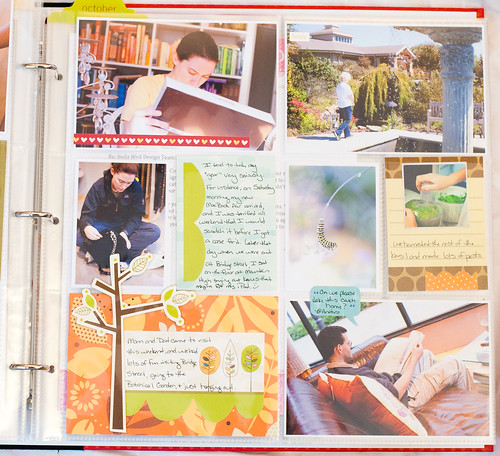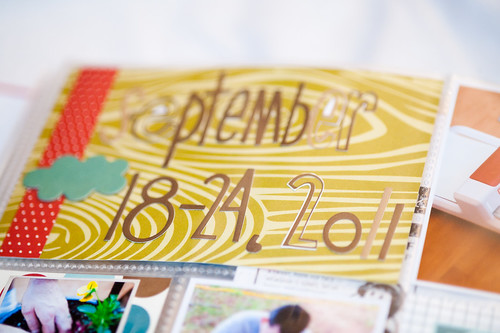
bella blvd | project life | september 18-24, 2011

Sunday, December 4, 2011

DSC_4766.jpg

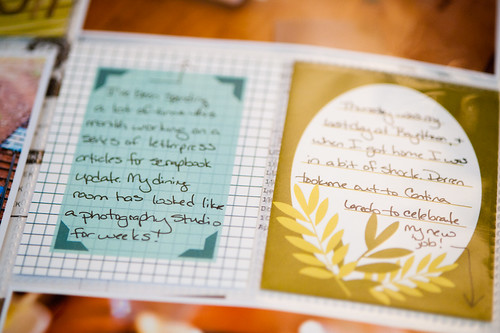
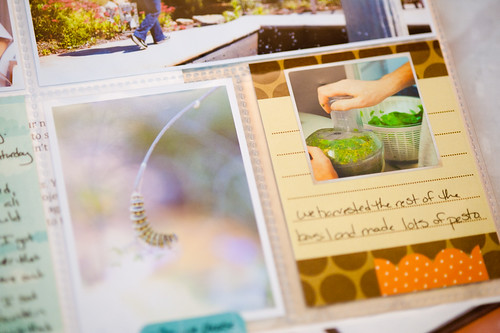
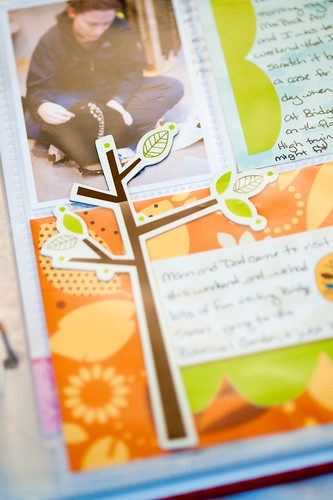
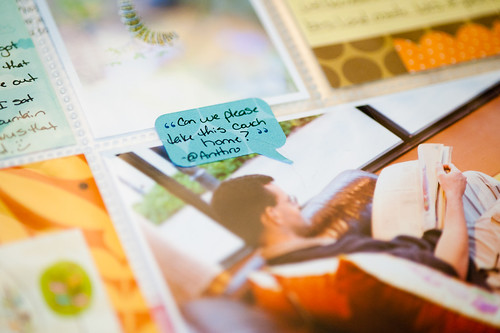
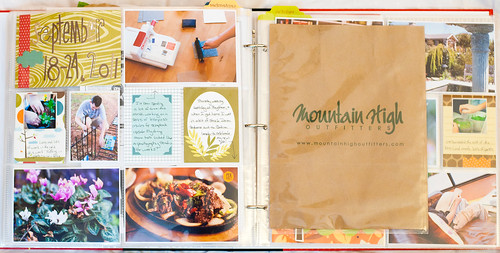
If you read the Bella Blvd. blog yesterday, then you got the scoop on my newly rebooted Project Life effort. Yes, after month of just not doing it, I was finally inspired to pick it up again and work on it. I spilled most of the details about this particular layout over on the Bella Blvd. blog, but I wanted to go a bit more in depth here about why I've finally started working on Project Life again.

So, more details on that after the layout photos!
DSC_4730.jpg

DSC_4732.jpg

DSC_4733.jpg

DSC_4735.jpg

DSC_4736.jpg

DSC_4767.jpg

DSC_4771.jpg

DSC_4770.jpg

DSC_4768.jpg

After completing Project 365 in 2009, I took 2010 off from doing a daily documentation project. Toward the end of the year, though, I regretted that decision and missed all the little things that the project captured that wouldn't otherwise get scrapbooked. So, armed with a Project Life kit (the 2010 edition that I bought on sale the day after Thanksgiving that year), I launched into the project in 2010 and loved it...up until May or so. And then for some reason that I just couldn't figure out at the time I lost interest, and all my Project Life materials and collected ephemera just sat in a sad little pile in my scrap room.

DSC_4097.jpg

DSC_4101.jpg

A few months ago, though, I started seeing Project Life blog posts from scrapbookers such as Marcy Penner, Lisa Truesdell, and Michelle Wooderson. Their pages were so fresh...so fun...and so different! And after a little while of studying their layouts, I discovered why- they were using Project Life page protectors and some of the kit elements, but also mixing in (or completely using) their own supplies, as well.

And then it hit me- I wasn't bored with Project Life itself. Instead, I was bored with the format! I mean, I love the divided page protectors, but using the same type and style of product for it week after week was seriously sucking the fun out of it for me. So a few weeks ago, with a renewed creative interest, I pulled out that sad stack of stuff that had become my Project Life "pile" and started to sort it out.

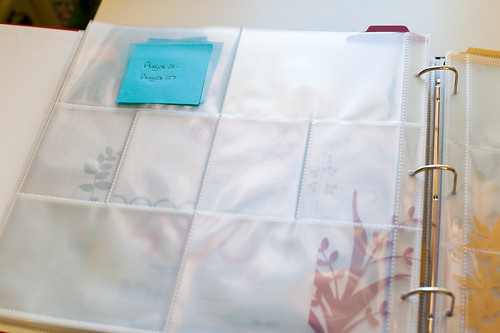
I started by going through the album and labeling each page protector with a Post-It note labeled with the dates that were covered by that week. My plan is to go back and fill in weeks as I feel like it, but I'm not worried on getting caught up, per se. This way, I can choose weeks that I really want to work on and be able to quickly go to just those photos (by date) in my Lightroom catalog.
DSC_4122.jpg

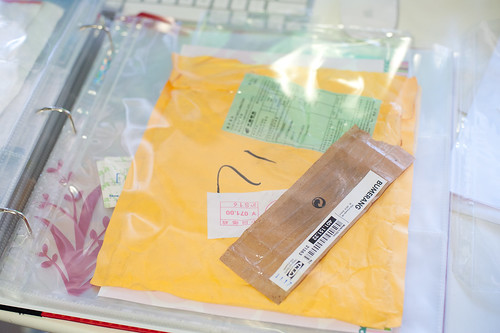
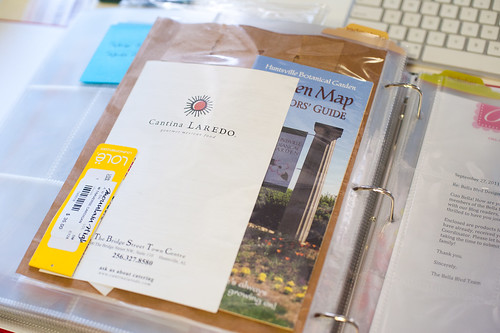
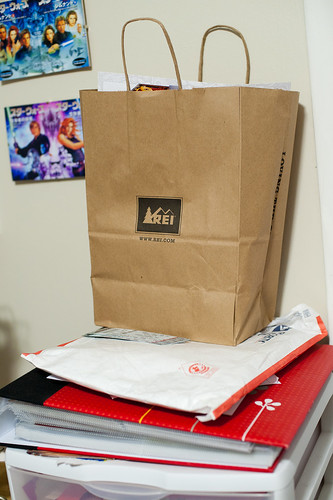
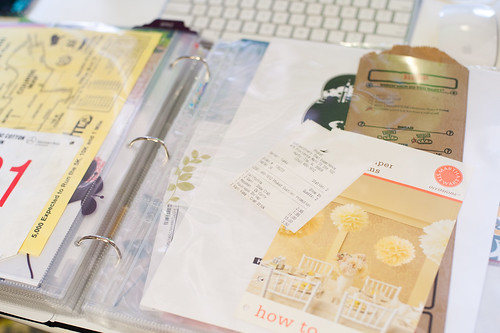
The dates also helped me to arrange all the collected "stuff" by week. I simply stuck an extra 8.5x11 page protector between each spread that I had collected items for. Later on when I do the actual layout I'll move these items around and put them either in pockets or another appropriately sized page protector.
DSC_4124.jpg

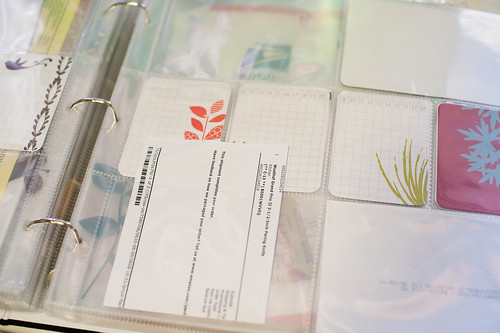
Some smaller items I did just stick in a temporary pocket, though.
DSC_4125.jpg

DSC_4126.jpg

DSC_4128.jpg

I also had a small stack of photos that I'd already printed up for the album but never put in their slots. I decided to go ahead and finish up those weeks with the supplies that were already slotted in the album (I'd pre-filled it at the beginning of the year) just to get them done, but from now on I'll be doing this album with supplies that I love, including those for both the kit clubs (Sweet Peach and Scrapbook Circle) that I design for along with, of course, more Bella Blvd.

I'm so excited to have this project going again, and I definitely plan on continuing it into next year now that I have it in a format that I love!

friday favorites | december daily + journal your christmas

Friday, December 2, 2011

Happy first Friday in December, peeps! I hope you're having a good week! As for me, I'm finally over the snifflies, but I was finally able to get in to see my orthopedic surgeon this week, and guess what? I have a micro tear in my achilles tendon! Luckily there shouldn't be any surgery involved, but I'll be spending the next six weeks sporting a lovely new piece of heavy-duty footwear (yeas it's a massive boot) and not running while it heals. I think I'm okay with a little break, though, because I've got so much crafty stuff in mind for December that I should be plenty busy.

Speaking of busy, let's take a look at this week's picks!

They started out as just nine...nine gorgeous Christmas journals I wanted to share. And then I found a few more. And a few more after that. And then there were 18. And then yesterday the internets, they exploded with Christmas journal gorgeousness, and I have no fewer than 27 (yes, 27!!!) beautiful scrapbooks and sources of December documentation inspiration for you to browse through. These talented scrappers will be sharing more of their pages throughout the month, so you might want to bookmark your favorites to revisit later for updates.

Since there are so many, I'll just be linking up names with only a few words here and there if I have something to add. I've also decided that I won't be adding any more Christmas journals in Friday Favorites posts for the rest of the year- instead I'll pin anything cool that I find to this board in my Pinterest account, so please follow that if you're up for even more pretties!


From the top left:


Have a scrappy (and sparkly) weekend!

sweet peach | christmas gift wrap + silhouette software with the wishblade

Thursday, December 1, 2011

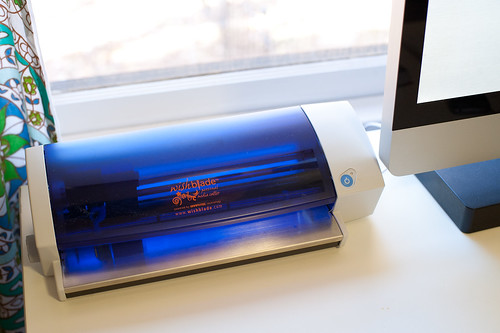
Something old...very, very old...has made a reappearance on my scrapping desk recently.

DSC_4120.jpg

Yes, that is, in fact, my old Wishblade electronic paper cutter (anyone remember those?) that I had long ago thought was relegated to permanent "boat anchor" status. Software updates for it have been hard to come by as operating system updates (especially for the Mac) have been released, and, honestly, I never really got along with the original software that shipped with the unit.

Recently, though, I learned that the software for the Silhouette, Silhouette SD, and the new Silhouette Cameo will also run Wishblades (this is true whether you have the blue or pink version), so I dug old blue out of the corner I'd stored it in (along with an embarrassing number of dust bunnies), downloaded the software (found here) and tried it out.

It worked. And I mean it worked. On the first try. No drivers to install (on my Mac, at least- not sure about Windows), and no headaches trying to use the software and rotate the mat placement in my head (anyone remember that particular quirk of the original Xyron software?) before cutting. I've even been using the old blade set (the one with the yellow, blue, and pink caps), though I did recently order the updated (no caps required) Silhouette blade that's supposed to be compatible even with the older machines. I'll report back later on how that works once I've had a chance to test it out.

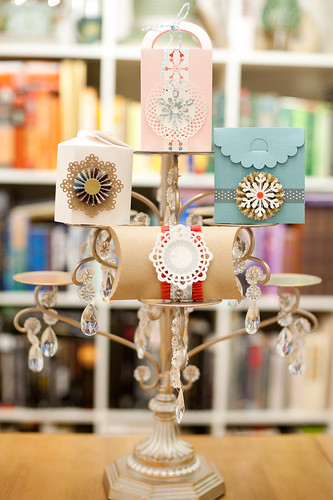
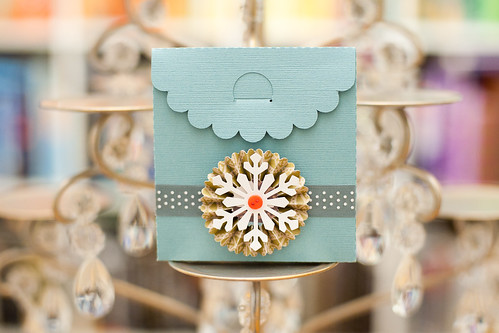
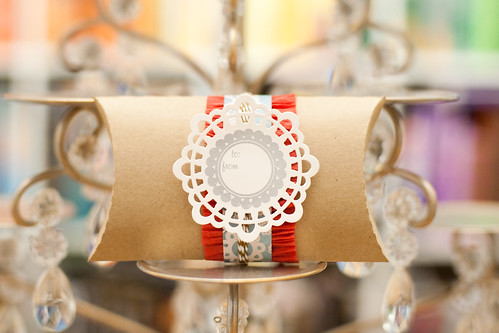
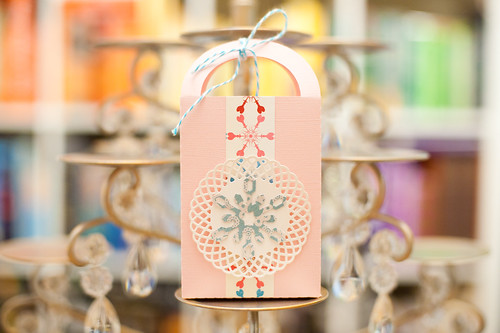
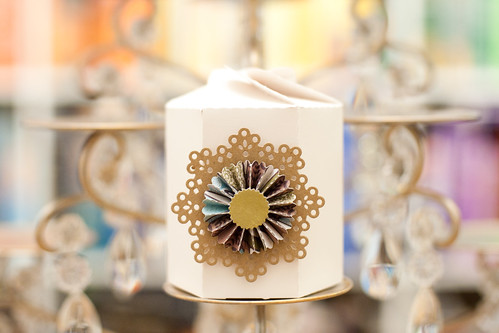
The very first thing that I cut with the Silhouette software was a pillow box, and from that point on I was hooked and in awe of what my suddenly resurrected machine could do. I couldn't help myself and cut out several more boxes, then decorated them with items from the December Juicy kit at Sweet Peach Crop Shop as one of my design team projects.

DSC_4683.jpg

These boxes are definitely not big (if you have a Cameo you can of course make them a bit larger), but would be perfect for packaging gift cards or perhaps a tiny treat.

The cutting file for this adorable envelope box can be found here, and I dressed it up with a bit of ribbon, a rosette (cut using my Big Kick and Tim Holtz's Rosette Die), and a punched snowflake (using a Martha Stewart punch). 

DSC_4690.jpg

This is the pillow box that started it all (the cutting file can be found here), and I added a bit of ruffled crepe paper (made using a gathering foot on my sewing machine), a doily cut using Papertrey Ink's Doily Details dies, and other little bits such as the rub-on, Prima North Country Paper, and Bon-Bon Doodle Twine.

DSC_4692.jpg

Is this tiny bag (cutting file here) not the cutest? It also benefited from a Doily Details die cut, snowflake punch, and a bit of baker's twine.

DSC_4691.jpg

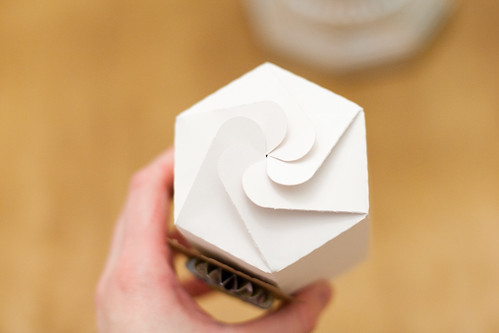
This petal-top box (file here) was the most complex of the set, and it took me forever to figure out how to fold it. Okay, so maybe it was only about 5 minutes, but it took me a bit to determine that I was actually folding it backwards!

DSC_4694.jpg

The gorgeous top makes it totally worth it, though.

DSC_4695.jpg

I've been cutting a lot more than boxes since setting my Wishblade back up. Thanks to Marcy Penner's post here, I discovered the awesome Pacifico font and have been using it for titles on lots of layouts. There are also some adorable fonts here at Kevin and Amanda, and of course the Silhouette Store is filled with thousands of great shapes (including some from American Crafts and Echo Park), all available for individual purchase (unlike the expensive Cricut cartridges that force you to buy the whole package).

I'm so happy to have this machine that I'd long ago thought to be defunct back in action!
CopyRight © | Theme Designed By Hello Manhattan