Can you believe that we're already at the end of Use Your Scraps week? Yes, I realize that it's only Thursday, but around here Fridays are reserved for Friday Favorites- a fun time all unto itself!!
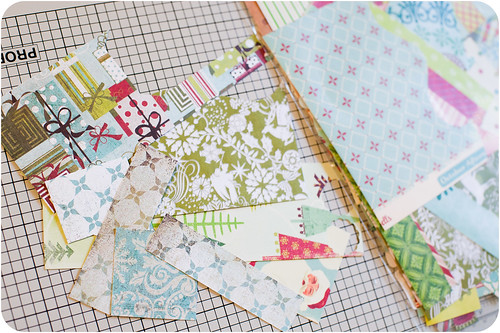
Today we're going to dive back into our scrap stashes and grab those tiny bits- anything and everything down to something as small as a 1" square (provided you have a punch of that size) and use them to make some fantastic banner/garland/bunting thingies (you can see lots of examples of different kinds in one of my Friday Favorites posts) and also some embellishment stickers. I dug into my Christmas scraps for this one, with a small sample of my pile shown below.
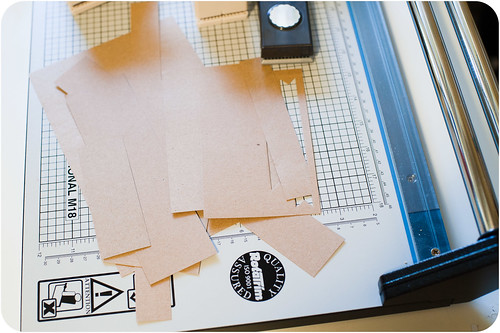
My kraft scraps also caught my eye as I was gathering materials. I have tons of little kraft bits (I use tons of kraft cardstock), so I pulled out a good sized stack of those as a grounding color, as well.
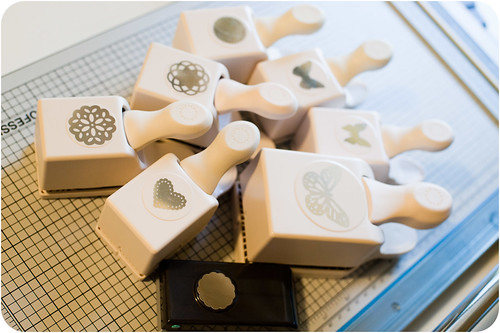
I mentioned punches earlier, and now is a good time to gather them up. Small-ish shapes of 1"-2" seem to work best for the projects I have in mind...meaning that if you're a Martha Stewart punch hoarder like me this is a great time to haul them out!
The next step is easy- punch, punch punch. For me this is best done while watching copious amounts of Stargate: Atlantis or Doctor Who, but you can of course substitute the entertainment medium of your choice.
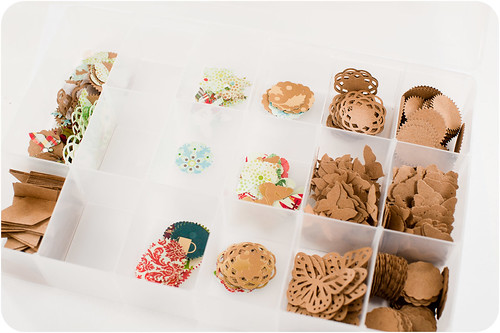
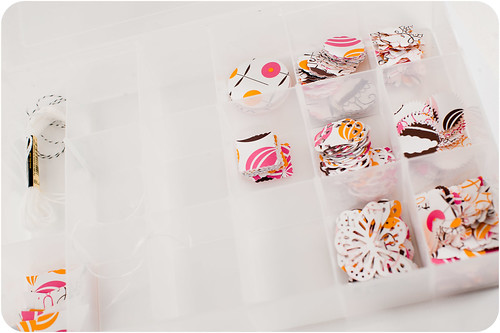
I'm also a bit sick in the organizing department and stuck my punched bits into an embroidery floss box, sorted by shape.
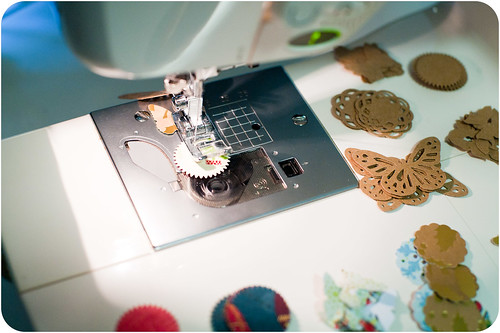
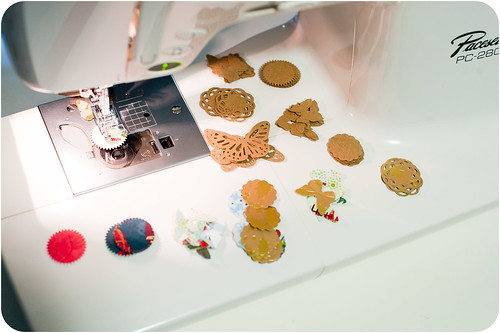
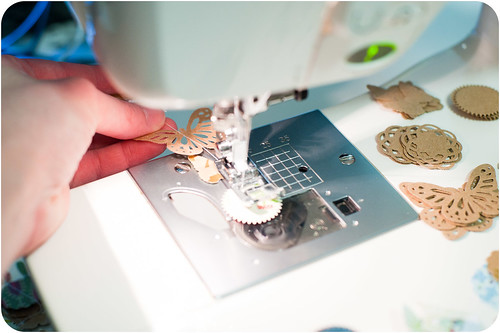
To make the banners you'll need a sewing machine. There's really no big mystery to this one- just load the shapes one at a time under the sewing foot, leaving a small amount of "empty" thread between each bit.
I made little piles of various shapes and colors under the arm of my machine to make them easier to get to quickly.
It helps to keep some tension on the strand by gently (and I mean gently) pulling on the strand as it feeds out of the back of the machine. Going kind of slowly is also a good idea.
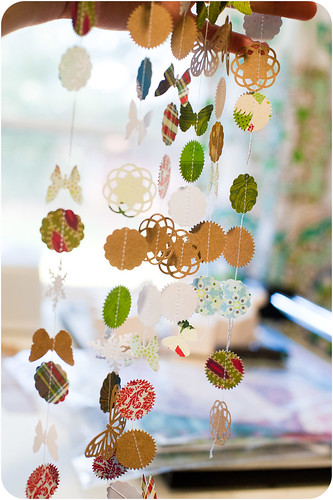
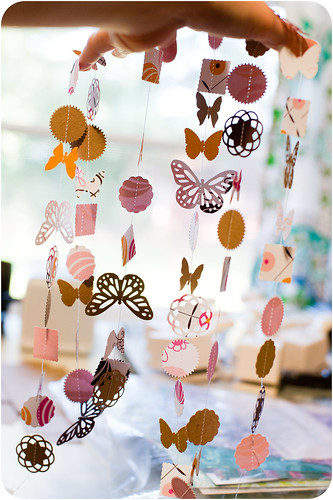
After a few minutes of stitching I had this bad boy to show for all my efforts (it's really one continuous piece, but the way it's draped over my fingers makes it look otherwise). Cool, eh?
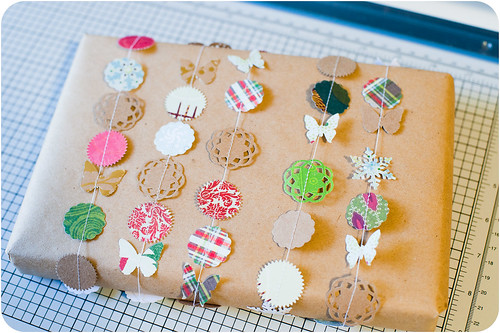
I think my favorite use for these is as gift wrapping. I'm not really big into using scrappy stuff like this for home decor, but I adore using it on packages.
Just for kicks I also punched up a ton of pink and yellow scraps that I had left over after cutting about a thousand cupcake wrappers for a baby shower.
These papers were all double-sided, and I love the effect of having some solid shapes mixed in with the patterns.
If banners aren't your thing (or if you're like me and went a little punch-crazy), then you might like to try making a set of layered embellishment stickers using your punched pieces. I've seen similar sets on Evalicious and a few other sites and love them, and it turns out that they're super easy to make!
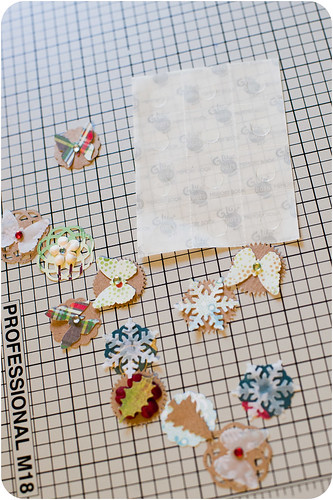
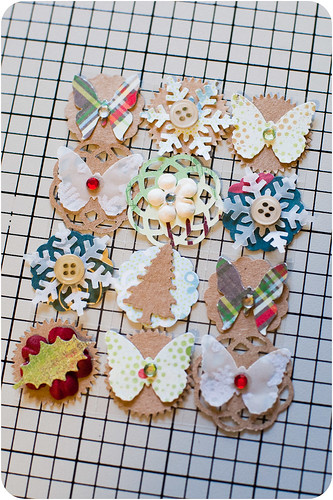
The first step is to take your punched bits and layer them up- I like to use some of the more basic shapes (circles, squares, etc) for backgrounds and add a punched butterfly or other shape on top, then finish the whole thing off with a rhinestone or button. You can see some of my finished shapes below, along with an item you'll need for the next step- a whole sheet of Glue Dots.
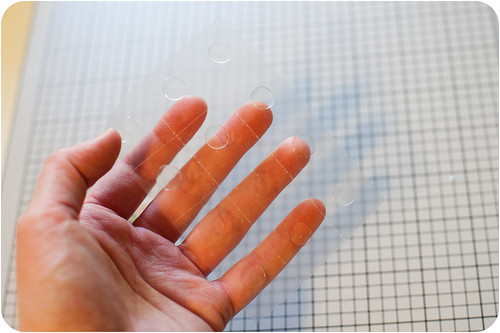
You'll need to carefully peel the backing paper off of the dot sheet, leaving all the adhesive on the clear side.
Then it's just a matter of plopping one of your layered pieces onto each Glue Dot, instantly turning it into an easy-to-use sticker. You can also totally do this without Glue Dots and just adhere each piece to your project individually.
I hope that you've all enjoyed my Use Your Scraps focus this week as much as I enjoyed putting it together!! And, please, if you try any of these projects be sure to link them up in the comments so I can check them out!

