
This month (actually, this past Sunday) I made an absolute wreck out of my scrap room- and I couldn't be happier!
In last month's scrap room post I listed out a few projects that I have planned for the winter months, and this weekend my parents drove down to visit, take my little niece Sophie to the Galaxy of Lights, and help me build a monstrously huge Frankentable that, believe it or not, gives me more floor space along with more working space in my scrap room.
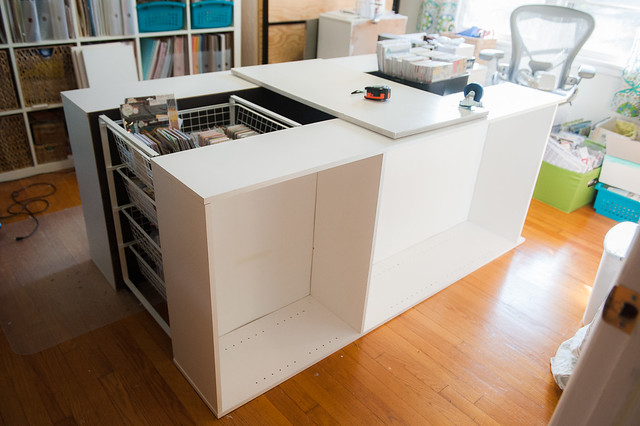
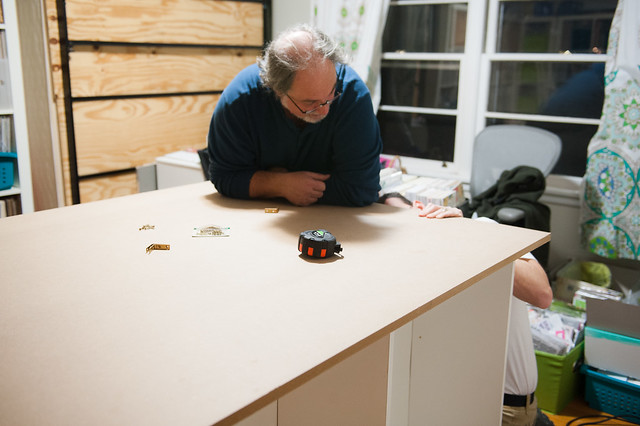
Here's a look at the current progress- I still need to paint the top and add horizontal shelves...
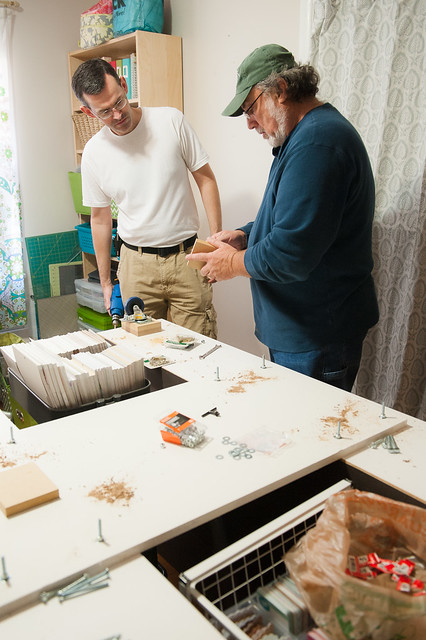
...and here's a look at Frankentable as he was being built. As you can already tell, I don't have a perfectly organized, totally photogenic scrap space. I really make a mess in this room and have it set up more for function than looks.
It all started with two bookcases that we've had for over a decade. We bought them soon after we were married (you know, the Wal-Mart style build your own type that are so cheap) and used them for years for clothing storage in our bedroom. A few years ago when I bought a pair of 5x5 Expedits to use in their place, they started getting moved to other rooms in the house, and eventually I actually thought about just letting them go.
Then one day I mentioned getting rid of them to Darren, and I was totally shocked when he got this nostalgic look on his face and said, "I remember when we bought those." It's not like him to be sentimental about things, so I decided that I'd find some way to make them useful again and keep them around.
I've actually wanted a stand-up scrapbooking table for a while (I sit at work all day and am kind of tired of it by the time I get home), and I've considered building one using these plans from Ana White, and I also love how Christine Newman's desk came together and thought about going that route. And then one day while surfing Pinterest for craft table ideas I came across this post on IKEA Hackers showing a pair of 2x4 Expedits used horizontally as supports and storage for a huge craft table. Synapses fired, neurons connected, and I quickly hatched a plot to use our two old bookcases as the basis for the crafting table of my dreams.
We started by clearing everything off of my old scrapping desk, which Mom took home to use as a new sewing table, and then we carried a bunch of stuff out of the room to make space for the big build. We set the two bookcases on their sides (if you're wondering what I'm going to do about shelving with them laying horizontally, I have an idea as how to fix that after reading about this Billy bookcase hack) and measured out how much space to leave between them to accommodate my existing Antonius and Raskog carts. This is definitely one custom build!
I already knew that my top was going to be 48" x 76"- the same as the Ana White desk I almost built and had already measured the room for, so I knew it was a perfect size. We made sure to leave enough space between the bookcases for my carts while still letting the top overhang each edge by a few inches.
The white board that you see spanning between the bookcases is a small piece of MDF (an off-cut from Lowe's after they cut my table top for me) that we included to help stabilize the bottom and prevent the entire desk from trying to rock back and forth. Obviously at this point we were working on the desk upside down, and the next task was to attach casters. Since my scrap room is also the guest room, I want to be able to roll this behemoth into the corner when we have company!
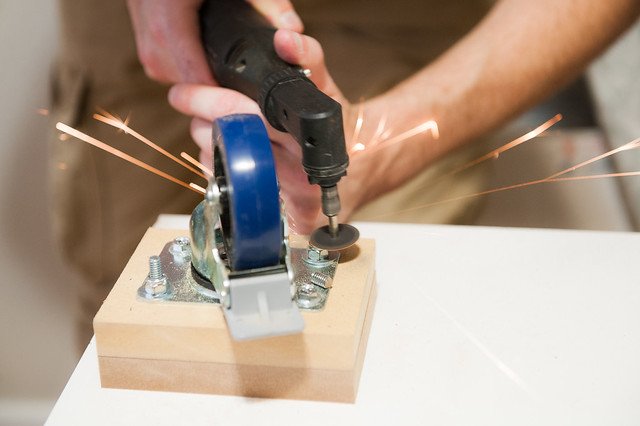
We used six casters total (they were on sale at Harbor Freight- woohoo!) and used carriage bolts to attach them and two more layers of MDF (in the form of small blocks) to the new "bottoms" of the bookcases. The extra MDF was to the raise the height of the table up since I wanted it to be about 36" tall, and Darren suggested the use of carriage bolts both for stability and because it would make it easier to disassemble the table should we ever need to move it out of the room.
Once the casters were on, Dad and Darren flipped the assembly over and settled the MDF top over it, securing it with metal corner braces in several spots. And with that, my new Frankentable was ready to be used!
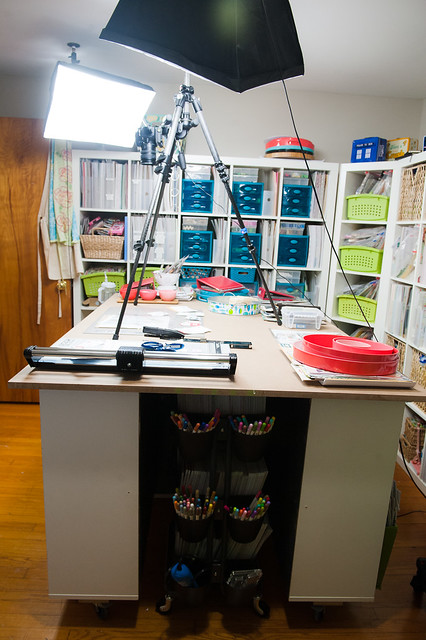
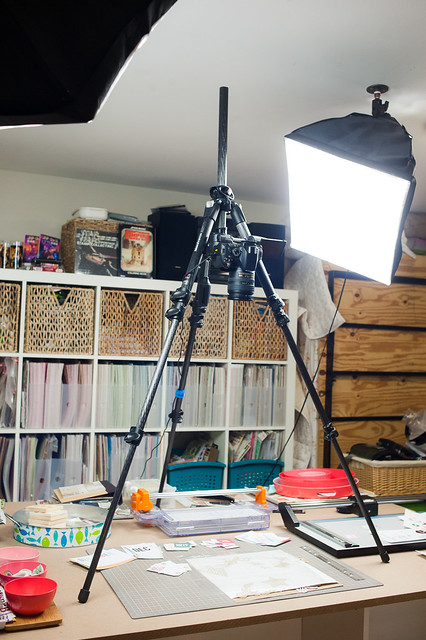
The photo above is what it looks like after I've been working on it for a few days. Please excuse the power cords hanging down from the ceiling- they're a side effect of the studio lighting I use for filming vidoes. I considered clearing everything off of it and making it pretty but, really, this is what it will look like most of the time (though, like I said earlier, I do plan on painting the top and adding some long shelves). I have lots of room to spread out, and you can see that I have stacks for lots of ongoing projects out right now, including three years' worth of Christmas journals that I'm working on (yes, all at once) along with a Christmas layout for Two Peas, my most recent vacation album, and the December kits from Citrus Twist. I'm so happy to have space to have multiple projects out at once!
I also love that I finally have room to use my tripod to shoot video- it's more stable and more portable than some of the other solutions that I've been using, and I'm much less likely to get my head in the picture this way.
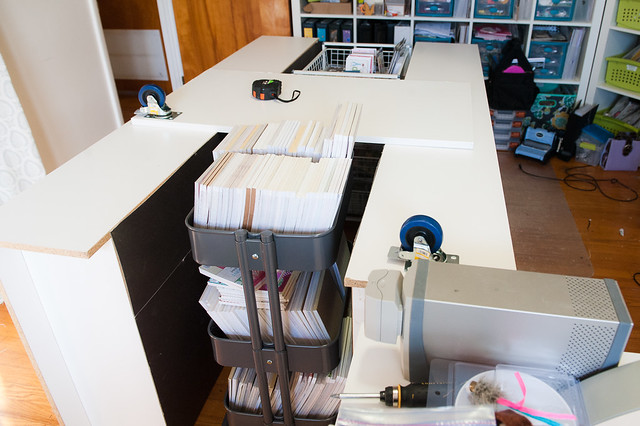
The Raskog and Antonius carts fit very nicely in each end, and I have easy access to their contents now.
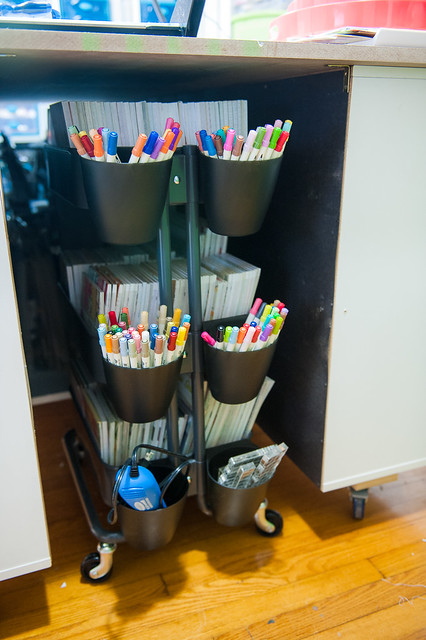
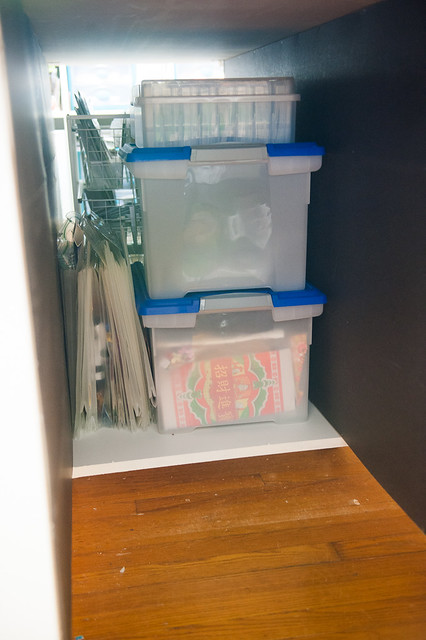
There's even a bit of storage space in the middle for some smaller, lighter boxes! It's like the TARDIS table...bigger on the inside. :)
I'm so pleased with how much floor space this has opened up, and it really is easy to roll around. And I'm totally happy that all I had to purchase were casters, some hardware, and a sheet of MDF!
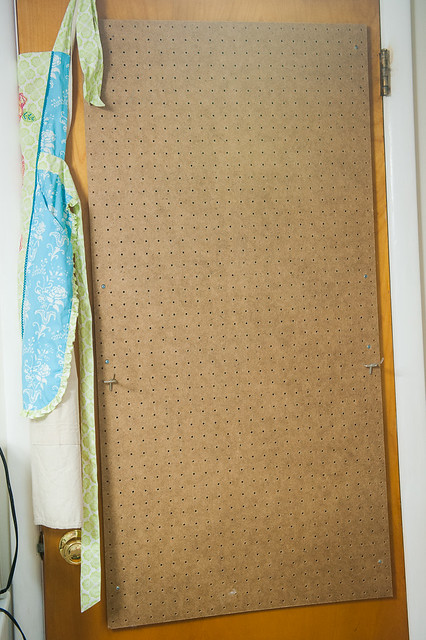
In the course of building the table we also stumbled across my old pegboard! Dad was moving one of the white bookcases away from the wall and I heard something shift behind it, and when I looked, there it was! I'd been searching the house for it for weeks- I knew we'd brought it with us when we moved from our old home, but for the life of me I couldn't recall what "safe" spot I'd put it in. It's now hanging on the back of the scrap room door, and I'm thinking that I'll use it for washi tape storage (similar to this idea).
Last month I listed out my project plans for the scrap room this winter, and so far this is how it stands:
Build a new stand-up scrapping table using two bookcases and a sheet of MDF (that I already have!).Just need to paint the top and fix the shelves!- Build a dedicated computer desk separate from my scrapping table (no more mist splatters on the iMac screen!).
Install pegboard on the back of the scrap room door to hold washi tape, markers, and other items.Pegboard installed, now to hang stuff up!Clear out all the "decorative" items, including the tissue paper pom poms (you can see those here) to freshen up the look of the whole space.- New paint, mist, Distress Stain, and embossing powder storage (also using existing stuff- yeah, baby!).
I'm also doing a fair amount of getting rid of stuff (mostly giving it away to friends and family) as I go, and I'm already down one Alex cart and one bookcase, with still more to go. I'm finding things that I bought before I really understood what kinds of supplies that I like to use, and I'm happy to find new homes for items that I know I won't use.