
Last week I sneaked a peek to you all at the contents of this little red binder, and tonight I'm back with a look at how the actual base pages of my Journal Your Christmas album are progressing! This month at Two Peas in a Bucket the Garden Girl projects are a super inspiring collection of holiday mini albums (truly, I am in awe of the talent of the other girls on the team!), and my project is the first 25 pages of my 2013 album.
Why just the first 25? Because Journal Your Christmas is a 37 day scrapbooking exercise, and I have a few items that aren't in the shop at Two Peas that I'd like to use on a few of my pages (including the exclusives from Citrus Twist's Christmas Daily kits, which were the base for the supplies that I used in this album). I'm still working on the remaining dozen and will share them when they're finished. For now, though, I'm ready to dive in to what's done so far!
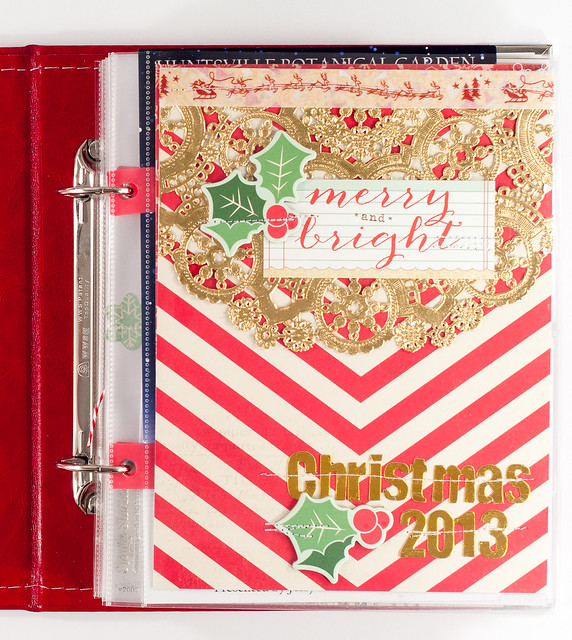
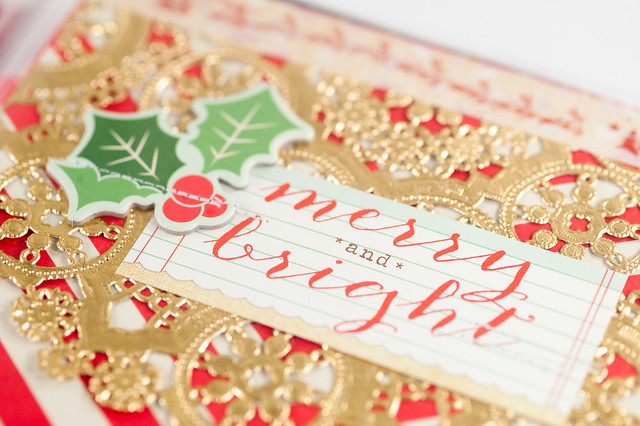
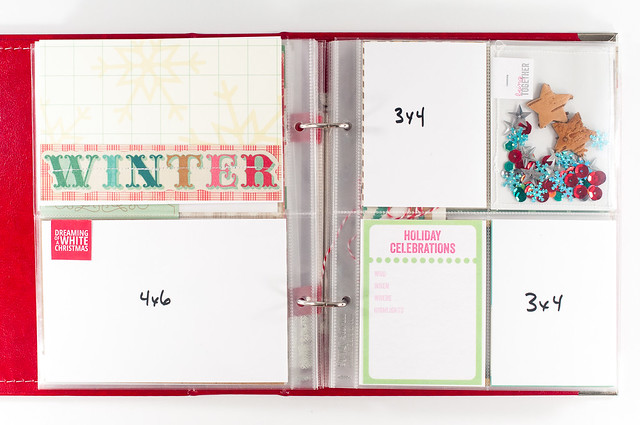
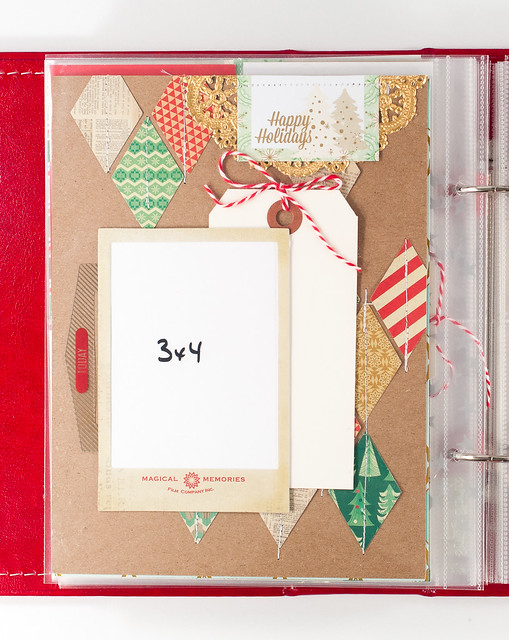
Cover pages are ridiculously hard for me, so thankfully the red chevron print from Crate Paper's Bundled Up and the Merry and Bright tag from Elle's Studio were there to help me out. I matched them up with a gold doily, some gold stickers from Chic Tags, and a little chipboard and washi tape from October Afternoon's Silent Night to finish things off.
A couple of pieces of Christmas ephemera have actually already landed in our mailbox, so I added them to the album right away, and it'll be great having a place to stick stuff as soon as it comes through the door.
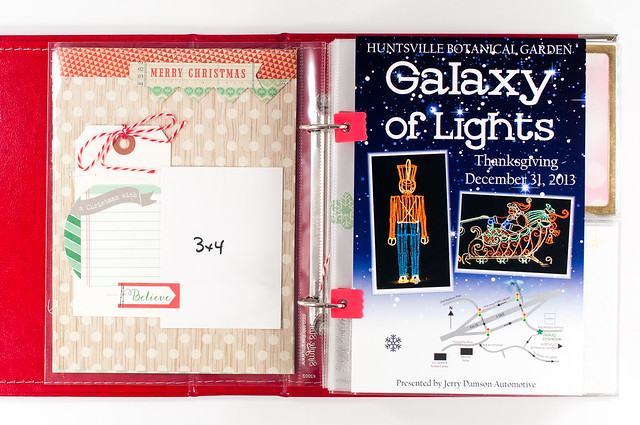
The gold photo overlays aren't actually a Christmas item- they're from Maggie Holmes' Flea Market line, and I love how they look so festive with all the red and green!

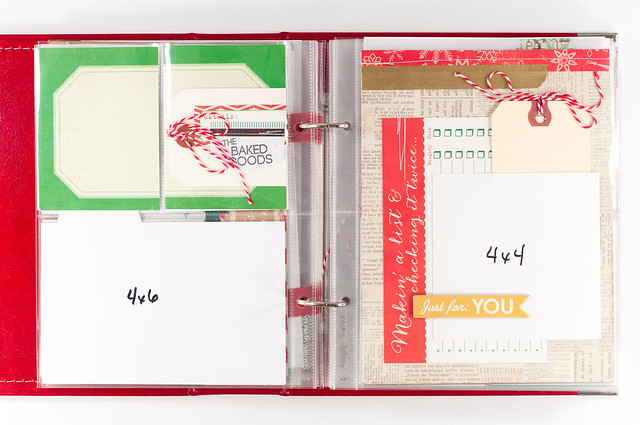
I wasn't sure how best to fill the pockets that will eventually be filled with photos before taking pictures of my pages, and after considering patterned paper that I could remove later, I decided to just stick a piece of white paper in. Had I not needed to photograph the album, I would have just left those pockets completely empty. ;)
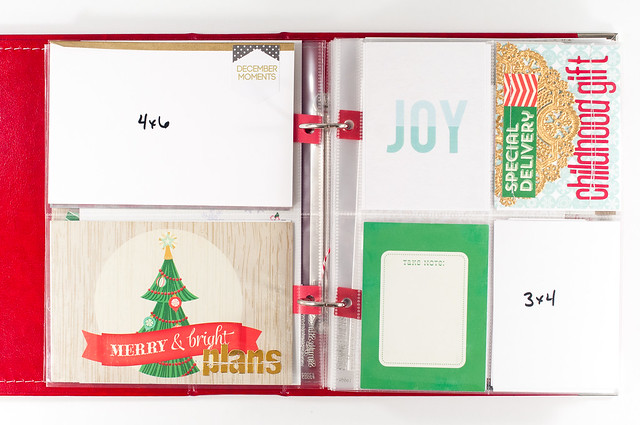
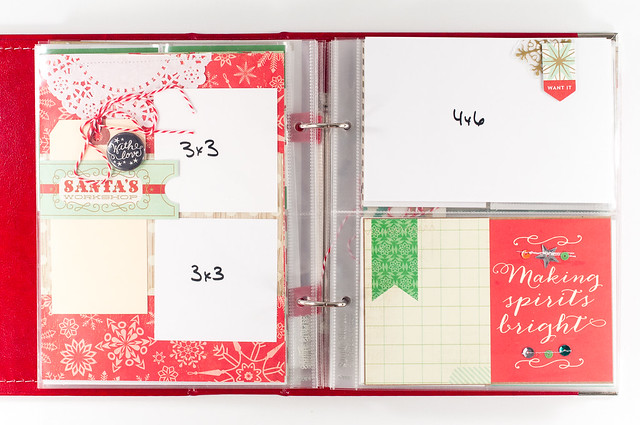
I already have our Christmas card for the year picked out (I always pick them up the year before at the after-Christmas sales), so I included one of those next to the Christmas card entry. Since Journal Your Christmas follows more or less the same prompts each year (and I may or may not have confirmed with Shimelle that 2013 will be in the same order as 2012...), I was able to match up journaling cards and embellishments (and "stuff"!) with the matching entry in the album.
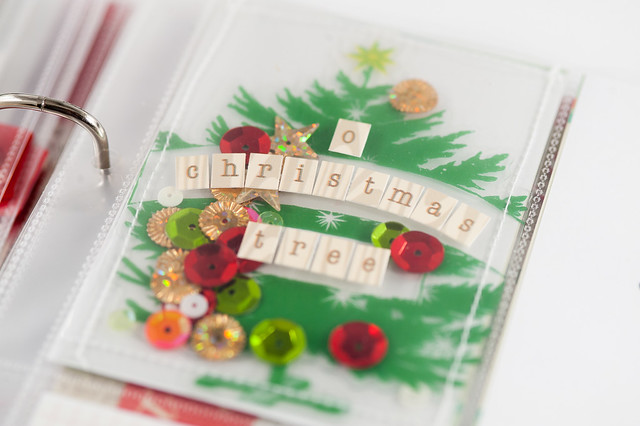
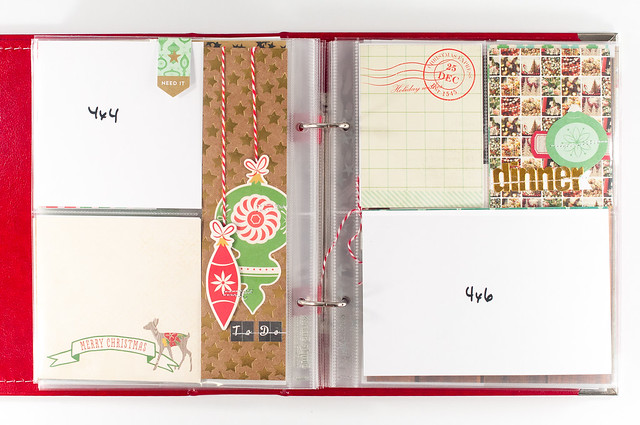
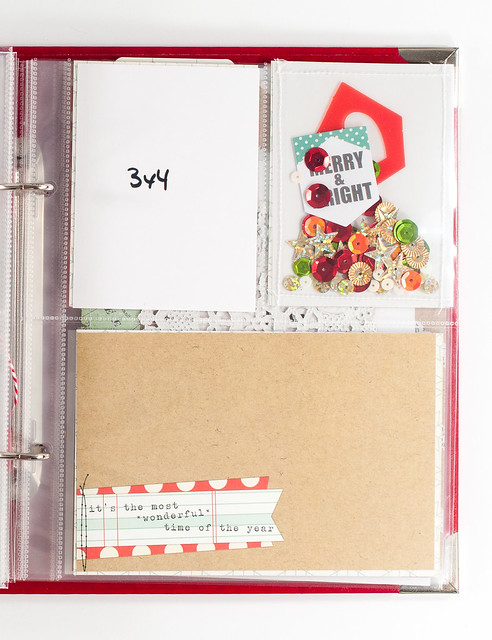
The "O Christmas Tree" pocket is one of my favorite things in the album!
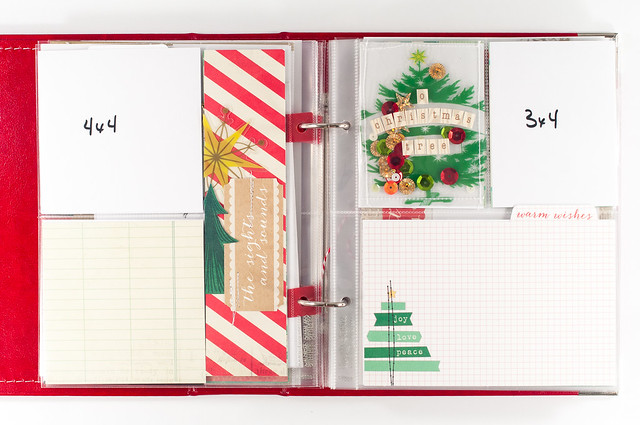
I stitched the tree transparency between two other layers of transparency (of the cheap office store variety) and filled the pocket with sequins before stitching it shut. The tree and a few other items on the page are from Basic Grey's 25th & Pine collection which I did not realize hadn't hit the shop yet before I used it (oops!), but hopefully it will be there soon.
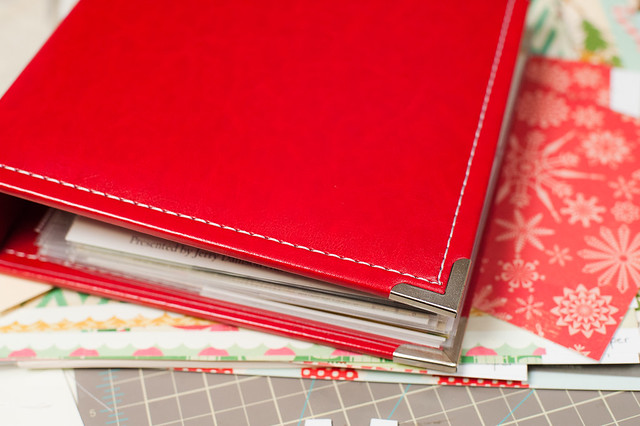
I'm using a red leather Sn@p binder as my album, and I mixed up all of the different designs of Sn@p 6x8 Pocket Pages as I was putting my book together. I didn't pay any attention whatsoever to what the theme of the day was when choosing a pocket configuration- my motto this year is "make it work," and I'm trying to make things as simple as possible. If I end up needing to add more photos, I can always do the same sort of collages that I use in my Project Life layouts.
Each side of a page protector is going to be one entry (more or less equal to one day), so there are 19 page protectors in my book. Even with all the stuff I have in the pockets already there's still room in the album, so I think it'll safely hold everything without getting overstuffed at the end of the season.

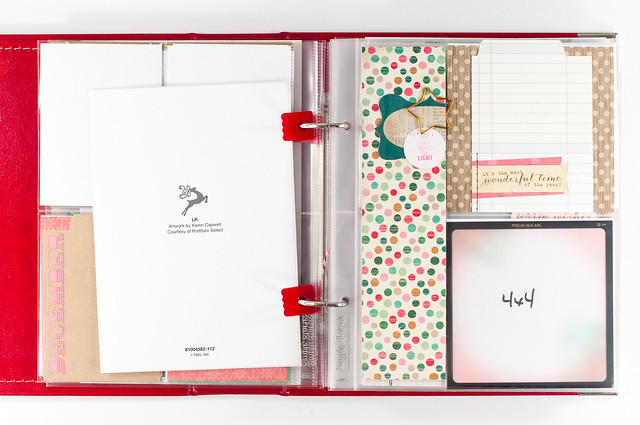
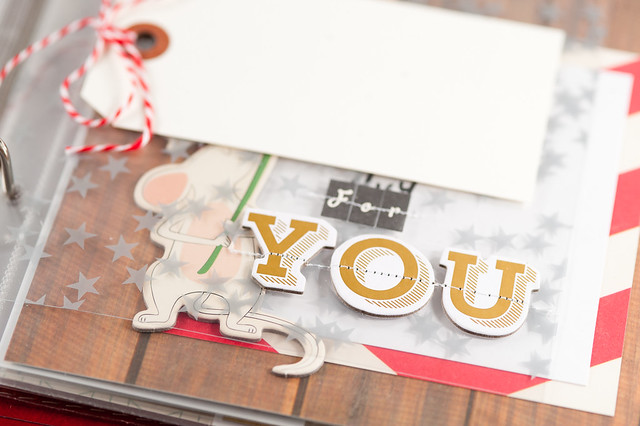
I wanted to use that adorable mouse chipboard from Silent Night on this 6x8 layout, but that combined with a 4x4 photo didn't leave any room for journaling. I fixed that by adding a small piece of transparency with a journaling tag over the front of the layout.
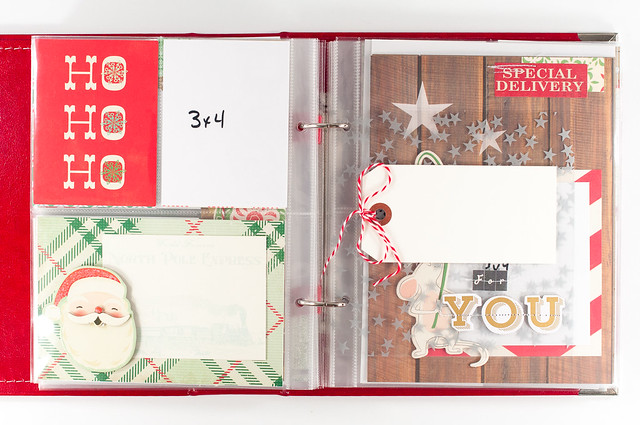
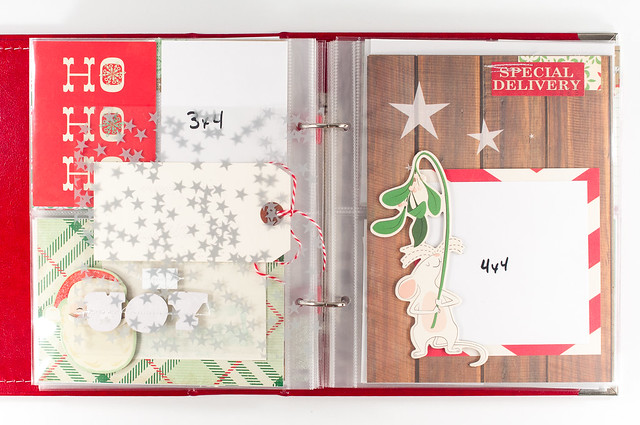
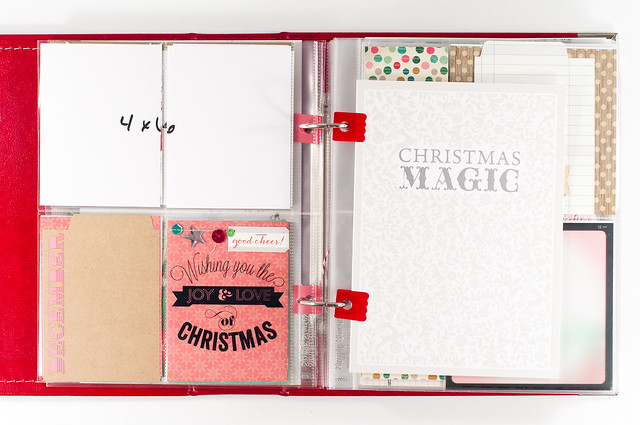
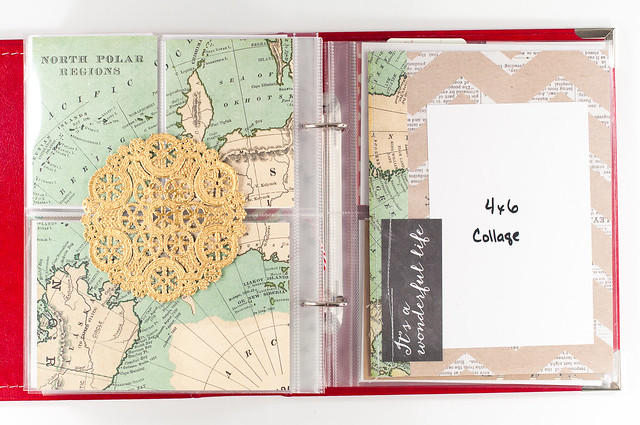
There's always one day in Journal Your Christmas reserved for making a cover, so I opted to make another full-page entry for that day using a piece of one of my favorite Christmas papers this year- the map print from Echo Park's Reflections: Christmas.
The pages opposite these last two layouts aren't complete yet, so I'm showing them on their own.
My plan for this year's album is to keep it as simple as possible. I'm scrapping everything up front right now while things are still relatively calm, and my plan for each day in December is to simple print out my photo and journaling for each prompt, slip it into the pockets of that day's page, and call it done. I've even set things up to make it easy to print at home since none of the photos are larger than a 4x6. I do have a home photo printer, but it's of the small portable variety, so if I want enlargements I have to order them out- and I hate having to go to stores as it gets closer to Christmas!
So that's the plan for my Christmas album this year- fingers crossed that I actually complete this one- haha!
Supplies:
                               |