A week or two ago
I mentioned that I wanted to take some time out every month to work on some sort of Christmas crafts. Scrapbook pages, Christmas journals, decor projects- you name it! Every December I spend the month alternately collecting ideas for things I want to make and being too busy to make them, which is just sheer craziness! This year I'm going to spend lots of quiet, peaceful, un-rushed time playing with holiday projects in my craft room during January-November, and then in December I can sit back and just enjoy the season without pouting over things I wish I had time to do.
Supplies:
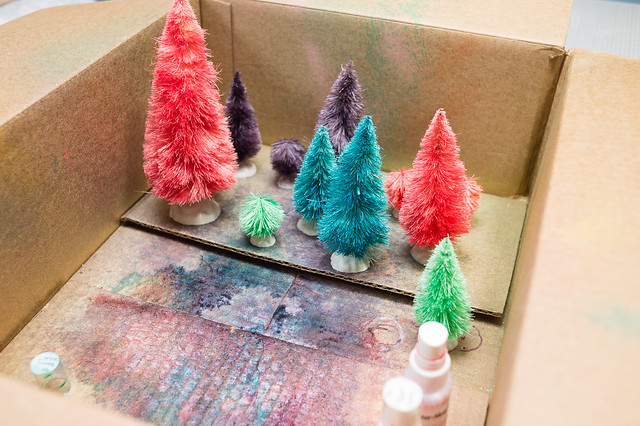
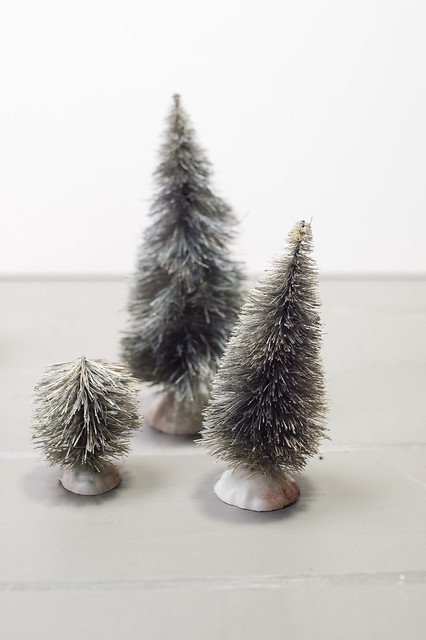
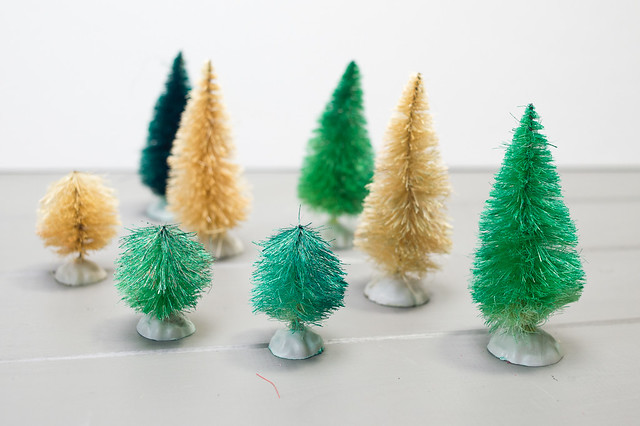
This month's project is one that I've been wanting to do since- oh, 2012? That was the year that all of the pretty color-spritzed bottle brush trees popped up on blogs, and I even went so far that year as to track down some green ones on clearance at JoAnn and bleach them (because, alas, I couldn't find any white/natural colored ones). They've been in a box in the attic ever since, though- or at least they were until this week when I finally pulled them out to work on them.
There are lots of tutorials out there for how to color these cute little trees, so I won't try to reinvent the wheel and will just direct you to one of my three favorites for the step-by-step:
- Dear Lizzy (Elizabeth Kartchner) - This was the first blog I spotted them on, and Lizzy started out with white trees by Tim Holtz and used Distress Ink refills to make her color sprays.
- A Beautiful Mess (Elsie Larson) - Like me, Elsie's guest blogger, Laura Gummerman, used green trees and bleached them white, and she uses fabric dye to color them. Her tip for using a brush to fluff them back up after they dry is fabulous. They definitely turn out looking more shabby this way, but I kind of dig that vintage, worn look.
- Kim Jefress - Kim's fun trees also started with the white version by Tim Holtz, and she used Heidi Swapp's Color Shine.
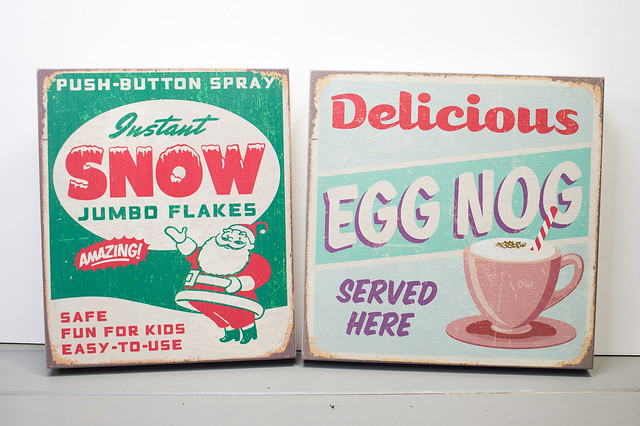
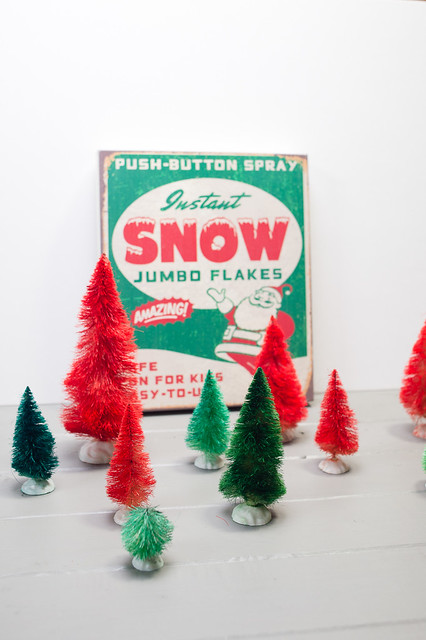
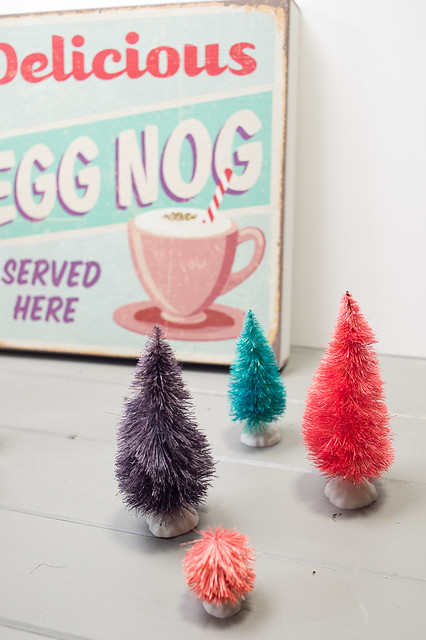
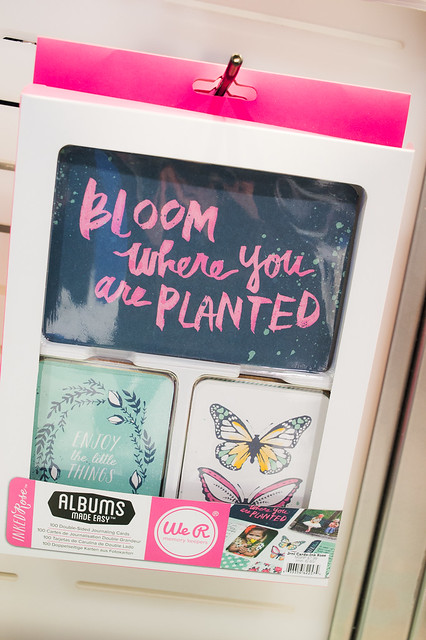
I wasn't really sure which colors I wanted to use for my trees in December, so I'm actually glad I waited until now. It gave me the chance to find this pair of vintage-style Christmas signs (on clearance at HomeGoods in early January, baby!)...
...and I decided to spray a few trees to match each. I'm thinking I'll use them to set up little vignettes around the house next year.
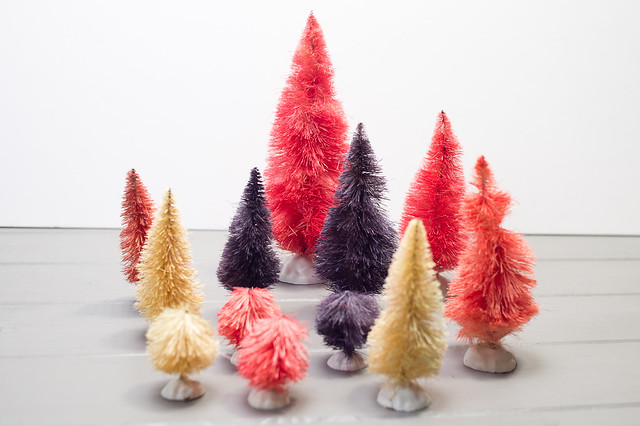
As I was spraying, I also got the idea to color some of the trees for different holidays- who says trees are just for Christmas, especially when they are so bright and colorful! I already had pink and purple trees to go with one of the signs, so I added in a lighter pink for Valentine's as well as some silver and gold metallic (using
Heidi Swapp's Gold mist and Studio Calico's
Silver) that will mix for lots of holidays. The gold in particular will work well for St. Patrick's Day with some green trees, and now I'm thinking of actually getting a few more to color in yellow and orange for Halloween. And how cute would navy blue, silver, and red trees be for Independence Day? Yes, I could go a little nuts with this!
This is one of those projects that looks easy- and really it is, but it's also very, very messy! I have a kit video to finish filming for Citrus Twist later this week, and I'm afraid I may have purplish hands for part of it. :) A few things I noted while making these:
- I used a lot of mist making these puppies. I may have just been overdoing it, but I detected a noticeable drop in the liquid level in each mist bottle that I used. Since I'm on a quest to use up lots of supplies this year, that doesn't worry me one bit, but there are definitely less expensive color mediums that you can use if cost is an issue. I didn't try it, but my DIY mists from acrylic paint might work well, too.
- Two out of every three of my mist bottles clogged and had to have the spray nozzle cleaned before they would work properly. This actually happens a lot in my regular scrapbooking projects, too, and is a total pet peeve of mine.
- If your trees have plastic bases, wipe the bases off before the mist dries. Once it's hardened, it's a pickle to rub off!
I may have sounded like I was complaining a bit there, but really I did enjoy this project. Likewise, I'm glad it's finished!! :)
So, that's Christmas craft #1 of 2014 down! I'm kind of feeling the urge to work on some of my past Christmas journals or maybe start on 2014's base, so that will likely be February's project.
And now it's your turn! If you're Christmas crafting along with me this year, I've
opened up a Flickr group here to share ideas and blog posts! Simply upload a photo of whatever you're working on and, if you blogged about it as well, leave a link to your post in the photo description so we can check it out!

