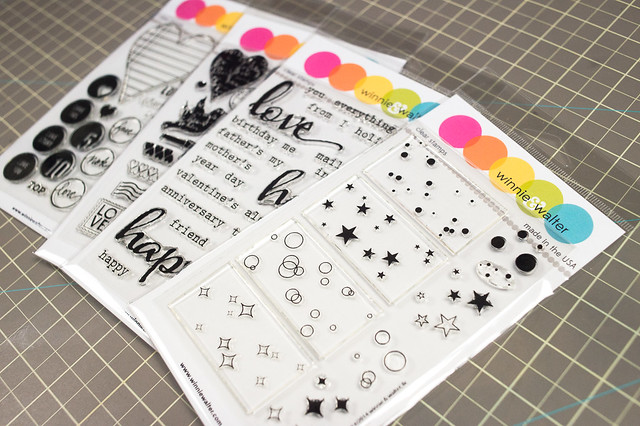
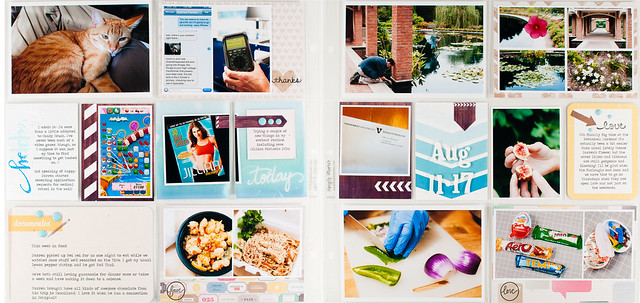
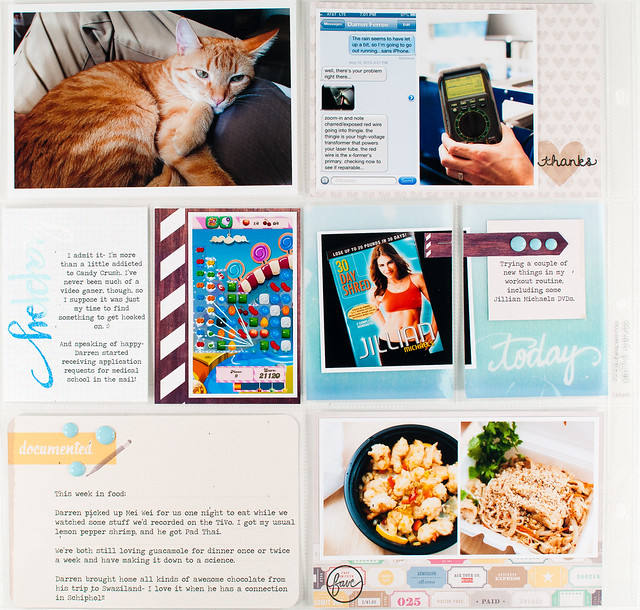
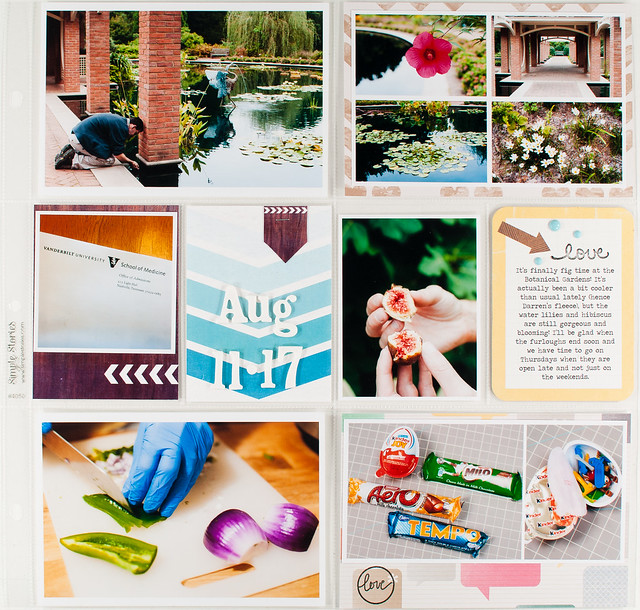
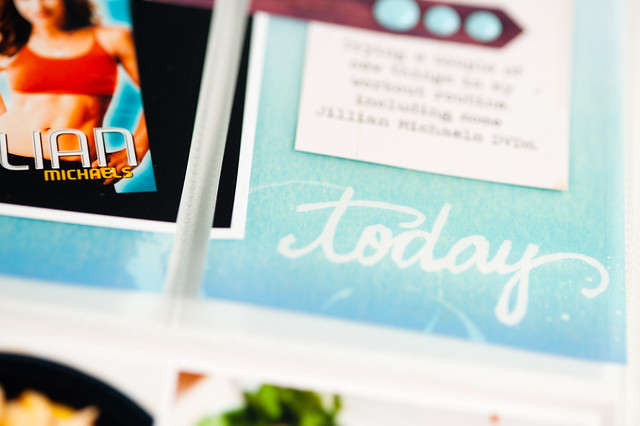
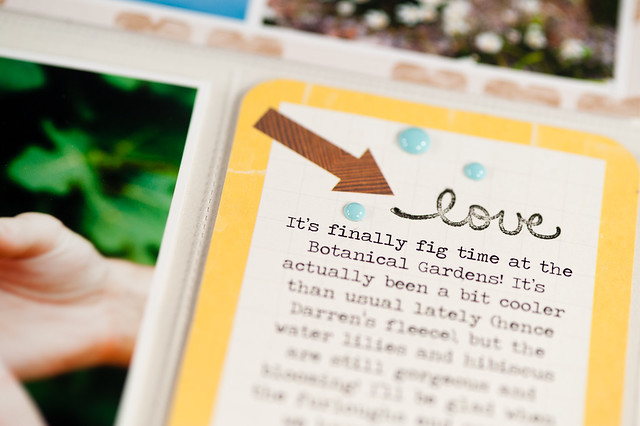
I used their already-available digital + printable collection, The Daily Grind, mixed with Amy Tan's Cut & Paste Project Life mini kit and, of course, some of the new stamps to document Week 33 in my album.
I printed a few of the journaling card PDFs onto vellum using our color laser printer to give them a slightly softer feel. Luckily with a laser printer you don't have to worry about smudging, but I've read from many scrappers that they print on vellum with an inkjet printer and have great success, as long as they let it dry completely first.
When I stamp on Project Life layouts, I like to keep it simple for the most part. Most of the time I stick to a black ink pad, and I use the stamps to fill in little gaps here and there on my page instead of pulling out lots of embellishments. It makes a Project Life even quicker to put together when the only embellishments that I use are just a few enamel dots and a good stamp set or two!
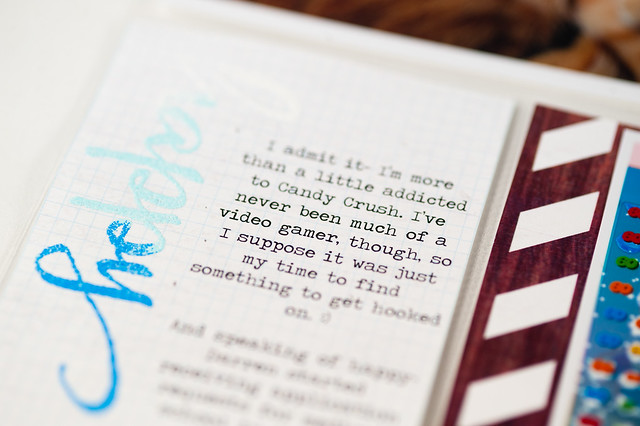
I did get slightly "fancy" with the stamping in one area and tried out an ombre technique with three shades of embossing powder (to make the shaded "happy" on the card above). The process is super easy, and I filmed a short video showing how it's done. In the video I mention my 6x8 Project Life album, and I'd originally intended to use these stamps on my first layout in that album but ran out of time to edit photos and print them. Luckily I had photos printed and on hand for my 2012 album, so please excuse my past self for being a bit over-ambitious. :)
Ombre Heat Embossing Tutorial from Melissa Stinson on Vimeo.
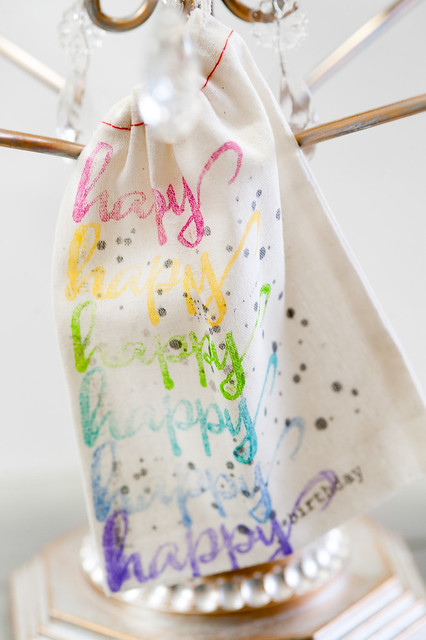
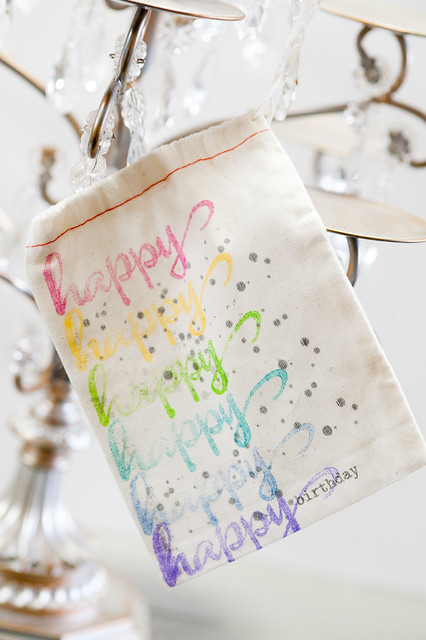
I happened to have these stamps out on my scrapping table during a time when I was going through lots of my stash and getting it organized, so when I ran across a set of blank fabric bags one day, I decided to try out a little stamping on them as well!
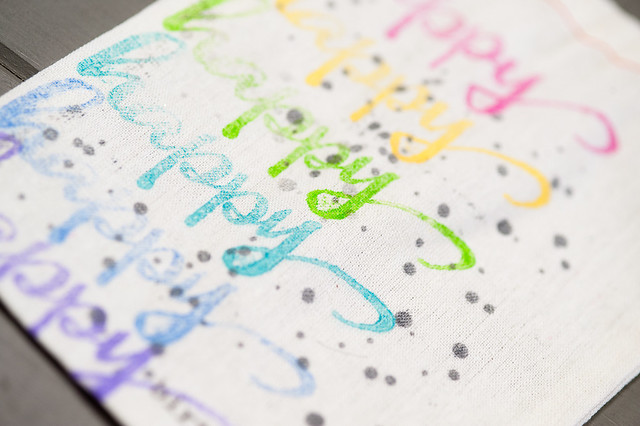
I tried two different types of ink- dye inks from the now-discontinued line by Jenni Bowlin, and pigment inks by Colorbox for Doodlebug. I preferred the pigment ink results by far and stamped a rainbow of the "happy" sentiments, following it up with "birthday" at the bottom. I used a gray ink (one of the Hero Arts Shadow Inks) to add in some dots from the Big Bang Confetti set.
Winnie + Walter has been celebrating the release of their new stamps for the past week or so on their blog with more to come, so be sure to hop on over to the Winnie + Walter blog to check it all out!

