
...and these die cuts.
I knew I wanted to do something with them that involved layering lots of pieces in a row, and even though I was very busy with gift wrapping, tree trimming, and the thousand other little things that happen around the holidays, I still found a few minutes here and there to play with a design.
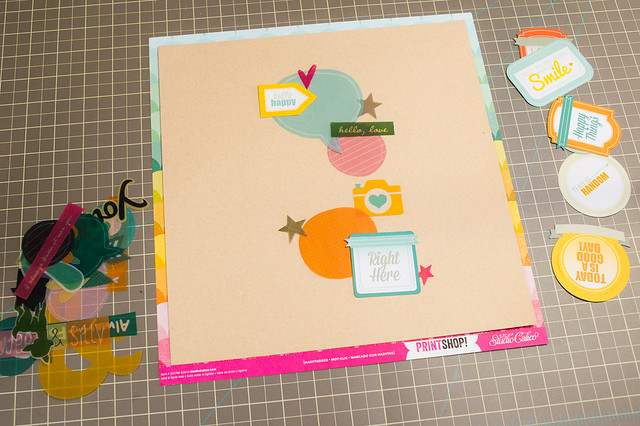
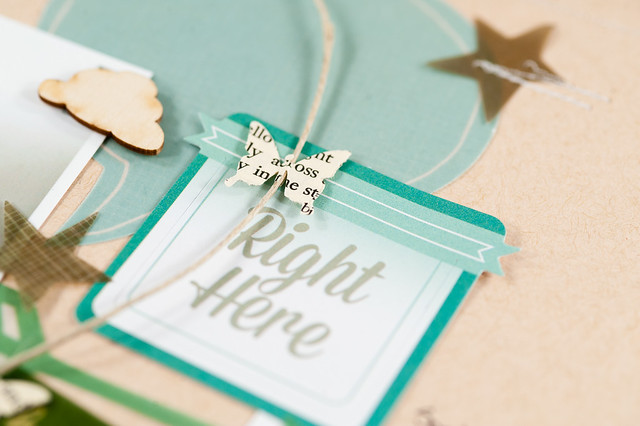
I started by clustering some of the Chic Tags and Studio Calico bits, not really knowing where I was going with things or even which photos I wanted to use. I just played, knowing that I could easily flip through my binder of printed photos later to pick out something that worked.
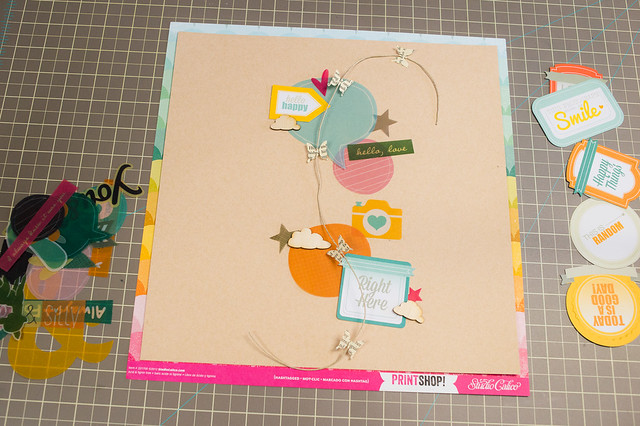
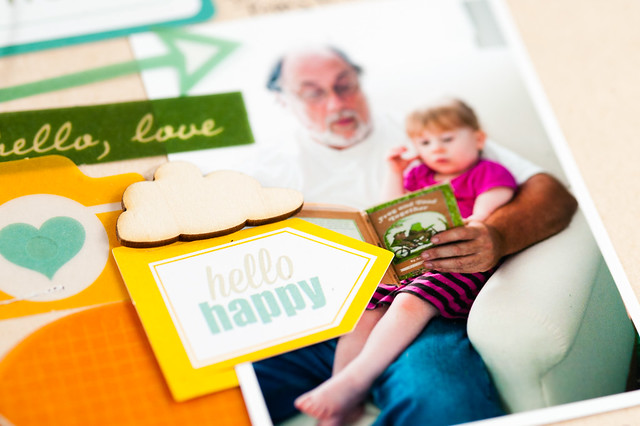
Over the next few days (I told you I was busy! :) ) I played with adding a few more elements including the butterfly garland and the wood veneer clouds- both kit exclusives. Then, one day after Christmas, I had a little bit more time on my hands and started to actually put my layout together for real.
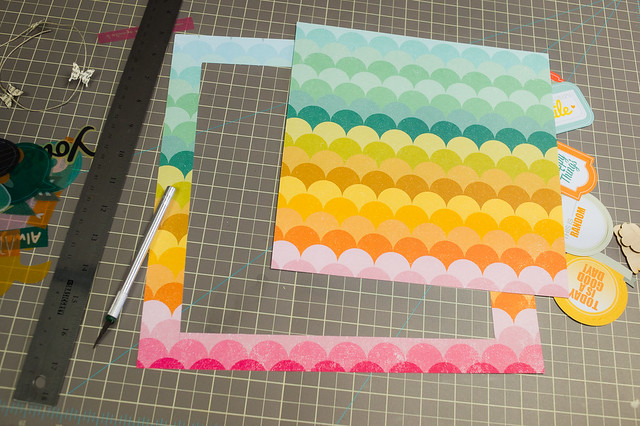
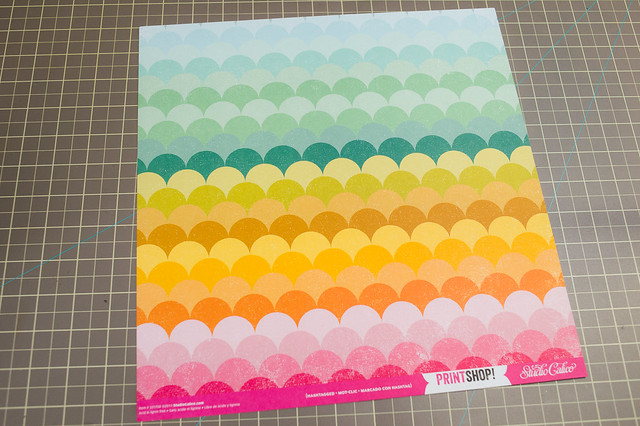
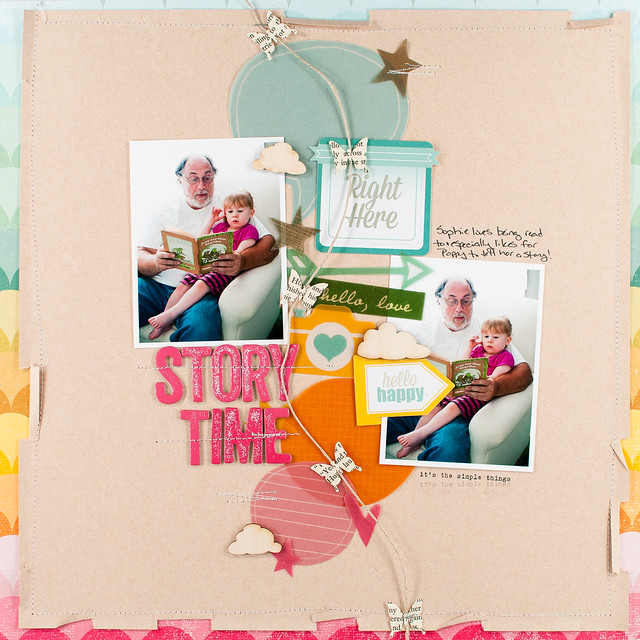
I loved the rainbow scalloped paper from the kit, but with all the other color going on from the die cut pieces I knew it would be overwhelming to use the whole sheet as a background. I'd already been playing with the idea of using a 11.5" square of kraft paper in the center, and, since that seemed to be working well, I stuck with it. I did want to save some of this gorgeous paper to use on other projects, though, so I used a craft knife and a metal ruler to trim a big square right out of the middle, leaving the border intact.
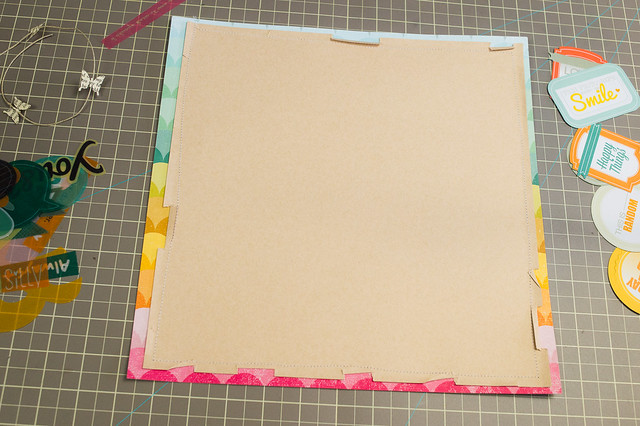
You'd never know that square was missing with the kraft paper adhered and stitched in place!
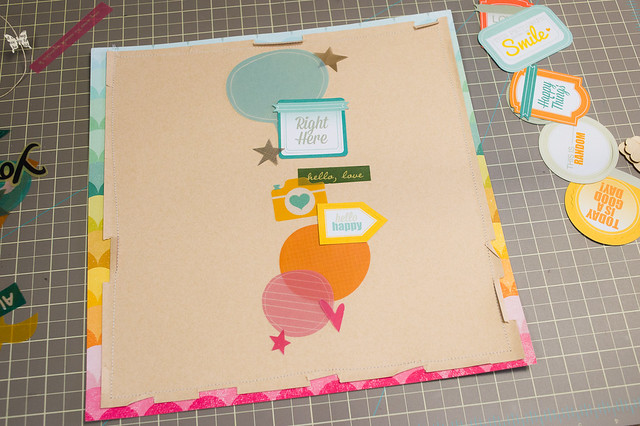
There was one more thing I wanted to try with the die cuts before sticking them all down- arranging them in the same color order as the background paper. I liked the mixed-up look of my first take at piling them on, but I really loved how they looked like this!
At this point I still hadn't even started to pick out a photo, so I pulled out my photo binder and started flipping through it with the layout sitting right next to it. It took less than five minutes to choose these pictures of my niece, Sophie Clare, reading with my Dad!
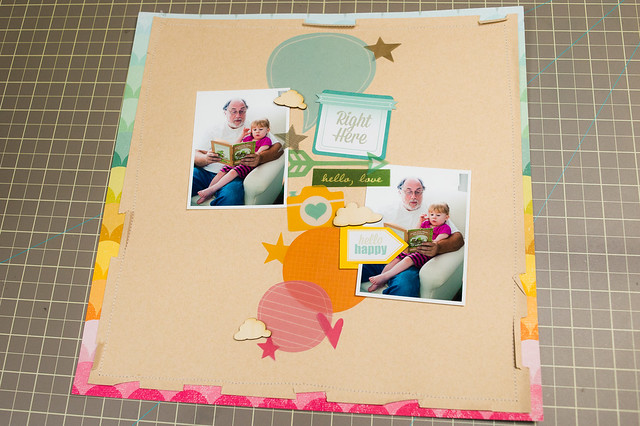
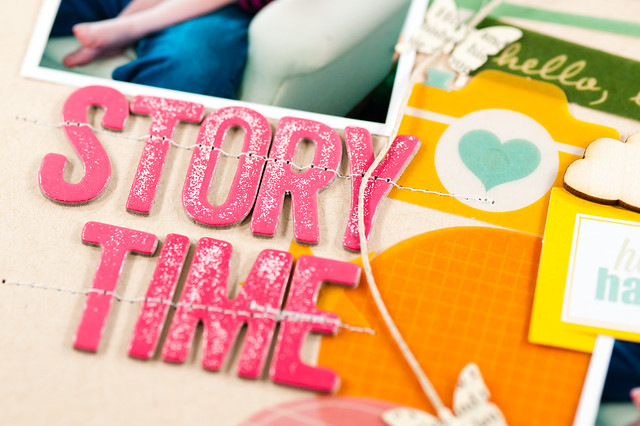
With photos in place I could decide on a title, then stick everything down for real and finish off the page.
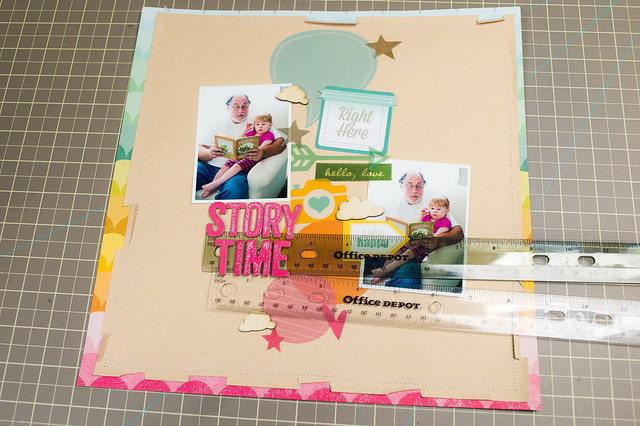
Everything but the very last stage of this layout- the part where I actually put it together- was done just a few minutes at a time, and I loved the shakeup in my process by starting without any photos in mind!
Keeping plenty of photos printed and ready to go and using tiny bits of time to work on layouts are my two not-so-secret scrapbooking weapons. Together they help me maximize my small amount of creative time and are how I manage to get lots of layouts finished!