
I needed a solution that would let me have several layouts going at the same time and make them easy to move around without disturbing the placement of all the pieces. Ideally I could have purchased a FRED scrapbooking easel (you can see one in use in Noell Hyman's studio here), but the manufacturer stopped selling them several years ago so they're no longer available. The Scrap 'n Easel is another option, but not my first choice since you have to have a whole separate unit for each layout, where the FRED had metal mats that you could swap around on the easel base as you changed between projects.
 |
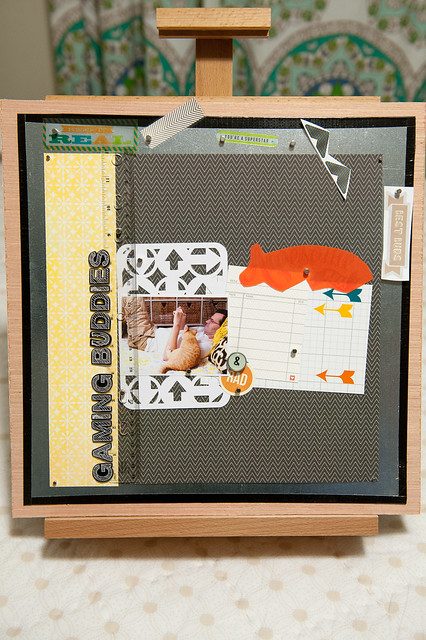
| Spoiler Alert: The Finished Product! |
To make my own solution for my little #firstworldcrafting problem, I had to come up with DIY solutions for both the easel and magnet board portions of the FRED. There are lots of options I could have used for either, with varying degrees of cost and effort involved, and I'll try to list off some of those options as I walk you through my eventual solution (pictured above).
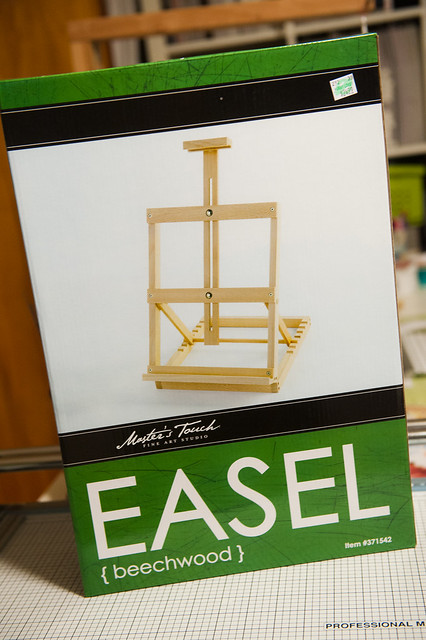
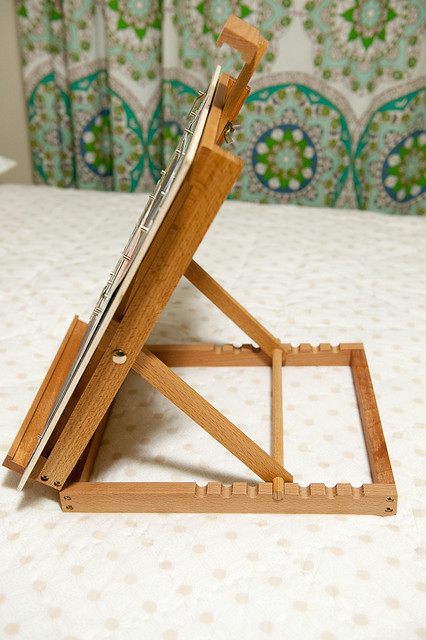
First up, the easel. This was by far the easiest part to replicate, as both Hobby Lobby and Michaels have a selection of art easels in many styles and sizes, and you can use a coupon on them to boot! I ended up going with this adjustable easel that would let me change the angle that I was working at and was also sturdy enough to accommodate boards for both 12x12 and 12x24 (double page) layouts.
The metal mats turned out to be the more complicated part of the build, especially since I wanted to make several boards (I sometimes have 10 layouts planned out at a time when I'm working with a kit). Pre-made magnetic mats are definitely an option, but a bit pricey if you want several, and I'm also not fond of the fact that most (like my Basic Grey model) are flexible instead of rigid.
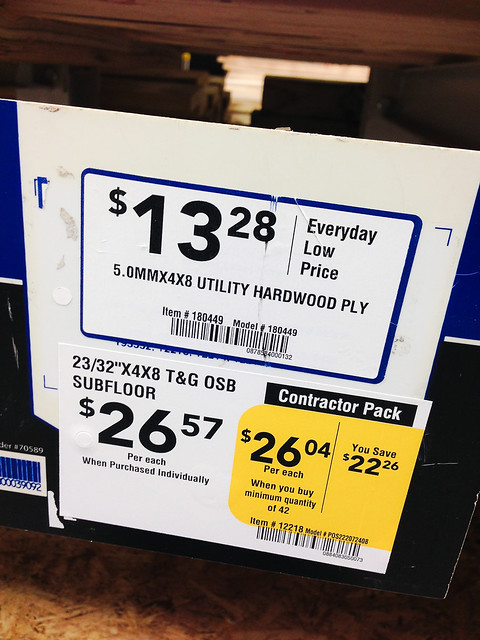
I went searching for sheet metal options instead, and after looking at needlepoint "line minder" boards (too small), magnetic bulletin boards (too expensive and not the right sizes), and precut "hobby" metal sheets (again, pricey and size issues), I stumbled across a magnetic board made with a thin galvanized steel sheet from Lowe's. Perfect.
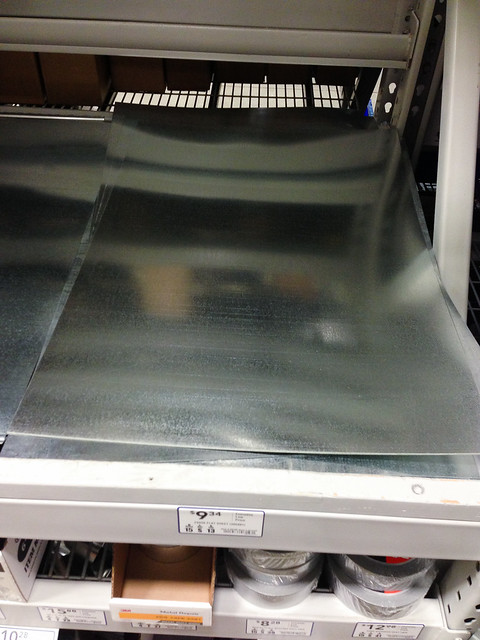
The sheet pictured above measures 24" x 36" and is $9.34 at my local Lowe's (Home Depot also carries them), and if you're looking to make just a few boards and don't mind cutting metal, you might consider this route. Also, I recommend taking a magnet along with you to the store just to make sure that there's enough iron content in the metal you're buying to create a strong pull. Not all galvanized steel is created equal.
I very nearly went with the large metal sheet solution until I wandered down the roofing aisle and spotted these- 50' rolls of 14" galvanized steel flashing.
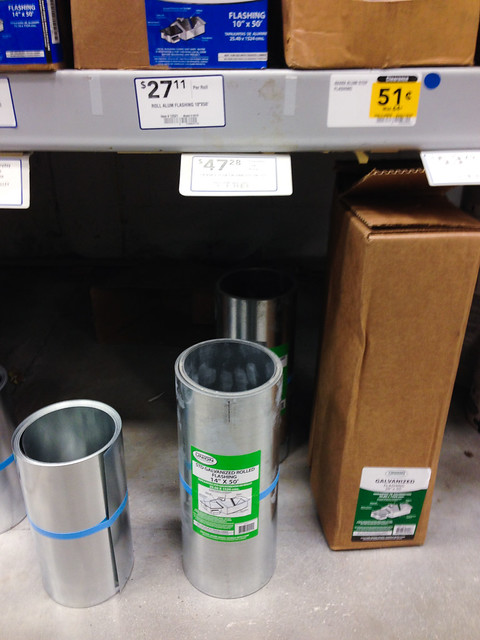
At $47.28 it was definitely a lot more expensive than buying a couple of 24x36 sheets, but several things pushed me over the edge to go in this direction:
- For a 12x12 layout board, I wanted a 14x14 piece of metal (14x26 for a double layout board) so I'd have some room to tack extra embellishments and magnets along the edges. With the 14" width of this flashing already in place, I would have to make a lot fewer cuts to get what I wanted.
- I wanted to make lots of boards (you'll see why in a minute when I get to the wood cutting part), and with the dimensions I needed there would be a lot of waste from the 24x36 sheet, meaning more sheets and a higher cost.
- Darren needed this exact flashing to fix a leak in the roof, anyway, and he actually ended up using every bit of it that I had left over after finishing this project. So no waste. :)
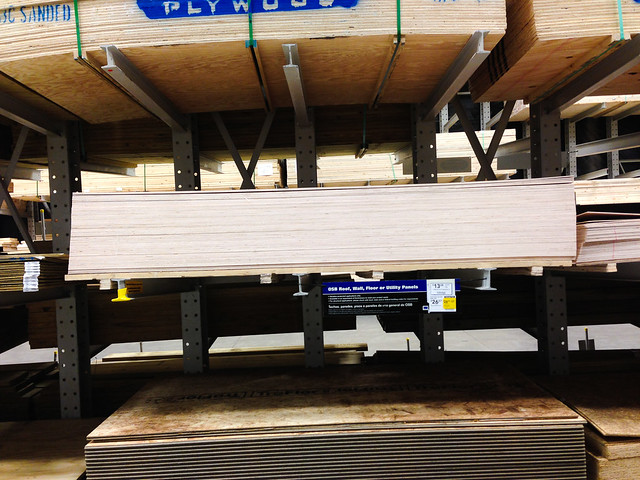
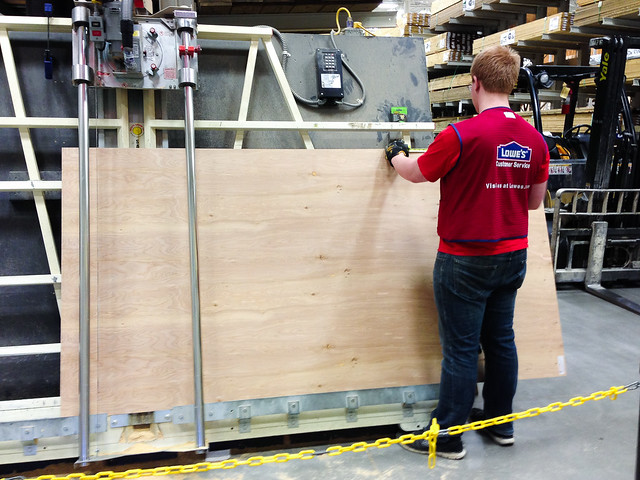
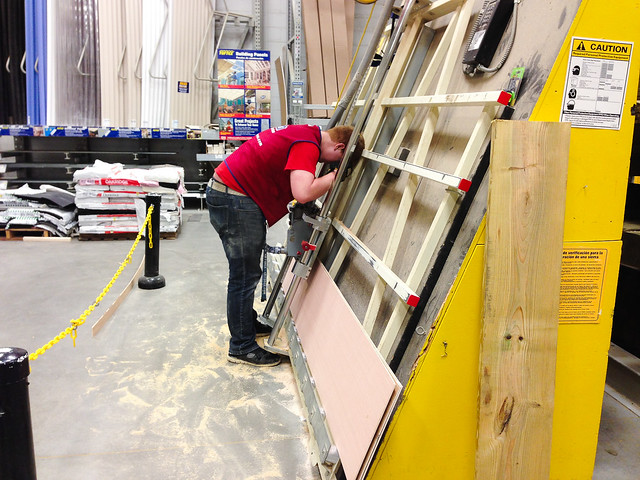
The kind folks at Lowe's even offered to make all of my wood cuts for me, saving Darren and I the trouble of setting up for rip cuts at home.
Here's where the "lots of boards" bit comes back into the picture. With a 4' x 8' piece of wood about to go through the saw, I had to quickly come up with the most efficient way to cut it to get the boards I wanted. I added an extra inch to the metal dimensions I'd come up with already (14x14 and 26x14), meaning I needed 15x15 and 27x15 boards to hold the metal and leave a 1/2" border around the sides.
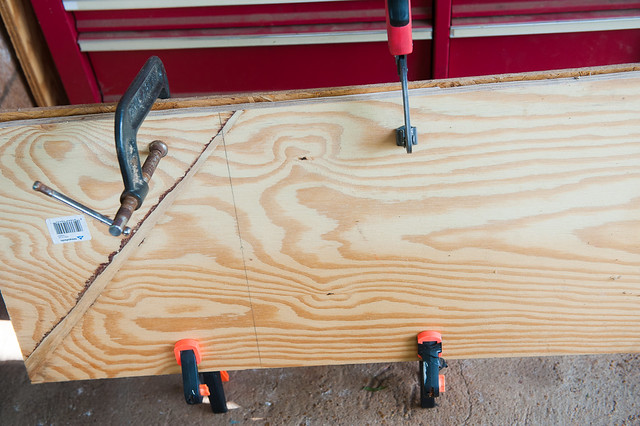
We started by making three 15" rip cuts, which left only a small 3" x 8' strip as waste at the end. Our Lowe's helper then stacked all three of those boards up and was able to make the remaining cuts through all of them at once. I had him cut twice at 15" again (to make six total 15"x15" boards) and twice at 27" (to make six 15"x27" boards). There were also some small pieces left at the end- 12"x15", to be exact- that I decided to go ahead and use to make smaller boards for cards or Sn@p album pages.
Armed with my newly found metal, wood boards, and a bottle of Gorilla Glue and roll of duct tape (more on those last two in a minute), I headed home to start on the next stage of the project- cutting the metal.
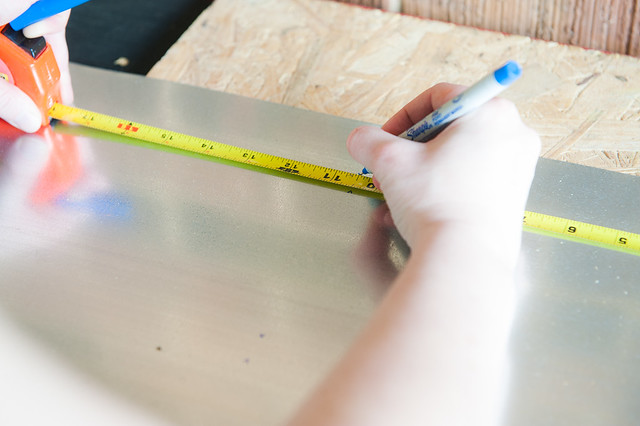
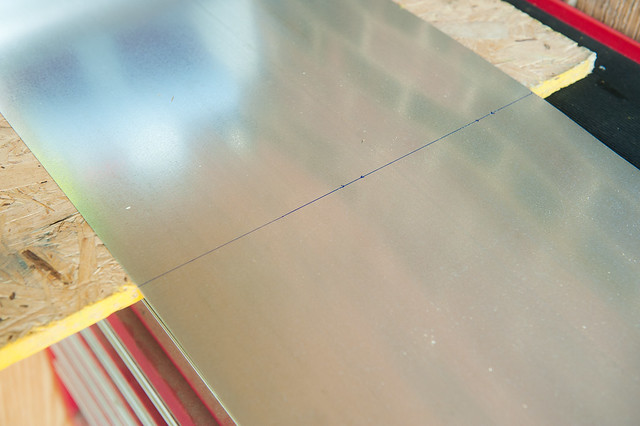
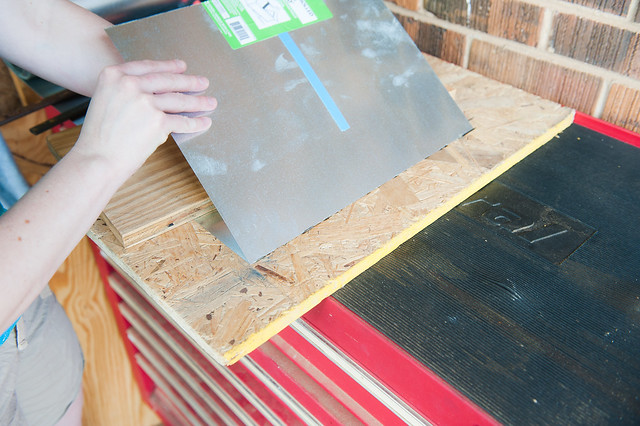
I started by marking off a length from the flashing roll, using a builder's square to get the straightest edge possible. You'll see me marking at 10.5" for the smaller boards in the photo below, and I marked the sheets for the 12" and 24" double layout boards at 14" and 26", respectively (so a 12x12 layout board uses a 14"x14" sheet of metal, and the two-page board uses a 14" x 26" piece).
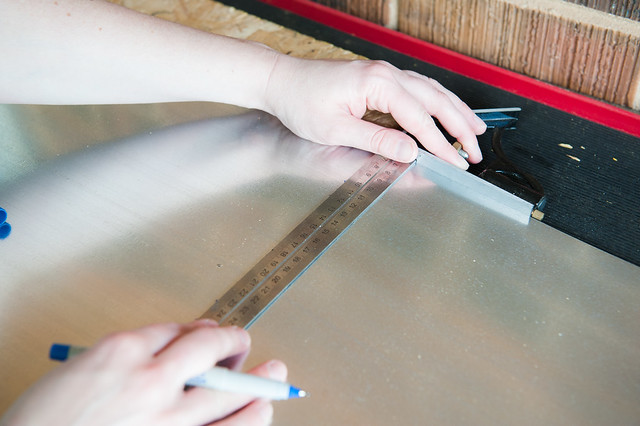
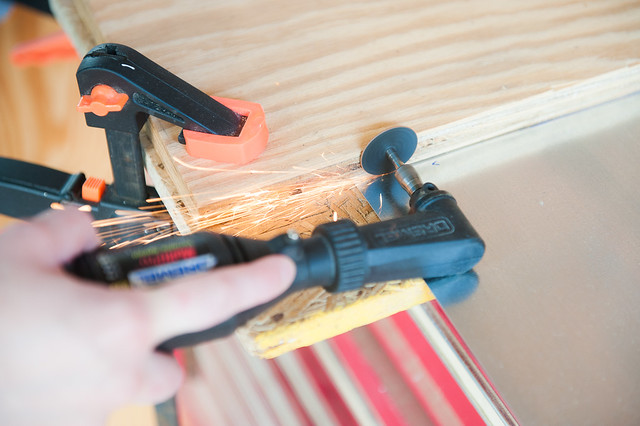
I used a Dremel tool with a cutoff wheel and a right angle attachment to make my cuts, so my next step was to clamp a board in place to act as a guide to keep the tool going in a straight line. You can also cut galvanized steel with metal snips, though they tend to crinkle the edge of the metal as you go. That might possibly be smoothed out somewhat in the duct-taping step that's still to come, but I didn't try it and can't be sure. Just something to be aware of!
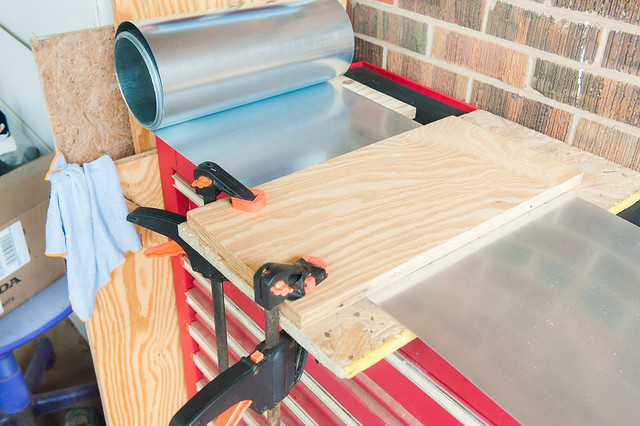
Using a Dremel on the metal was a sparky, sparky business! Definitely make sure to wear protective glasses or goggles when doing this!
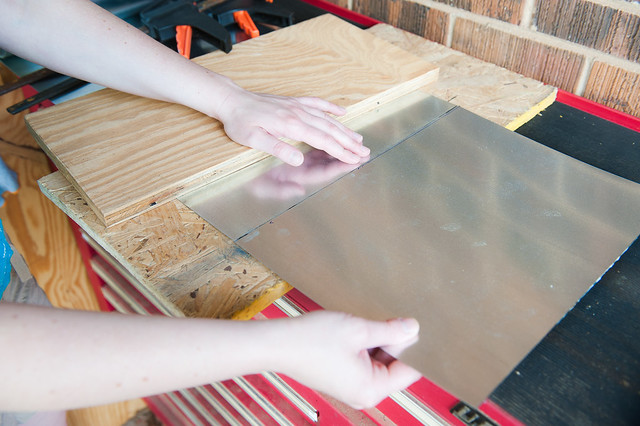
After running the Dremel slowly and evenly across the cut line several times, I was able to remove the clamped board and flex the metal back and forth a few times until the weakened join broke. Be very careful- flashing edges are sharp, and the Dremel cut edges are even sharper!
I couldn't have those sharp edges hanging around my scrap room, so I fixed them with what I'm convinced is the answer to 99.42% of the universe's problems- duct tape.
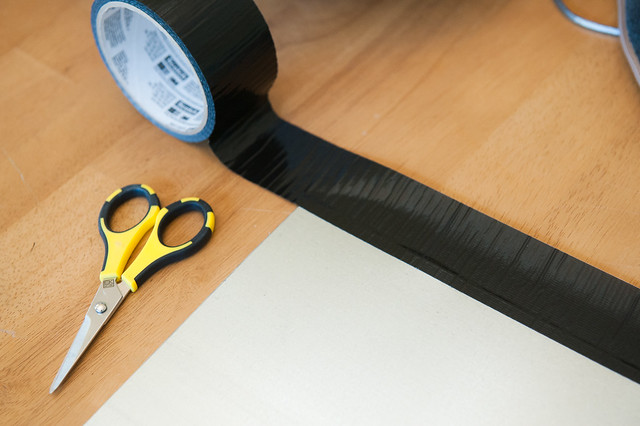
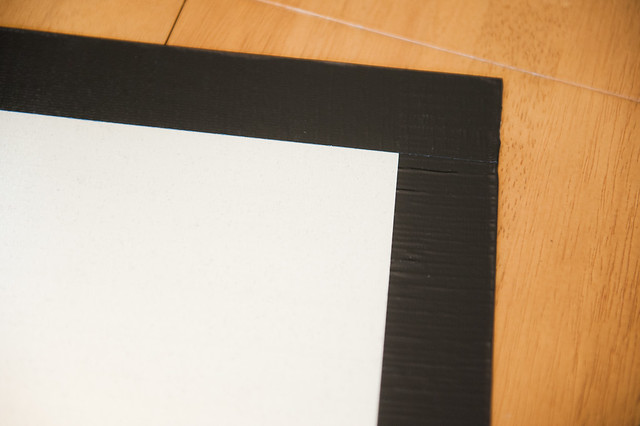
I chose black duct tape and ran it across each edge of all 15 of my metal boards, leaving only a narrow little bit visible on the front edge.
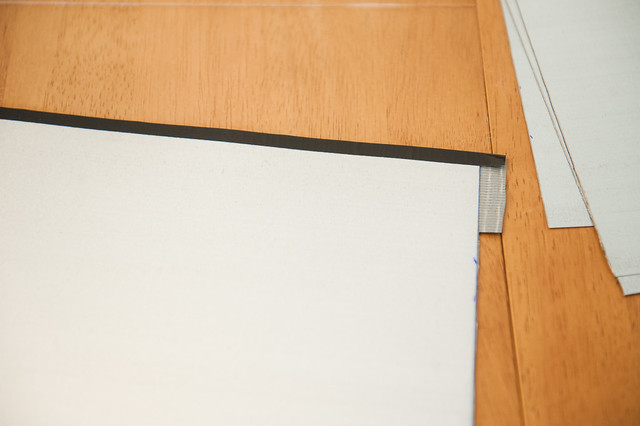
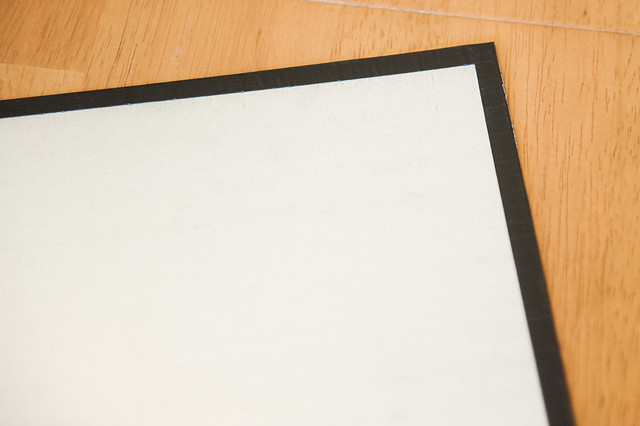
The majority got wrapped around to the back as you can see in the photo below, and the important part here is that duct tape is strong and thick enough to cover those razor-sharp flashing edges and make them safe.
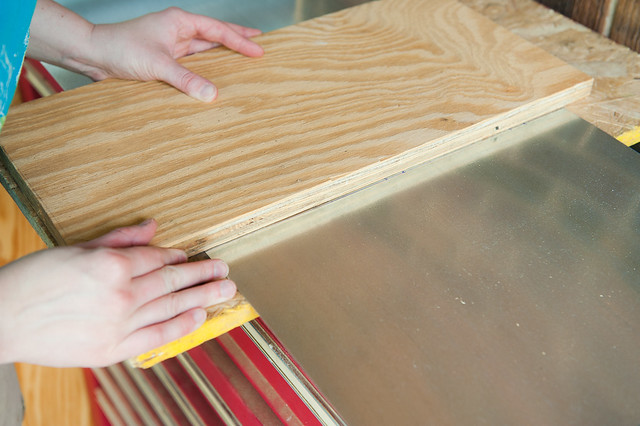
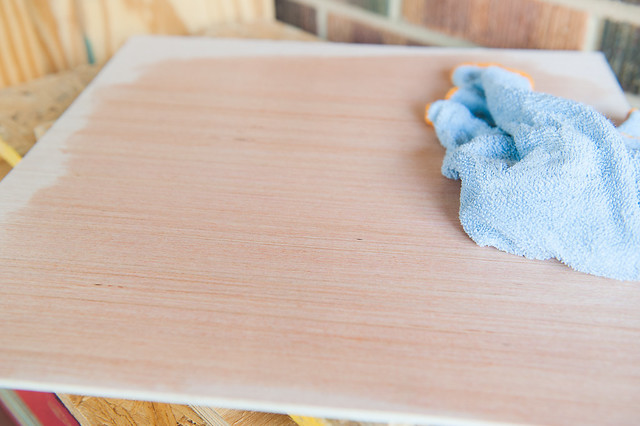
After all the boards were wrapped, it was time to bring in the Gorilla Glue. This stuff is activated by water, so I started by lightly dampening my wooden boards (which I chose not to paint, though I did take sandpaper and smooth all the edges and removed the splinters) with a cloth.
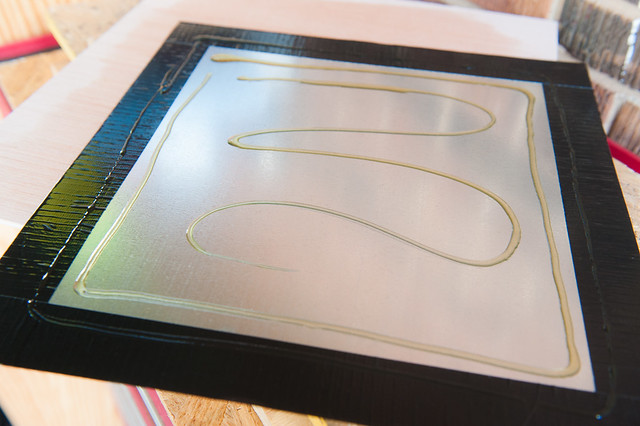
I then added glue to the back of the metal portion of the mat. Gorilla Glue will expand to 3-4 times its size as it cures, so don't go nuts and use a ton of this stuff. I used very little, as you can see below, and even then I had a couple of boards where it leaked out from under the edge just a little bit.
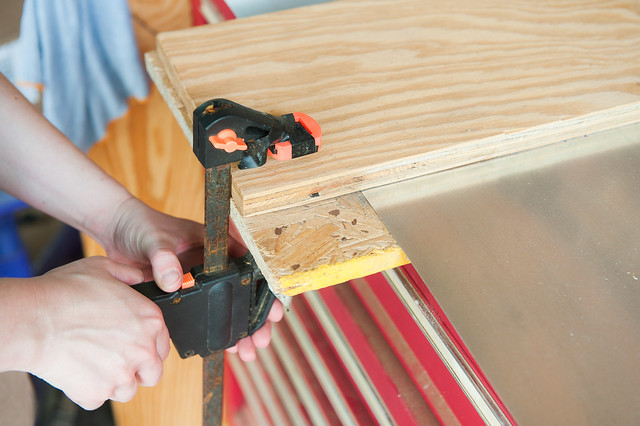
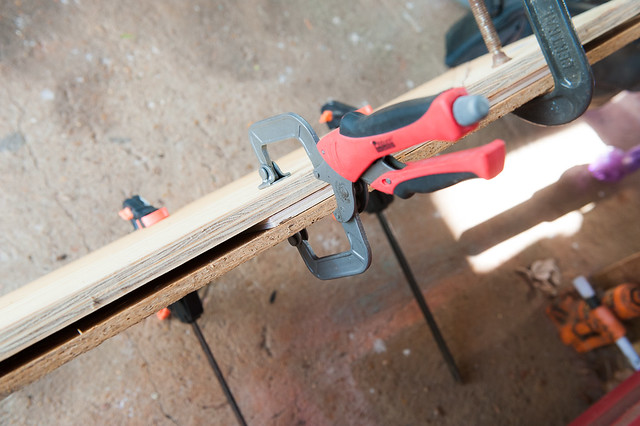
The whole assembly was then clamped for about two hours, ensuring things would remain tight and flat as the glue dried. If you don't have clamps, then a large board with a stack of very heavy books on top might do the trick.
And then it was just a matter of repeating the glue-and-clamp stage until all of my boards were finished!

The magnets were the last bit that I needed to add, and luckily neodymium (rare earth) magnets are easily obtainable from Amazon. I've also had good experiences when ordering from KJ Magnetics in the past, though this time around I found Amazon to be the less expensive item thanks to free shipping.
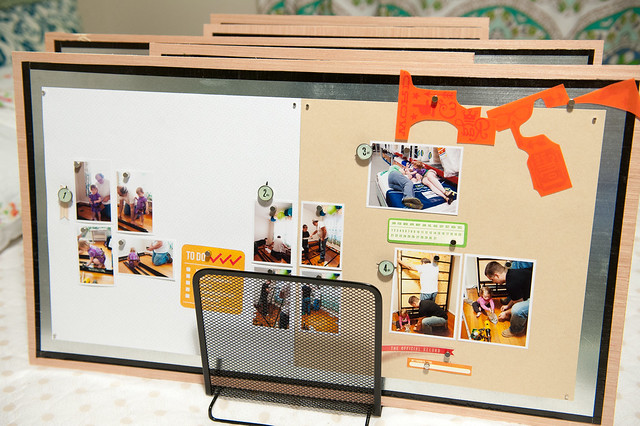
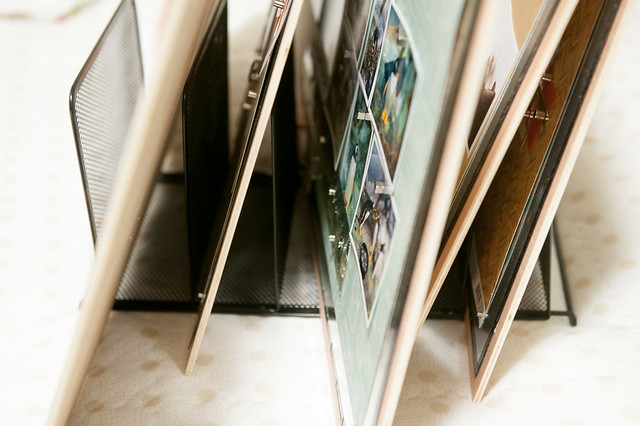
I also added one more item to my new setup- a mesh mail sorter to "file" my in-progress layout boards in while they're waiting to be worked on. I'm quite happy to have these up off of the floor and in a safe spot now! Not to mention I'm a lot less cranky when every inch of my scrap room floor isn't covered.
I have to take a moment to thank D for all of his help with this project- from letting me borrow his tools to helping with setup and assembly. :) And if any of you want to build your own and have questions, feel free to leave a comment and let me know- I'll be happy to try to help!