
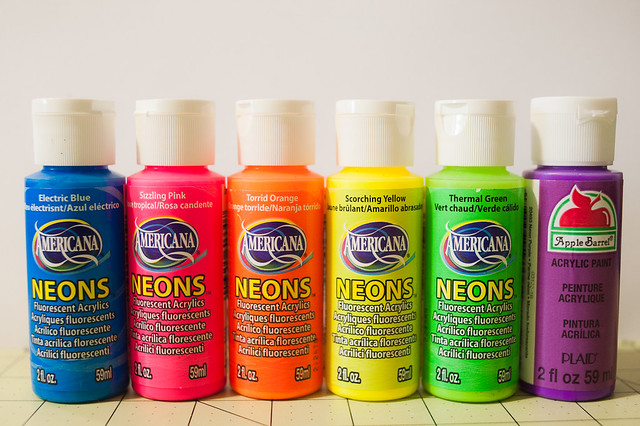
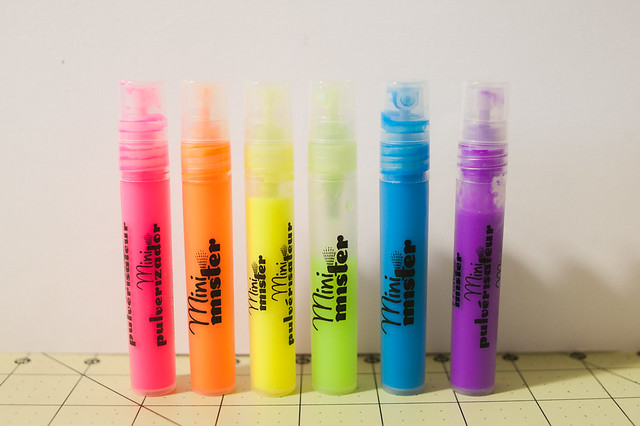
When the Peas started talking about making their own with acrylic neon paints, though, I was definitely interested, and when I walked into my Michaels store armed with a 15% off my entire purchase coupon and found the aforementioned neon paints on sale for 77 cents a bottle, I decided that was a price I could handle. A short while later I had six new neon paints in hand (Americana doesn't have a neon purple, so I picked up a bottle by Plaid just to try out a different brand), and with the amount of paint in the bottle I'm pretty much guaranteed to have enough pink neon mist to last from now until I'm 82.5.
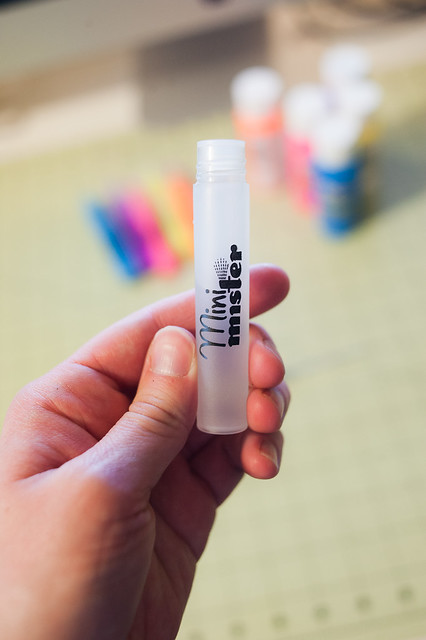
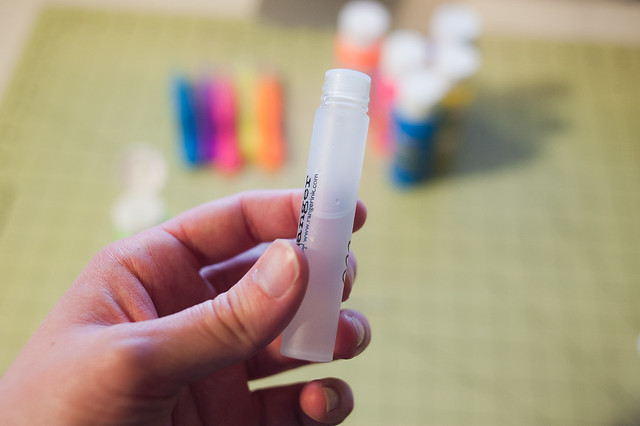
I already had several Mini Mister spray bottles in the scrap room (though Michaels also carries them) because of the many fights, arguments, and disagreements that I have with my current mists, specifically about how often they decide to clog up! When I get to a bottle that just won't spray, I pour a small amount of it into a Mini Mister, and I have yet to have one of these tiny bottles clog on me.
Making the mist is fairly easy (and nothing new- I know that scrappers have been doing it for years), though it does require a bit of trial and error. I read this post about using alcohol to mix with the paints, but I had good luck with just plain water and started by filling up a mist bottle about halfway, right out of the tap.
Though a couple of DIY mist blog posts gave specific measurements about how many teaspoons of paint to add per unit of water, I decided to just wing it and added squirts of paint and did test sprays until I had a consistency that I liked. All of the colors worked beautifully this way except the green, which I'm convinced was just acting out because it knew that it was the one I was photographing my process on. It was also the last one that I mixed up, so I went through five trouble-free colors before arriving at this temperamental hue.
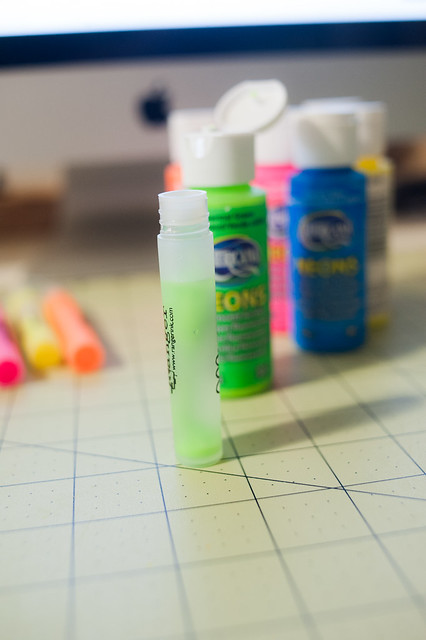
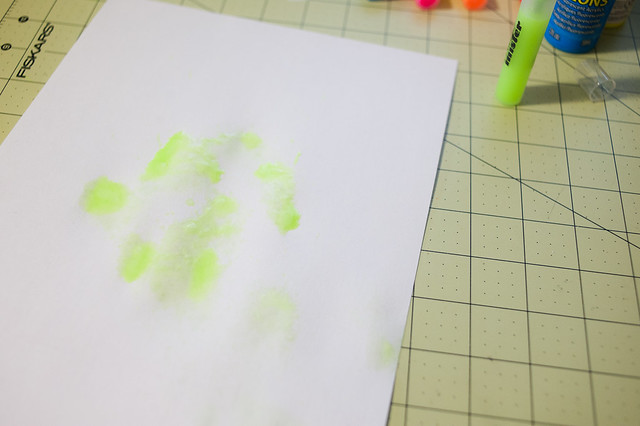
I learned that too much water made for a runny, not-so-colorful spray while too much paint would block the sprayer and cause it to squirt out a stream of color that pooled up on the page (as shown in the photo below) rather than a fine mist. It was easy enough to fix either case- just add a little more paint or a little more water and spray again to see if it's at the right consistency yet.
After about twenty minutes of mixing, shaking, and test-spraying I had six new neon mists to add to my collection, not to mention lots and lots of leftover paint that I can use for other projects or to make more mist. Just a little note- the paint does settle out to the bottom after a day or two, but like any other mist all it takes is a quick bit of shaking to make them as good as new again.
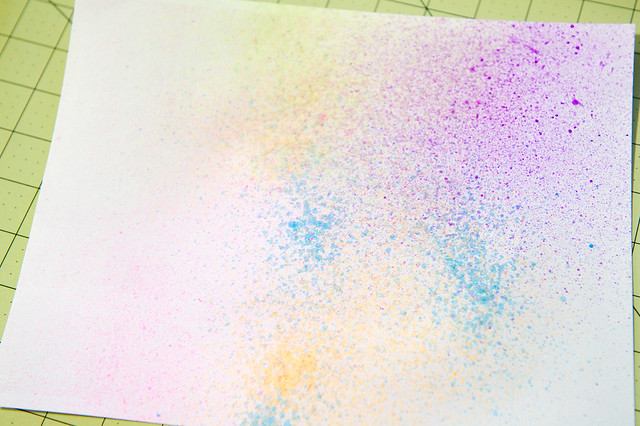
**Update: It probably would have been a good idea for me to share a photo of how these worked when I got the mix right, wouldn't it? :)
This little experiment has practically guaranteed that I won't buy another color mist again (hooray for always being able to make the perfect shade!), and I'm definitely eyeing my old stash of Making Memories paints now and wondering how well they'd perform as mists!