
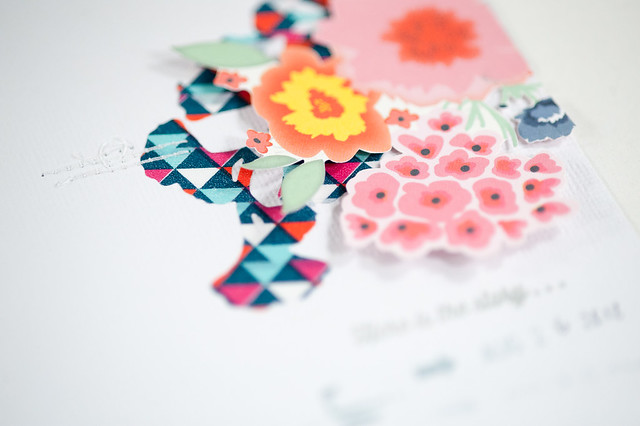
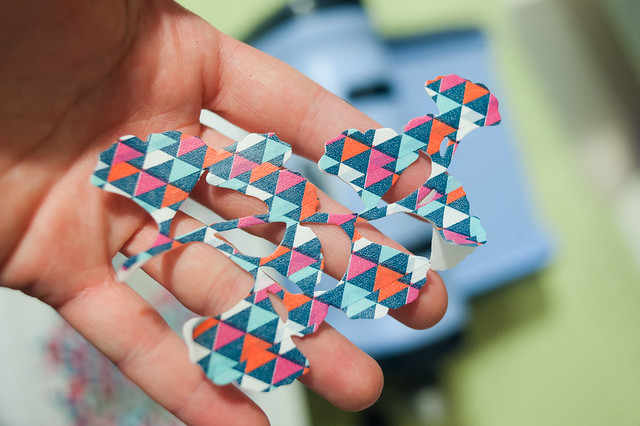
I do love all the colors and patterns that I have at the moment, though, and it's fun to try to find ways to use up those seemingly endless rolls. When a fun triangle print tape showed up in the May Citrus Twist kits, I put together a tutorial for their blog showing how to make die cuts with it (you can see a peek of that page below and the whole thing here), and today I wanted to repost that here just so I'd have it in my archives.
I started off by snatching a piece of parchment paper from my kitchen and layering up several strips of washi tape, making sure to overlap the edges to form a big sheet of the stuff.
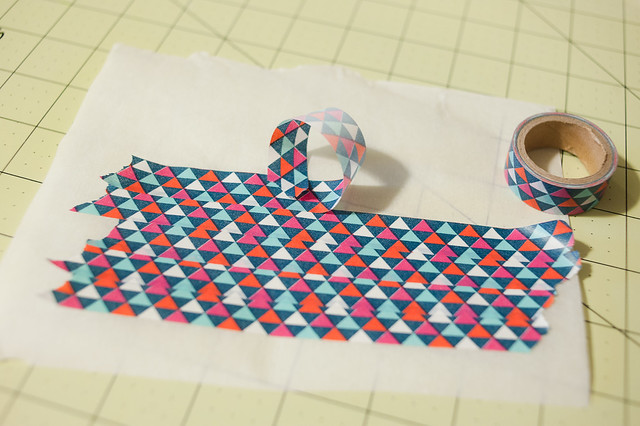
I used a manual die cutter for this, and after seeing how easily the tape peeled off of the parchment paper (I barely had to coax the two apart), I wouldn't recommend trying this with a Silhouette or other electronic cutter. Sometimes manual is the way to go, baby!
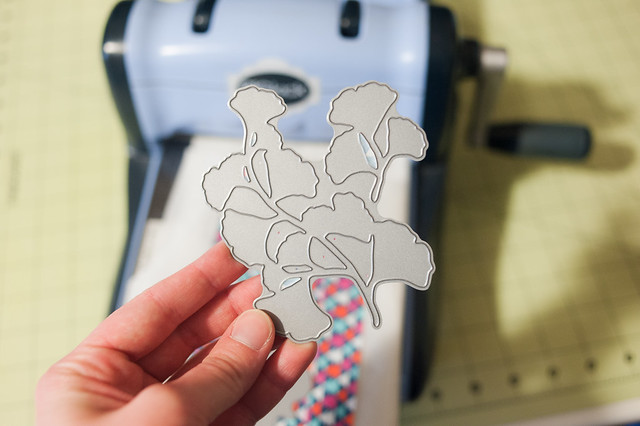
I love my Silhouette, but there are just some shapes that it's still easier to punch or have a die for because I use them so often and the manual route requires a lot less setup. Foliage dies are a personal favorite of mine- I tend to layer the cuts behind other elements as if they were flourishes- and for this project I chose the Harvest Berry die set from Papertrey Ink. Love those ginkgo leaves!
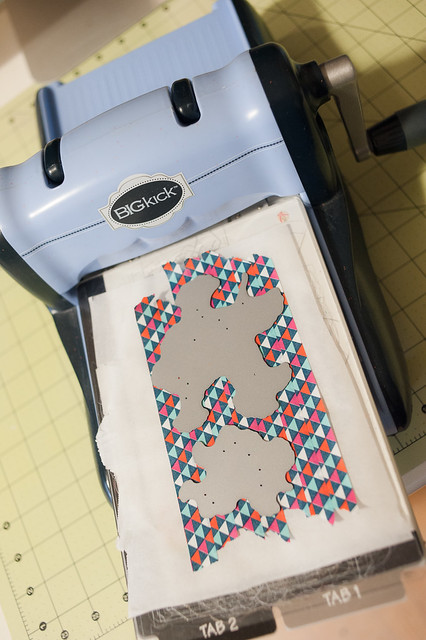
Just run the washi tape (still on the parchment paper) through your die cutter as if it were a regular piece of paper), and in no time you'll have a pretty custom "sticker" to use on your layout!
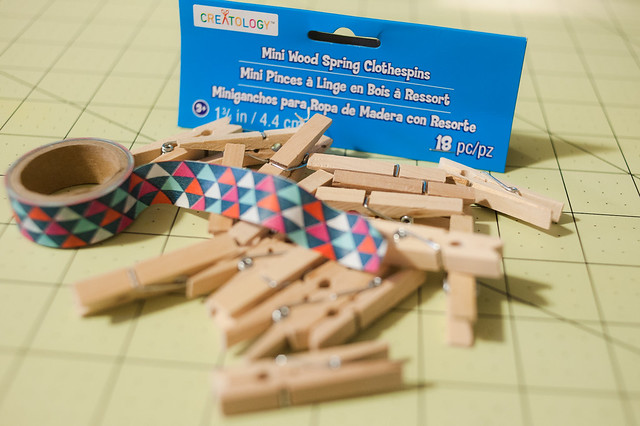
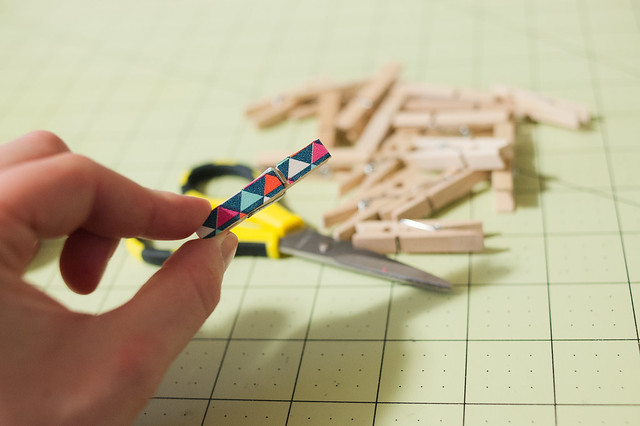
The other use that I found for my washi tape this month is really simple, but I thought I'd share anyway.

Decorative mini clothespins are a popular embellishment right now in scrapbooking collections, and they're also quite easy to make on your own! You can use paints, markers, mists, or any number of items to alter them, including, of course, washi tape!
I started with a mini clothespin from a pack that I picked up at Michaels and stuck a small piece of washi to one side.
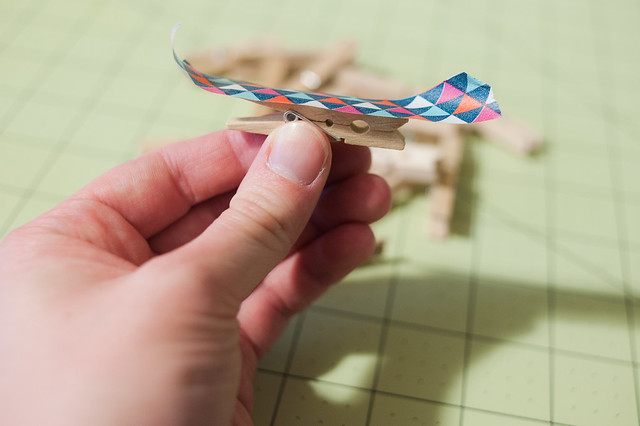
After I trimmed off the edges it was looking rather plain, blah, and un-clothespin-like, but...
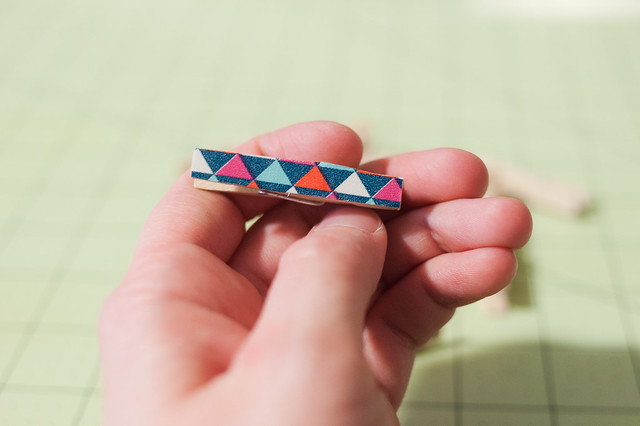
...with a quick trim from a pair of fine-tip scissors and a little careful tucking of the loose edges around the spring, it looked like the cute little colorful clothespin that it was!
So, that's maybe five feet of washi used for those two projects...only aproximately 11 million left to go! :)