
I will admit to being stumped for a short time after being informed that I was participating in the cross-promotion between Heidi Swapp and Tombow last week. I'm not generally an inky/artsy scrapper, and I was afraid I wouldn't be able to come up with a good use for either the Dual Brush Pen markers or the colored pencils that I was sent.
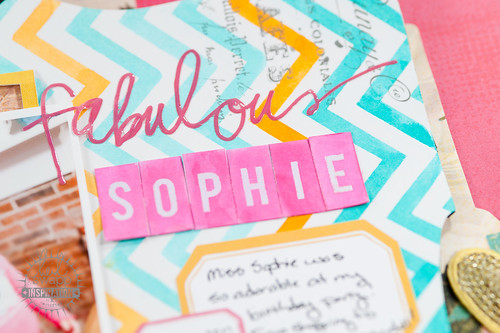
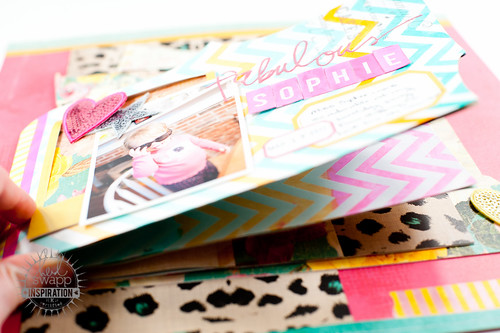
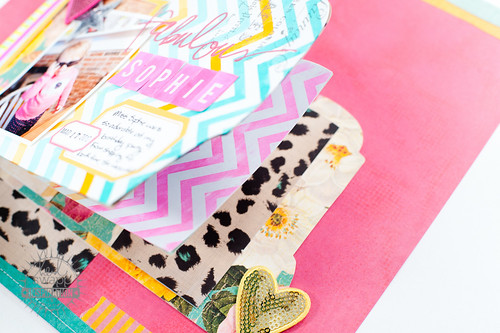
Luckily Heidi's last release included the Color Magic collection- just perfect for combining with a huge variety of color mediums! I've use them with both color mists and distress inks before, and it turned out that the markers were just as easy to use, and I even put a fun twist on them! But before I get to that part, here's the layout that was posted recently on Heidi's blog:
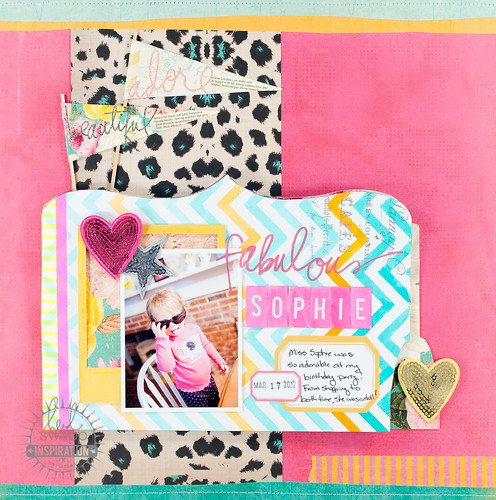
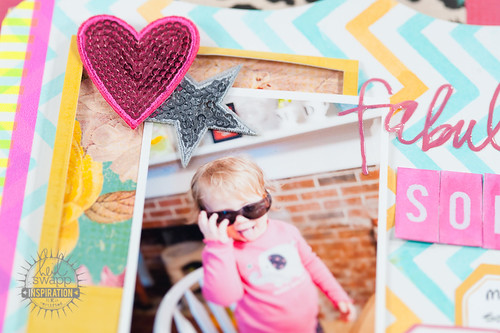
Yup, that's my cut li'l niece, Sophie, at my birthday party. She was an absolute ham after she took her bath and cracked us up all night long with her antics. For this photo she's posing in my brother's sunglasses- the girl adores stealing her daddy's glasses!
This layout was also the first time I've used Heidi's Sugar Chic collection. There aren't many girl photos in my Lightroom catalog to scrap, so I have to take advantage of all the cute Sophie photos that I can when papers like this come along!
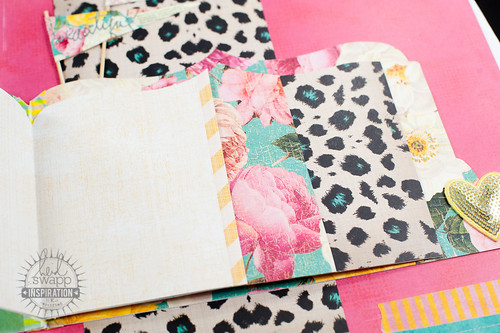
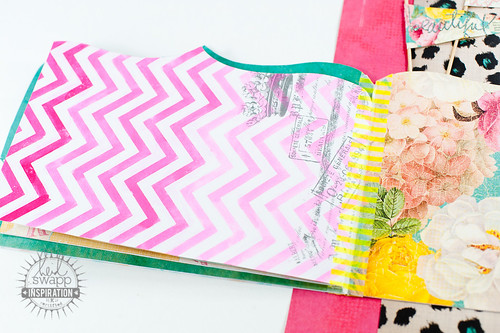
The Color Magic panel behind the photo is actually part of a Color Magic Memory File folder that's been cut roughly in half (just a little over half, actually). I nested the smaller section of leftover folder inside to create a little mini album right on the layout.
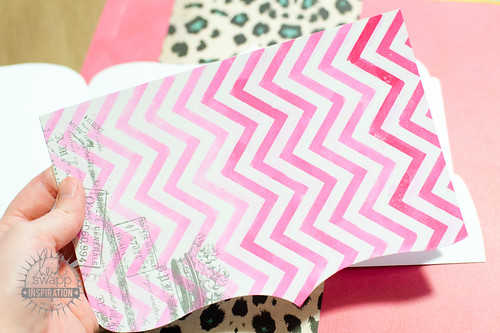
I mentioned that I put a twist on using the Tombow markers for this project, and if you read my recent Lawn Fawn gift bag post you've already got a head start on what I did! You see, Tombow sent me the Jewel Tone marker set, and while the colors were lovely they were far too deep and saturated to be a good match for the Sugar Chic line. Since Dual Brush Pens are water-based, though, they're perfect for watercoloring!
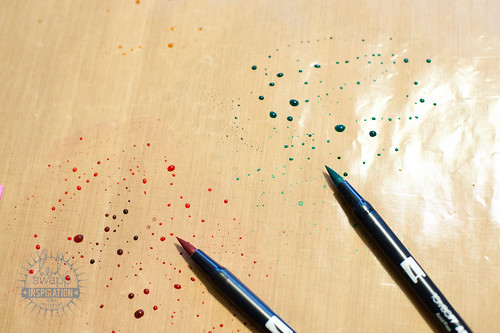
I started by scribbling out some of the marker color onto a Ranger Craft Sheet (just like I smushed out some of the water-based stamp in for the gift bag tutorial), then loaded up some water onto my paintbrush and swirled it around in the color to make my own paint.
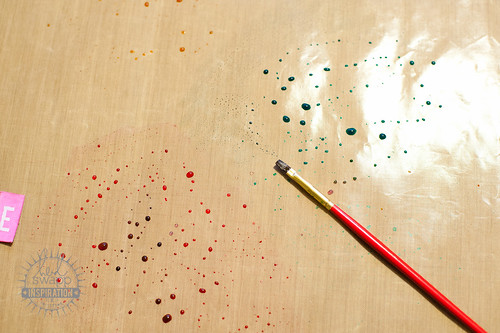
The water also served to lighten up the original shade of the marker, and I added more water at intervals as I worked across the folder with my brush to create an ombre effect. Every time I added water, the "paint" color got just a little bit lighter.
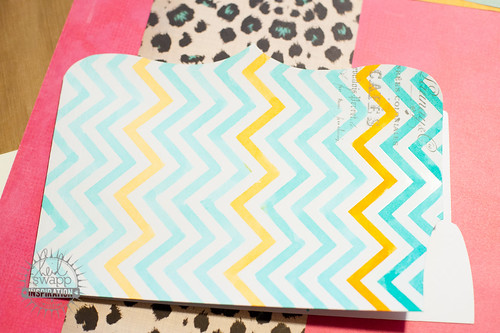
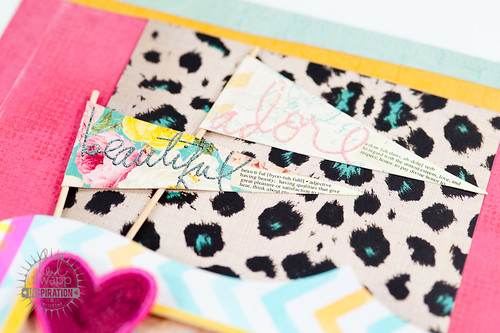
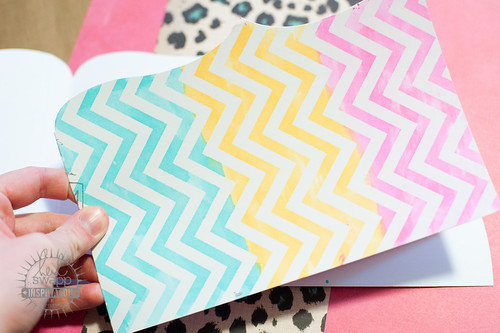
For this panel I again worked on an ombre effect...
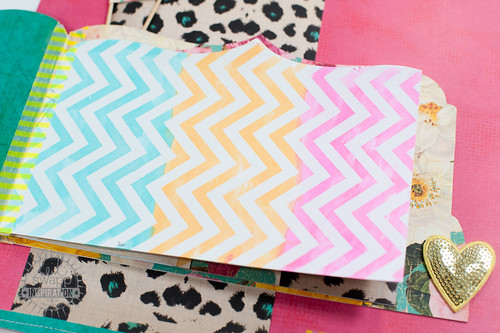
...and for this final one I just had fun and color blocked it.
I finished the book by binding it with stitching and some of Heidi's neon washi and covering the non-Color Magic portions of the folder pages with Sugar Chic paper.
Now this little mini is just waiting to have photos added! This is the perfect way to include more photos on a layout without adding them to the main design, and it's also a great place to put photos that you might not want front and center for everyone to see in your albums. I've got some adorable baby bath time photos of Sophie that I'll be printing at home and adding later, but those are definitely photos I don't want just anyone to be able to see (and certainly don't want to blog!).
I've got another stack of these Color Magic folders slated for use in my Bahamas vacation album, so hopefully I will have more examples of this fun product in action soon!
Supplies (click on images for product links):
 |