
You see, I'm a scrapbooker, but not so much a papercrafter beyond making the occasional card or maybe (and I cannot stress the maybe enough) something flat and easily stored/swapped out based on the holiday. I have a fairly small house (I'm definitely not complaining because I chose it and love it), and not a lot of room to store big crafty decorations. There are no ornate birdhouses, printer's trays, or other such three-dimensional items around here!
So, when my Mom asked me this weekend while we were shopping at IKEA (a momentous occasion in and of itself since our closest store is four and a half hours away) if I would make centerpieces for the upcoming Christmas dinner at my parents' house, I made sure to thank her profusely for giving me an excuse to make something other than a scrapbook page! Plus, they can live at her (significantly larger) house when the dinner is over. :)
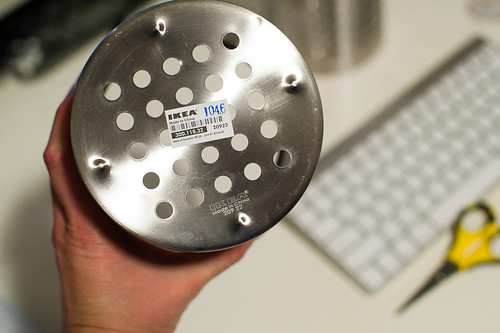
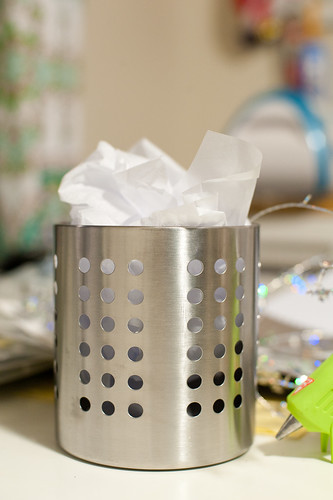
We happened to be in the checkout line at IKEA when she asked me, and right at that moment I spotted a palette of cool stainless steel kitchen utensil holders that I thought would make a perfect base (and possibly be useful later if the project were disassembled). At $3.99 each the price was perfect, so I tossed a couple onto my cart and brought them home (after another several hours of shopping and another trip through the checkout!).
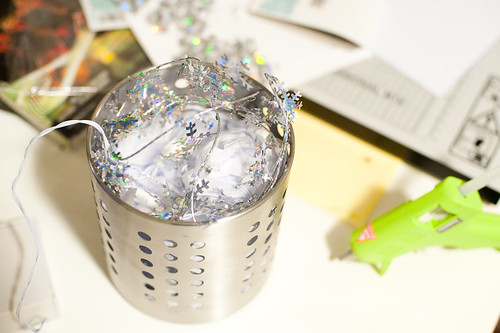
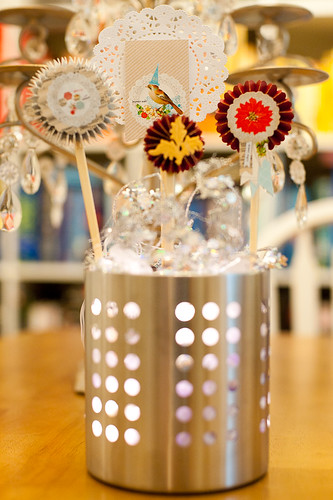
You can see the base of the container here, along with the part number should you wish to seek out some of your own. I'll reveal the full thing at the end of this post.
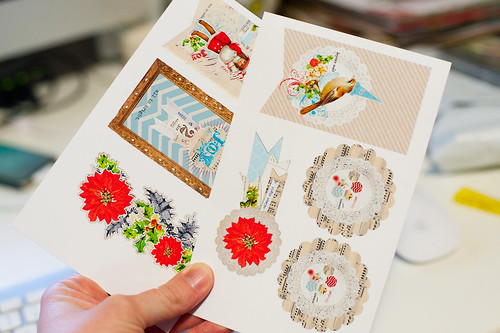
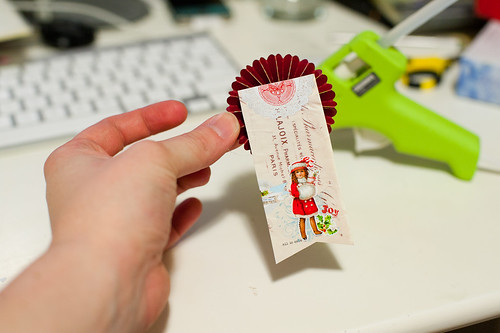
I've been in love with Rhonna Farrer's gorgeous Christmas Junque collection since she released it last month, so I went straight to it to start my project. I picked a few images from the "Pieces" set and printed them out on photo paper.
Have I ever mentioned that the only color printer I have at home is my tiny little 4x6 photo printer? It's true! We use a black and white laser printer for everything else, so if I want to print in color I have to either go to the copy store or use my little printer. Luckily, I didn't need anything really big, so printing on a 4x6 sheet (or in this case a pair of them) worked out just fine.
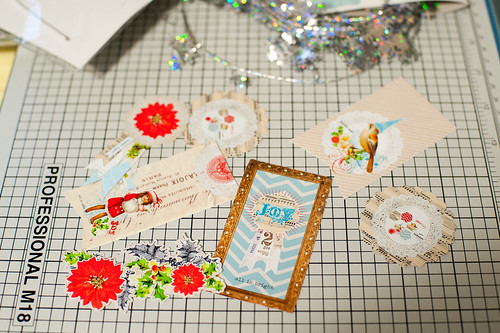
I trimmed the pieces out carefully (my absolute favorite scissors for detail work like this are Cutterbees by EK Success) and set them aside for a bit.
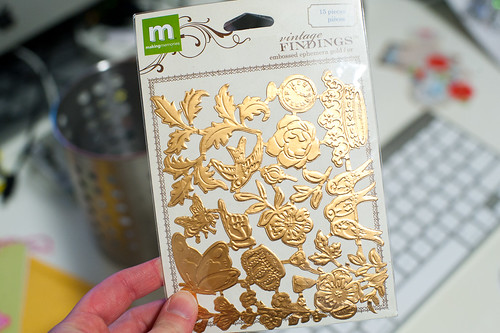
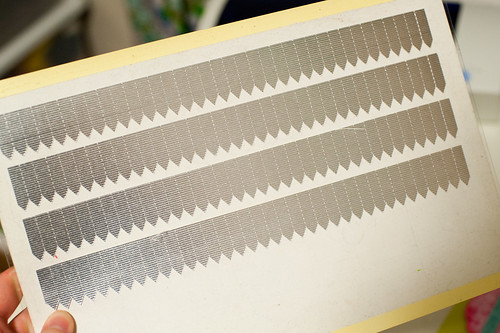
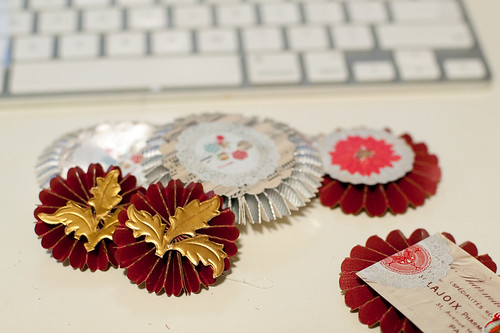
I'm also in middle of rearranging my entire scrap room (thanks to that aforementioned trip to IKEA), and in the middle of moving things around I found a really old pack of Making Memories Vintage Findings foil pieces that I thought would also work nicely for this project. I set them aside, too.
Once I had the decorative pieces all picked out, I moved on to making "bases" for them using a variety of dies (and even multiple die cutters).
The Tim Holtz Rosette Die is one of my very favorite manual dies, and I use it all the time with my Sizzix Big Kick.
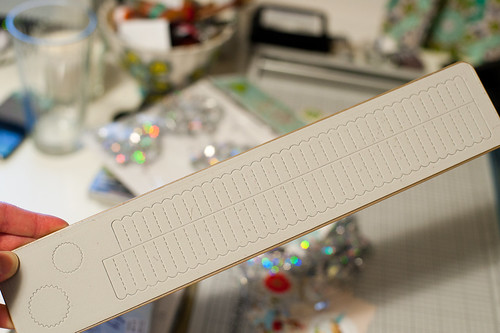
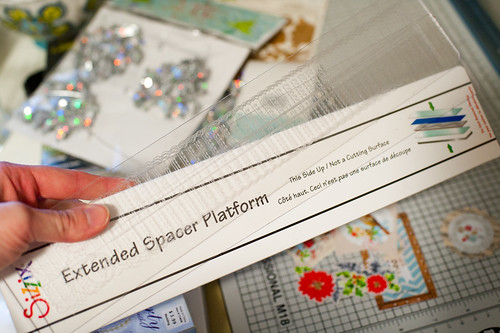
The only trick to using this die is that you have to have the extended spacer platform along with a set of longer cutting pads. Neither are very expensive, but necessary for using this and also some of the Sizzix border dies.
While I was cutting rosettes manually, I also set my Wishblade to work making some ever so slightly larger rosettes using Silhouette's software. I cut two strips for each of these rosettes and attached them end-to-end since I wanted them to be a bit fuller.
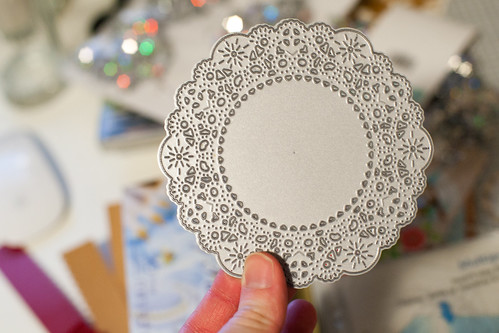
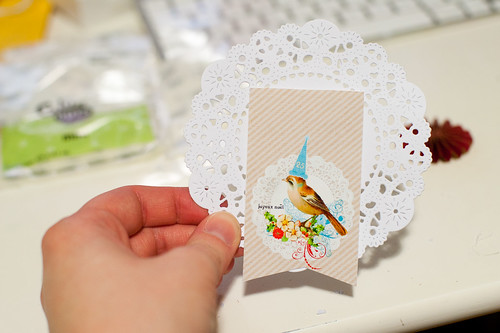
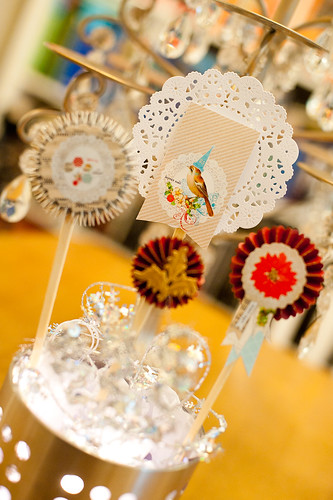
I also pulled out another of my staple manual dies- the Parisian Lace Doily by Papertrey Ink- to make a couple of fairly large "backgrounds."
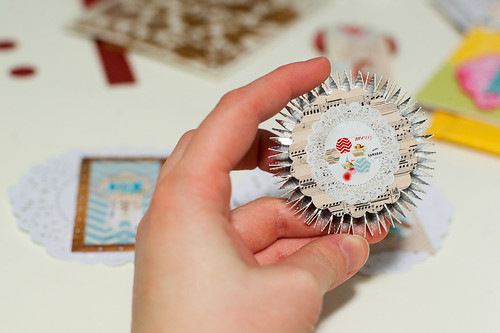
When assembling paper rosettes, a hot glue gun really is your best friend! I simply used a few Mini Glue Dots to adhere the ends of the rosette strips together, placed a dab of hot glue on the circle that was also cut out by the die, and then flattened the connected rosette strip over the glue and held it down until the glue was cool. The rosettes come out beautifully every time this way!

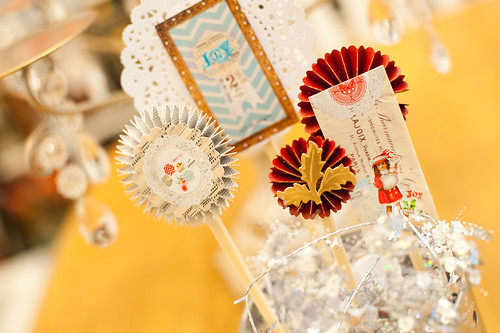
Once the backgrounds were all made, I attached a decorative piece to each one, just to dress it up a little.
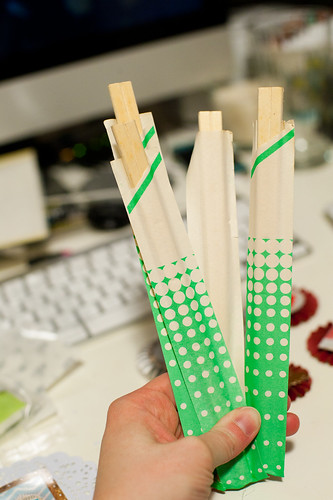
I had intended to use bamboo skewers for the "stems" of my newly created "flowers," but couldn't find any in my kitchen! Luckily I did come across several packs of wooden chopsticks that worked just as well.
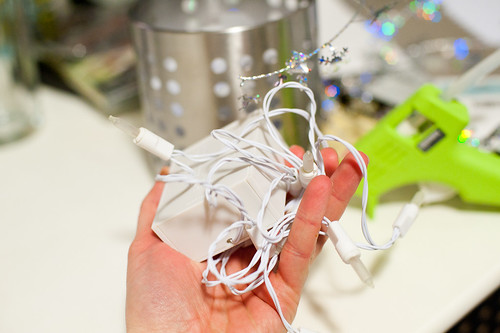
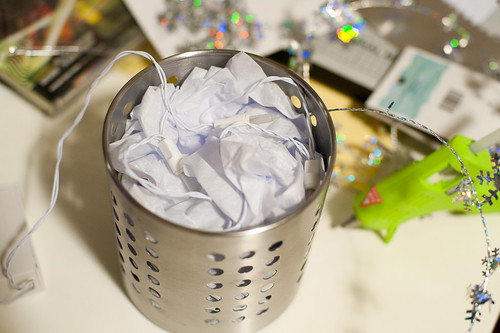
After attaching each flower to a chopstick, I prepared the base by stuffing it with several layers of tissue paper and adding a string of battery-operated mini lights from Hobby Lobby. I also added a length of inexpensive foil snowflake garland to the top of the container for a bit of extra sparkle.
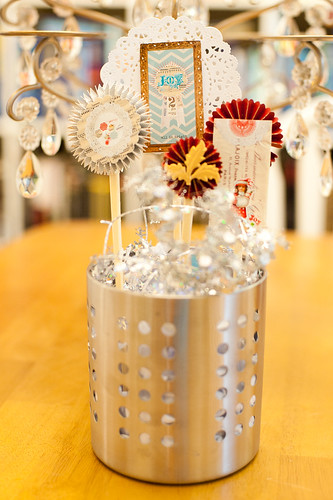
I think these turned out pretty cute, if I do say so myself!
And I especially love them all lit up. I absolutely love Christmas lights. :)
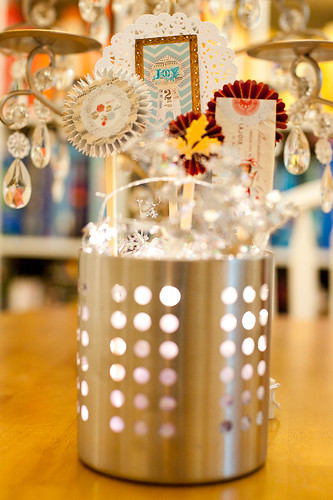
Now I just have to find a place to store them until Christmas. :)
Items referenced in this post
 |  |  |  |
 |  |  |  |