
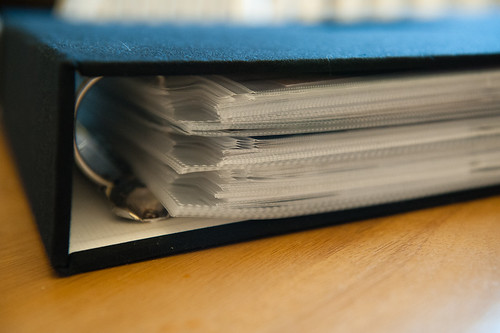
In the interest of doing things upside-down just for fun (and because I think that seeing the end storage result first might make a bit more sense of the printing process), I'm going to start off with how I store my printed photos.
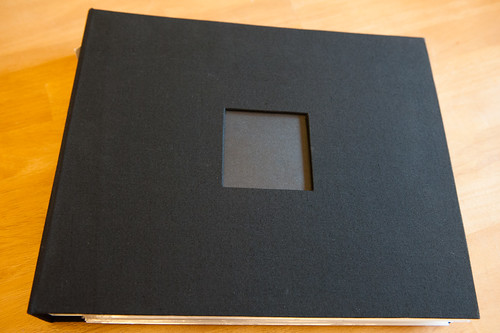
My storage method is actually very simple- I just use one of the same American Crafts 12x12 3-ring albums that I use to hold my completed layouts. When I started storing photos this way I picked one up to use just because I already had it on hand, and it's actually been nice to have a storage container that fits neatly with the rest of my layout binders. Not having to find new spaces to stick stuff in is a good thing!
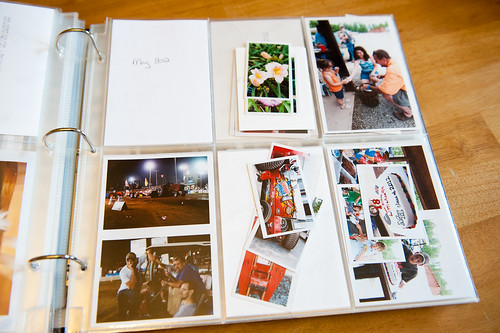
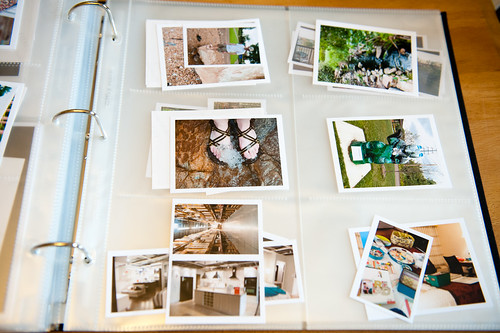
Inside the binder I have lots and lots of divided page protectors (the type that hold 4x6 photos since I rarely print anything larger), and inside each pocket I place the photos for a single layout, no matter what size or how many there are.
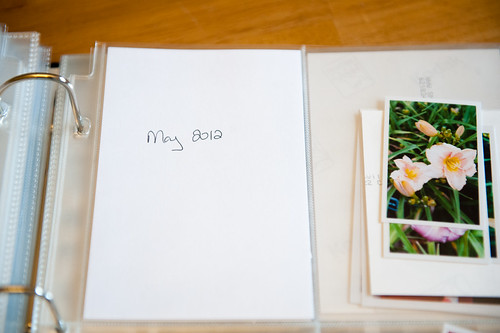
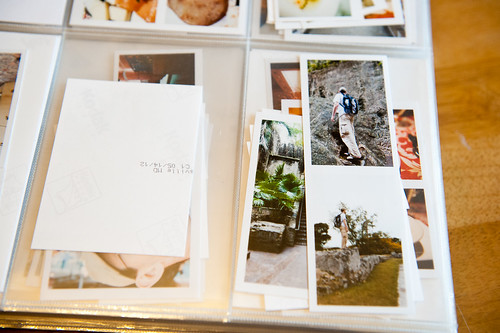
The photo above shows one page from my May 2012 printed photos, and below you can see the super simple little divider I made to indicate the start of this month- it's just a plain piece of white printer paper with the month and year scribbled across it in my ever-so-lovely (not!) handwriting. I've found that simply separating photos by month and not breaking them down and further works well for me since I use Lightroom to organize my photos and can quickly locate a single image in the library to get the exact date as long as I can easily drill down to the correct year and month.
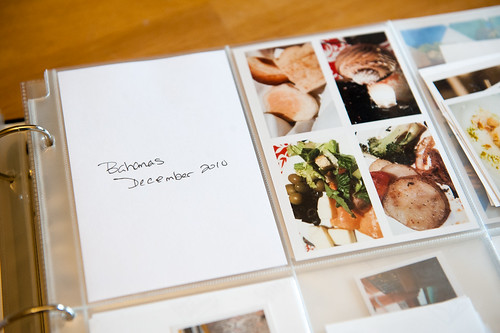
If I have a lot of photos from a single event- like a vacation that spans multiple days- I'll sometimes create a special section of the album just for it. I don't do this very often, but for trips where I've printed up several hundred photos to scrap it's nice to have them all together in one place.
Now that you've seen the guts of the album (and, really, it's a very simple way of storing things) let's take a look at my printing process. Note: I rely heavily on Adobe Lightroom for organizing, editing, and printing my pictures, so you'll see it referenced quite a bit here.
The first pass in my printing process is editing the photos. I'll go through a batch of photos from a big event (or for a single week as I'm prepping photos for Project Life) and select every photo that I want to either blog or print and add it to Lightroom's "Quick Collection." Once I'm done with this selection phase I go back to the Quick Collection and edit all of the photos there. This step (and really any step in my process) can either be done in one sitting or in several small sessions over a longer period of time.
After all the photos are edited, it's time to determine which ones I actually want to print and what size I want to print them at. I have a few sizes of photo that I use constantly on my layouts such as 3x4 and 2x3 (and I'm starting to use more 3x3 and 4x4 square photos these days, too), and I keep those sizes in mind as I'm going through my edited photos. As I'm selecting photos to print, I try to create groupings that will allow me to arrange my photos in blocks on my layout- for example, a 3x4 vertical photo and two 2x3 horizontal pictures form a nice block, so if I have three photos with those orientations I'll print them at those sizes. I keep a set of folders in a "To Print" collection in Lightroom, and each folder is labeled with a different photo size. In the case above I would drag the vertical photo to the "3x4" folder and the two horizontal ones to the "2x3" folder, then remove those photos from the Quick Collection so that I don't accidentally reprint them. Lather, rinse, and repeat until I've selected all the photos that I want to print and put them in the appropriate size folders.
I also use this same process for choosing Project Life photos to print. I use the Metadata filter in Lightroom to filter the Quick Collection down to a single week's worth of pictures, then plan what photos to print at each size and keep track of them on one of Marcy Penner's Project Life planner pages.
I may collect photos to print like this for days or weeks- usually until Snapfish has a sale (I keep an eye on their special offers page), and then I'll print a whole bunch up at once. You can read more about the technical aspects of how I use Lightroom to put multiple small photos on a single 4x6 print here.
When an order of photos comes in they look something like this:
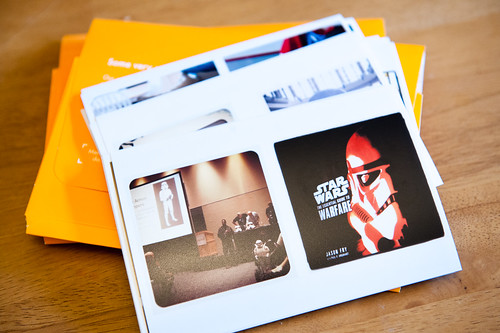
If all photos on the sheet are for the same layout I don't bother to cut them apart, but if photos for one or more layouts are on the same print I'll cut them apart and group them together by layout before sticking them in a pocket in my storage album. This is where things can get a bit tricky since I might not actually remember what photos I put in what groups (and I'm sure I put some of them together in ways other than I originally planned), but in the end it always works out.
Here's an example of the contents of one of the storage pockets. This combination of three vertical photos won't exactly make a block, but that's not a hard and fast rule for me and sometimes I'll play with a different design.
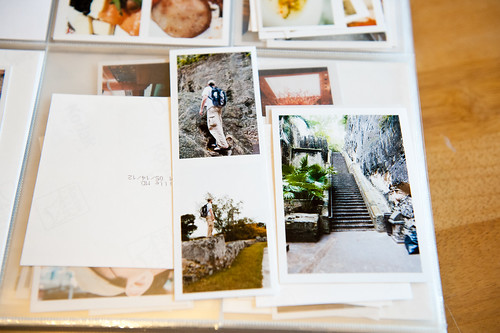
Oh, and just a quick note- the example photos from my binder so far have all used vertical 4x6 pockets, but really I mix up both vertical and horizontal in my album. Basically I use whatever I happen to have on hand at the time.
This storage binder is actually getting pretty full, so I'll be adding a second one soon!
I should note that I don't store my printed Project Life photos that are waiting to be scrapped in this binder. Those actually get stuck in plain 8.5x11 page protectors in my actual Project Life album along with any ephemera for that week. You can read more about my Project Life organizational process here.
I've mentioned a few times before that having photos printed in advance like this really streamlines things so I can focus on the creative side of my scrapbooking. Since I already have photos selected, printed, and grouped, all I have to do when I'm inspired to scrap with a certain group of product is to flip through this album to find photos that coordinate with my supplies. It's made my scrapping time so much more enjoyable and productive!