
So, on with the cards!
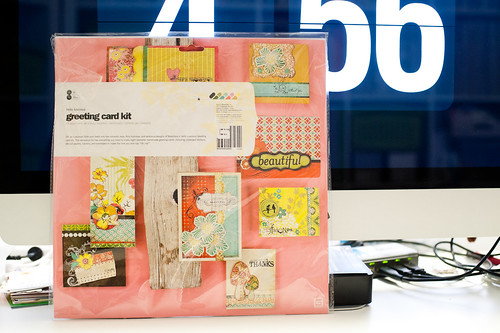
Just like the layout kit, the card kits come with a pre-printed, black and white instruction sheet, except this one is slightly longer (4 pages instead of 2) to accomodate instructions for eight projects.

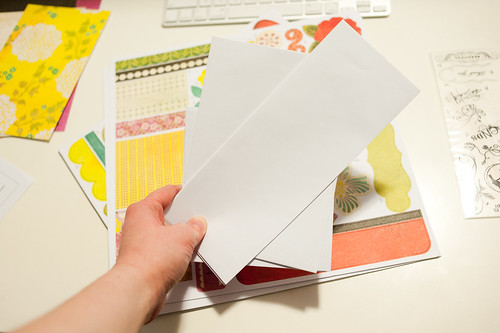
The kits also include pre-scored card blanks...
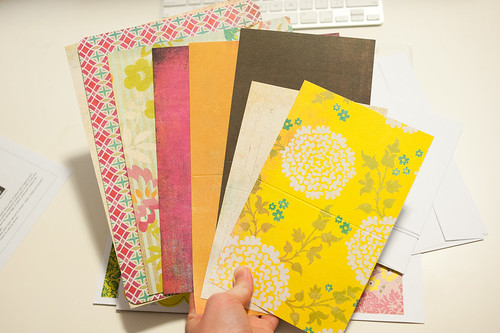
...and matching envelopes in all the right sizes! Yay! This is a huge deal and makes actually sending these cards sooo much easier.
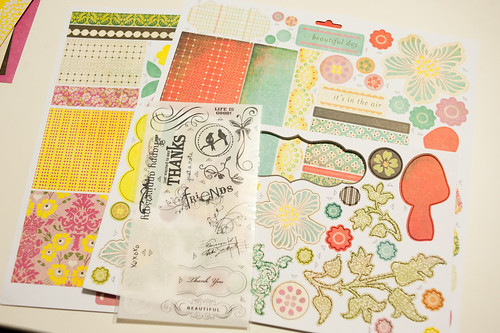
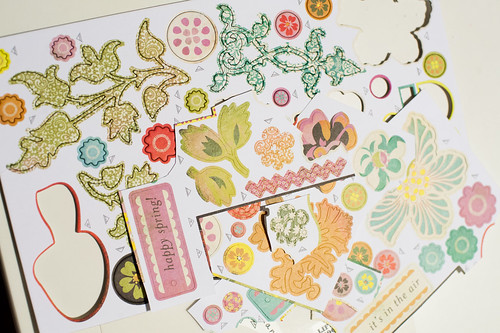
Also, as with the layout kit there's a selection of rub-ons, printed chipboard, and cardstock die cut sheets.
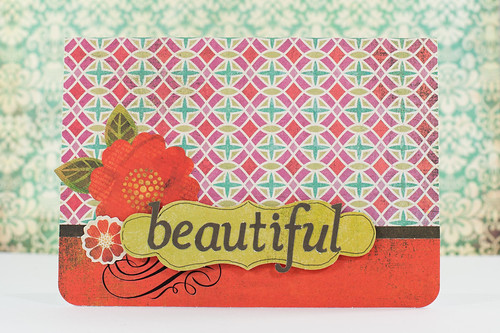
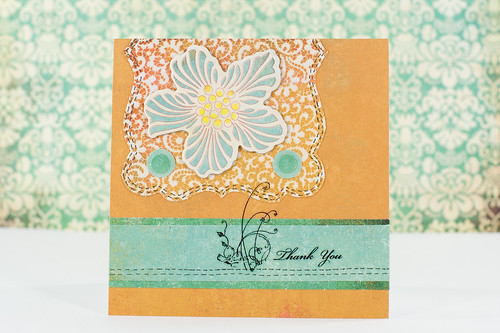
You might notice something a little funky going on with the chipboard right off the bat- it's missing a piece! The chipboard is cut all the way through the backing paper, making the pieces really easy to punch out and place before removing the liner and sticking them down for good, but it also apparently let the big brown chipboard label fall out before it even made it to the package!! Oops! Luckily it turned out not to be a huge deal as the card was still pretty in the end.
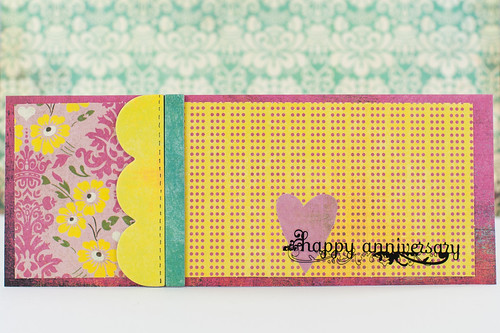
Since there weren't any photos to fiddle with alignment on, I don't have many in-progress shots at all (actually, I think just one), so I'm going to jump straight to the finished product.
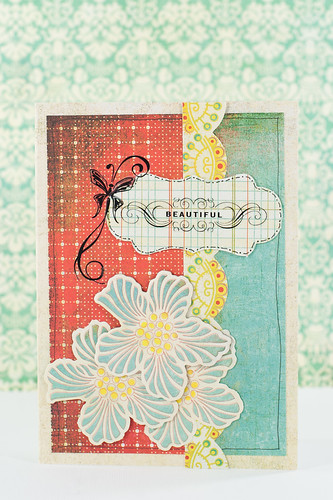
The card below is the one that the missing brown chipboard piece belonged to. It was supposed to back the green cardstock label, but luckily the card looks just fine without it!
I mentioned with the layout kit that I found it easier to just take all the numbered pieces and use the color cover image on the kit as a guide for making the cards. The printed instructions do have some hints as to order and what pieces should overlap where, though, so I definitely recommend using both.
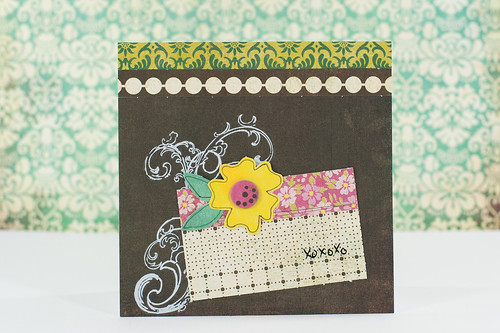
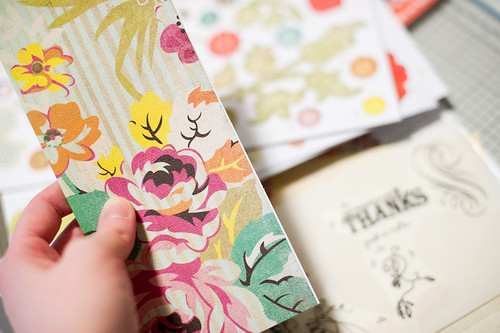
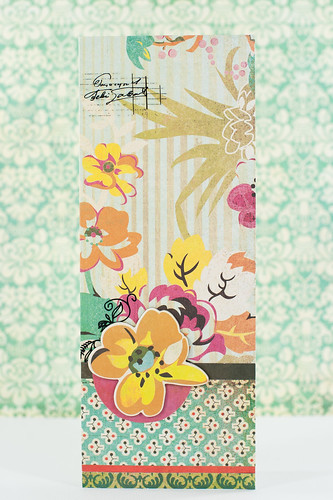
My only in-progress shot is of this card blank, which didn't line up properly when I folded it along the score line. Some of the other card blanks had this issue, too, but this one was the most pronounced. I was able to easily fix it by slicing off the extra edge with my trimmer, but it was still annoying!
There were definitely more chipboard and cardstock pieces left over from this kit than with the layout kit, and so many of them are so gorgeous! They coordinate with the pieces left from the Hello Luscious layout kit (of course!), so I now have the option to mix and match them to make some new projects.
That's two kits down, and over 20 to go still! At this rate I'll still be showing them at the end of this year!