
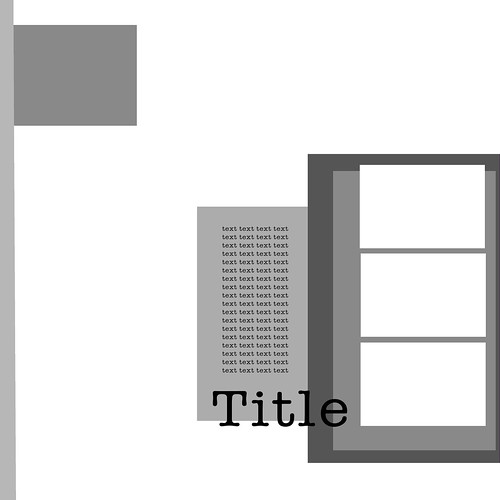
Yesterday I issued a challenge on the Lily Bee blog using the very first sketch that I've ever designed on my own. I've used sketches for years, of course, but never made my own until now. And not only did I make a layout based on that framework- I also took step-by-step photos of my design process along the way!
Before there was even a sketch for this layout, there was a color scheme. I spotted this lovely grouping of prettiness on The Sweetest Occasion last month and filed the aqua and dark blue color scheme away in my brain (where I'm lucky that I ever found it again), knowing that it would work perfectly for my swimming pool photos when I was ready to scrap them.

As it turns out, not very!
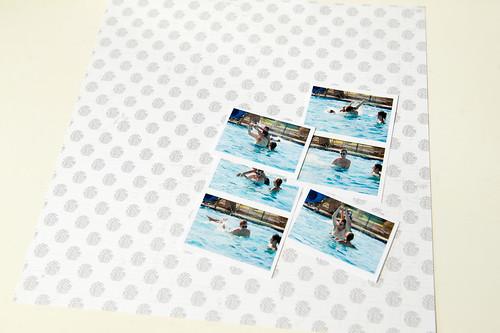
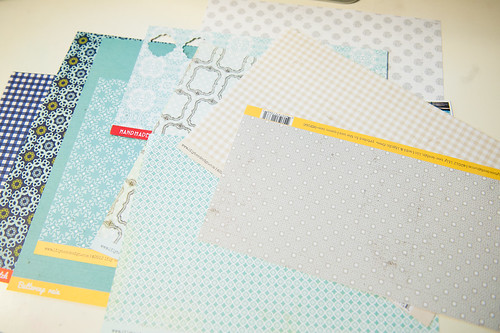
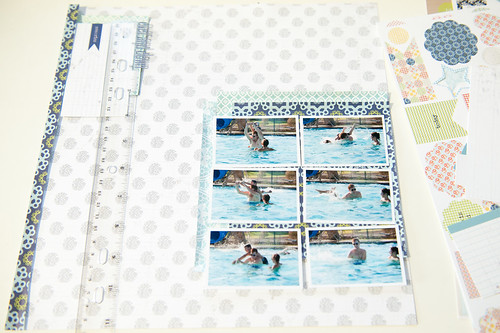
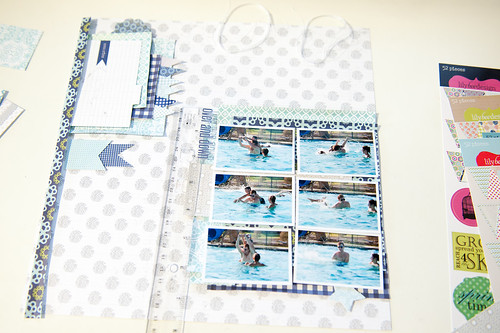
My first step was to choose my background paper. No, scratch that. My first step was actually to organize my Lily Bee paper, because somehow I'd let the Cropper Hopper holding it all turn into one big, hot mess. And in the middle of that organization fit I ran across this pretty text-print polka-dot paper from the Buttercup collection, pulled it out of the pile, and tossed my photos on top of it to see if it would work. Luckily it did, so I forged on with my layout, not looking back.
The next order of business was to pull out a pile of papers (and scraps- I try to use my partially cut papers first if I can) that would work with the photos and my chosen color palette. I think there's something from every collection released at the Winter 2012 show here!
I love, love, love this blue/aqua print from Double Dutch, so I cut a couple of pieces of it to use first, both to mat the photos and to add a border to the left side of the page.

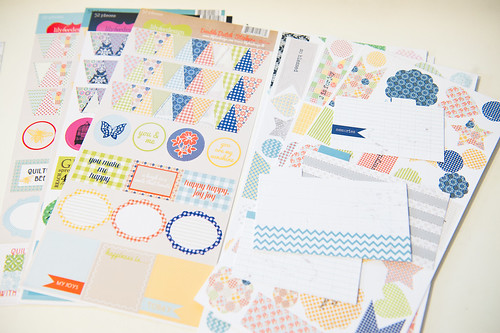
At this point I stopped and reminded myself to pull some embellishments out. I've found that, especially with flat pieces like die cuts, journaling cards, and stickers, I'll not use them as effectively if I don't have them handy while I'm working with my papers.
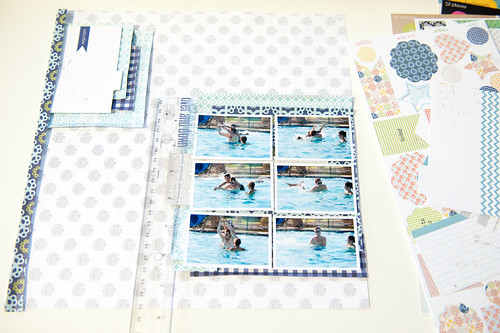
I stuck one of the journaling cards in the top left corner of the page as a potential substitute for the embellishment cluster in the sketch. Not sure if I'll leave it there or not, but for now it's hanging out and seeing if it likes the 'hood.
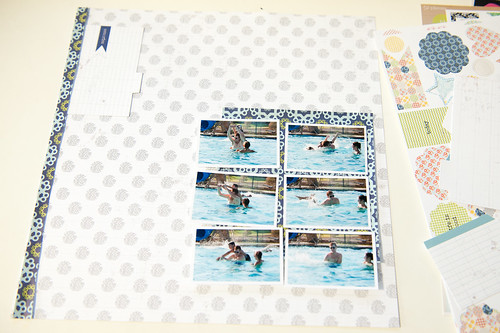
Oh, and "Title On A Ruler" is hanging out with him, too.
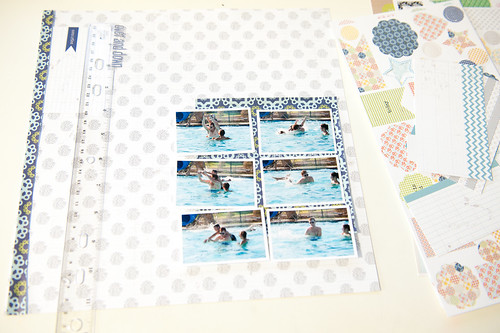
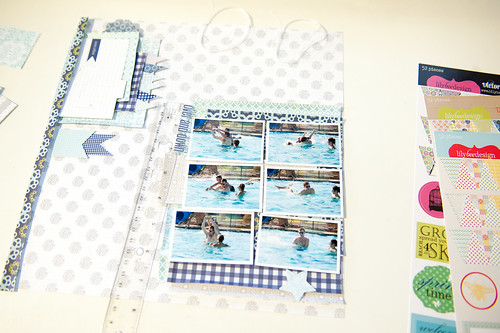
You probably know the drill at this point- paper layers! I stuck some aqua bits around the big photo block, curling the edges as I went. I seem to be going back and forth a lot lately on curled vs. flat edges. I really haven't decided if I like one or the other more yet, so I'm likely to keep waffling on them until I decide for sure.
I added a little bit of gray to the big photo block as well as a few layers under the journaling card, which I think has decided to take up permanent residence in that corner. Title On A Ruler is not so sure, though, so he tries out a different part of town.
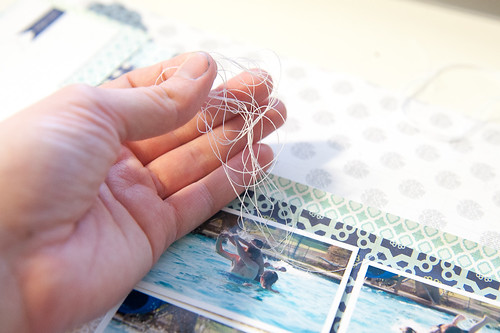
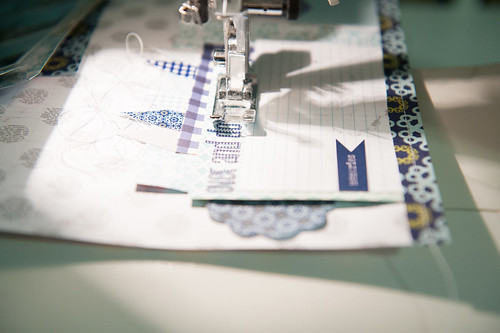
Okay, time to add a little dimension to this page! Since I have to keep it to just Lily Bee supplies + buttons (and I feel I may have overused buttons a bit lately) from the traditional supply side of things, I decided to go for a thread cluster to add a little depth. I'm not sure if there's an official way to do these, but I start by wrapping the thread (just plain sewing thread- a massive spool is super cheap) several times around my fingers...
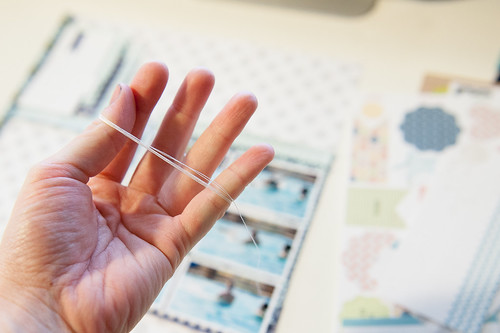
...then slipping it off in a neat set of loops.
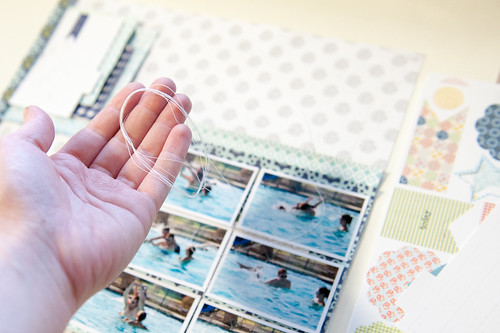
I'll get back to the messy part of these later, but for now I'm just going to set the wound-up thread aside to remind me that I want to use it and get back to making my layout.
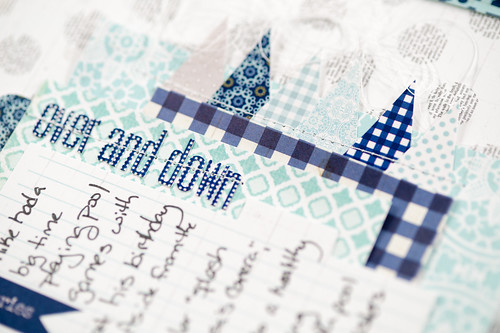
Oh, and I've added some banner stickers, die cuts, and a couple more paper layers to the page, too.
And I think just one more round of layering is needed, to add a little gray to the bottom of the photo block.
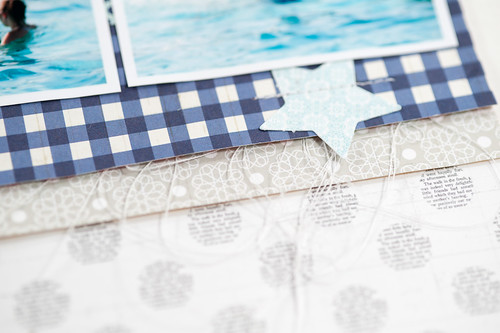
Okay, now for the fun part of thread clusters! Like I said, I'm not sure if I'm doing these correctly or not since I've never seen a tutorial, but I just take the wraps of thread and gently muss them around, rolling them a bit between my fingers and pulling out a thread here and there to make them uneven until they look something like this.
And then I anchor them in place by tucking them underneath a paper layer or two as I adhere everything down (using my crazy top-down gluing method that you can read more about here...though I have to admit that it's much harder to do with curled paper edges!).
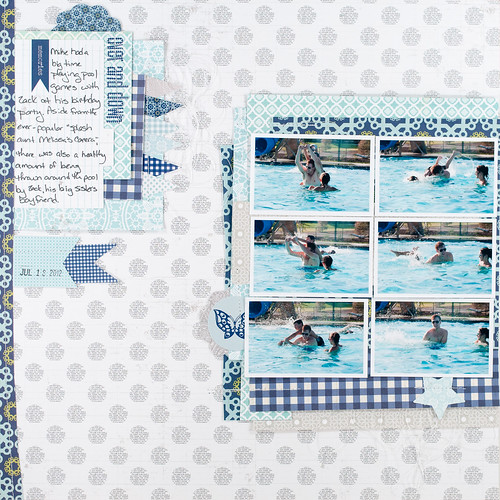
As you can see, Title On A Ruler made a last minute switch back to the top left corner of the page, where he happily set up housekeeping. I also added another bit of embellishment to the large photo block in the form of a die cut and butterfly sticker- sometimes things like that just jump onto my pages at the last minute. :)
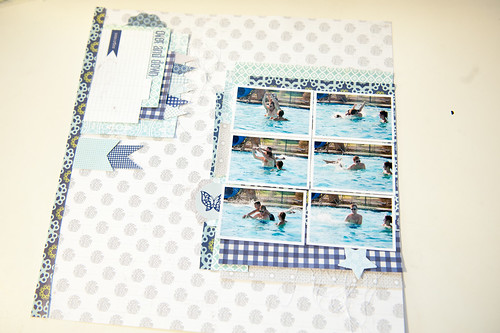
Then all that was left was to stitch the page up and add journaling to finish it off!

Some of the girls on the Lily Bee team are crazy good at using big blocks of paper, larger photos, and some amazing Silhouette cutter work. I look at those layouts with much admiration, wondering if sometimes I shouldn't try to scrap like that, too. But then I realize that my style is mine for a reason- I love it, I chose it, and though it has changed and morphed a bit in the year and a half since I worked on honing it, it's still very much true to what I originally set out to do. I just need to keep in mind that my thing doesn't have to be the most popular or even the prettiest as long as it's what I love!
Supplies (click on images for product links):