
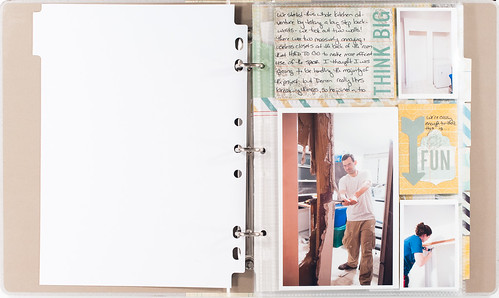
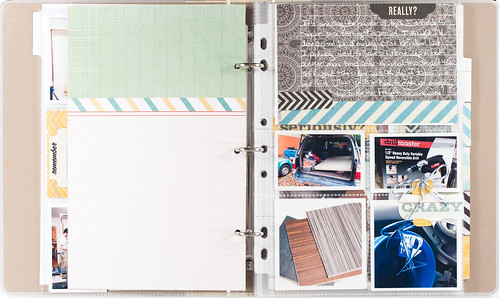
The Portfolio album is really easy to work with, especially since the pockets on the pages are the same sizes as the photo dimensions that I use over and over again (2x3, 3x3, 3x4, 4x6) for regular layouts and Project Life. Also, since home renovation photos are never very pretty until the very end (bare subfloor and exposed insulation are rarely things of beauty) and there are a ton of them, they don't lend themselves well to traditional scrapbook page. So, a Portfolio album for this project it is, and I'm documenting each of the three phases (flooring, walls/windows, cabinets + finish work) behind its own tab in the album.
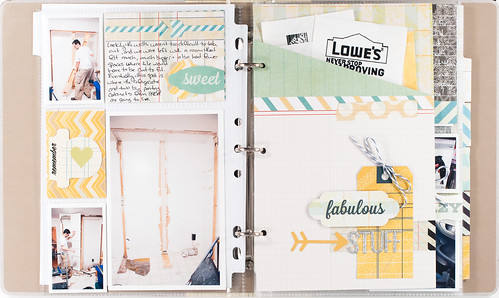
Each section of the album is also getting its own pocket page- something that I used the Scor-Pal board to make- to hold receipts, paint chips, and other items that I need to keep track of. I also put together a tutorial showing how the pocket is made, and you'll find that near the bottom of this post.
I gotta admit, finishing Phase 1 (installing the tile floor) was not easy, but in the end it was so worth it. Even after pulling up not one but three layers of old flooring to get to the original subfloor. And hammering hundreds of staples flat. And making way too many trips to Home Depot and Lowes. And breaking a mixer attachment and two drills while mixing thinset...in the same day.
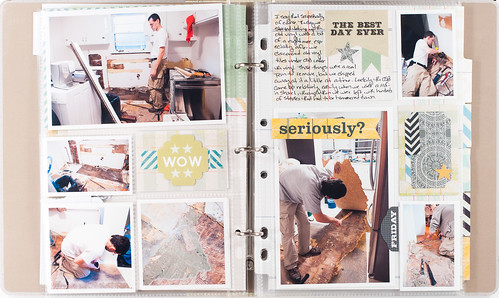
Oh, yeah, and even after chipping up this lovely old olive green vinyl tile that was under a layer of OSB under a layer of more vinyl. For weeks whenever I had a few free minutes I would grab a hammer and prybar and work away at it, even on a Friday night after dinner out (because I so know how to have fun on a Friday night, right?).

Making a pocket page for the Portfolio album is very, very simple, and you can do this using either the Scor-Pal or the Martha Stewart score board (which is still my favorite), or really any scoring tool.
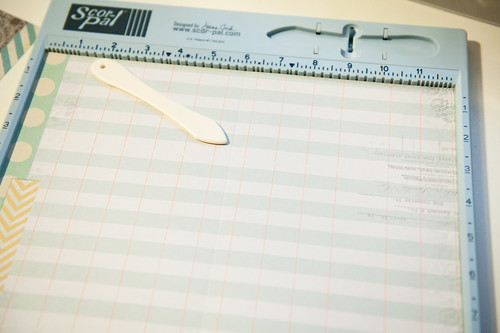
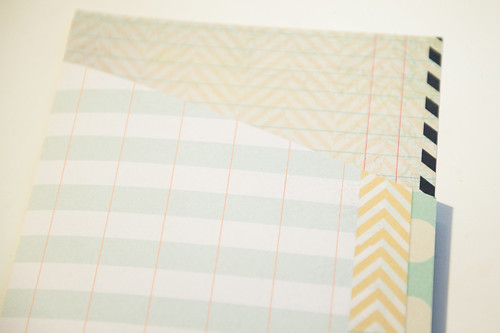
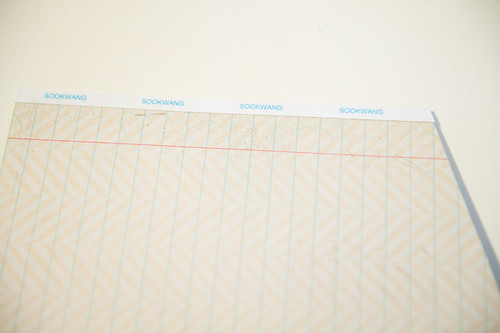
Start by cutting a sheet of patterned paper to 9.5" x12". Place the paper in the scoring board with the 12" side of the paper aligned across the top, then gently make a score line at the 6" mark. Fold the paper in half along the score line, and then make two tiny marks on the front of the folder- one on the scored and folded side (on the left) at 1" from the top, and the other on the open side at 3" from the top.

Cut through the front of the folded paper only along this line, also cutting down the scored fold's top 1" to remove the top section of paper. This creates a slash front for the pocket and makes it easier to add and remove items.
Run a line of adhesive along the bottom and the open side of the pocket. I found that Scor-Pal's Scor Tape really did make this process easier (especially the 1/8" variety) than my usual ATG gun. It was so much easier to line the adhesive right up along the edge with the backing strip still in place!
To complete the pocket, remove the backing strip from the tape strips, then fold and adhere. Finish off by punching holes (I used one of the Portfolio tab dividers as a guide) and slipping the pocket onto the album rings.
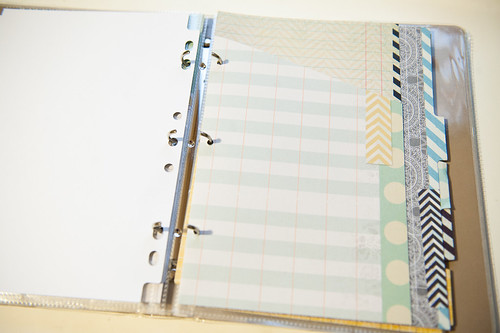
I still haven't included photos from the actual flooring installation (I'm waiting on them to come back from Snapfish), but they'll go right in this album, too!
Supplies (click on images for product links):
      |